


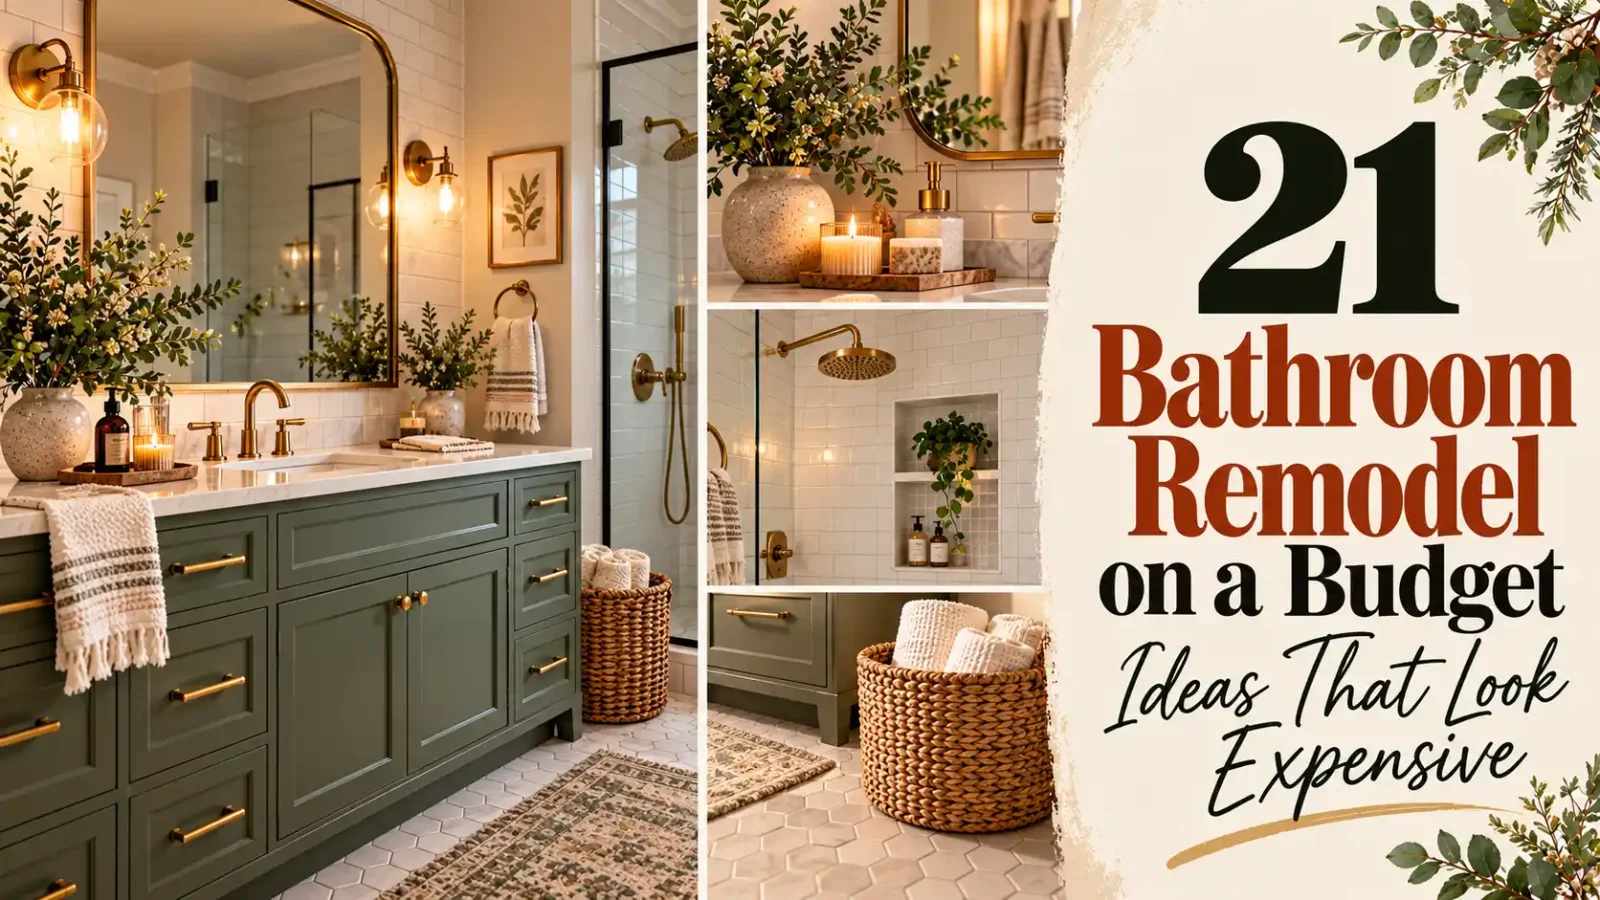
A full bathroom renovation can cost thousands, but you do not need to gut the room to get a fresh, high-end look. With a few strategic updates and some DIY effort, a bathroom remodel on a budget can deliver results that look far more expensive than they are.
These 21 ideas focus on high-impact, low-cost changes, from paint and hardware to lighting and clever tile tricks. For color inspiration, see our bathroom paint colors ideas, and for storage and style, check out these bathroom vanity ideas.
Budget remodel priorities:
- Keep the plumbing layout the same to avoid major costs.
- Focus on surfaces you see and touch most: vanity, mirror, lighting and fixtures.
- Do cosmetic work yourself and hire pros for plumbing and electrical.
- Spend on one statement item and save everywhere else.
One of the best-value upgrades in any budget remodel is the bath itself — start with these tub surround ideas.
1. Paint the Walls a Fresh Color
A fresh coat of paint is the highest-impact bathroom update you can buy for under fifty dollars. Moisture-resistant interior paints in soft white, warm greige, or pale sage make a small bathroom feel cleaner, brighter, and noticeably larger. Choose bathroom-ready formulas like Behr Premium Interior Semi-Gloss Enamel or Sherwin-Williams Emerald Bath Paint, which resist mildew and wipe down easily. Proper prep is what separates amateur results from a pro finish: scrub walls with a degreasing cleaner, patch holes with spackle, sand lightly, and tape off trim with painter’s tape. Two thin coats of satin or semi-gloss paint deliver crisp coverage that stands up to daily steam and splashes for years.

Color choice does the heavy lifting, so pick shades that flatter your existing tile and fixtures. If your tile is dated, a warm white like Benjamin Moore White Dove or a soft greige can make beige or almond tile look intentional instead of tired. Cool bathrooms with white or gray tile glow with muted blues and greens such as Sherwin-Williams Sea Salt. Buy samples for eight to twelve dollars at Home Depot or Lowe’s, brush swatches on each wall, and live with them for a day before committing. A gallon of quality bath paint costs thirty-five to sixty-five dollars and usually covers a standard five-by-eight bathroom with paint to spare.
2. Paint the Vanity
Painting the vanity transforms the entire bathroom without the four-hundred-to-one-thousand-dollar cost of replacing the cabinet. Solid wood and laminate vanities both take paint well with the right prep: remove doors and hardware, clean with a degreaser, sand lightly with 220-grit sandpaper, and apply a bonding primer like Zinsser BIN Shellac-Base. Then brush on two coats of a hard-wearing enamel such as Behr Urethane Alkyd Semi-Gloss in a deep navy, charcoal, forest green, or classic black. The darker color reads as custom and expensive while hiding scuffs and water spots better than white.

A painted vanity paired with new hardware looks like a thousand-dollar upgrade for under seventy-five dollars in supplies. Let each coat cure fully — ideally twenty-four to forty-eight hours — before reinstalling doors so the finish hardens and resists chips. Fill old hardware holes with wood filler if you are changing knob placement, then sand smooth before priming for a flawless face frame. Finish with a water-based polyurethane topcoat on the countertop edge and areas that see constant splashes. Within a single weekend you can turn a dated oak or builder-grade white vanity into a furniture-look focal point.
3. Upgrade Cabinet Hardware
Swapping dated cabinet knobs and pulls for modern hardware is a fifteen-minute project with nothing more than a screwdriver that makes a bathroom vanity look custom-built. Brushed nickel, matte black, and champagne bronze pulls — priced three to eight dollars each at Home Depot, Lowe’s, or Amazon — instantly modernize drawer fronts and doors. Measure the existing hole spacing (usually three or three-and-three-quarter inches) before ordering so replacements drop into the same holes without drilling. Choose bar pulls for drawers and simple round knobs for doors to mirror what designers do in high-end bathrooms.

Consistency across every metal touchpoint is what sells the expensive look, so carry your chosen finish through towel bars, hooks, and the toilet paper holder. Amazon multi-packs of ten pulls cost twenty to forty dollars and cover most vanities for far less than buying individually at a showroom. If holes don’t line up, fill them with wood filler, sand, touch up with matching paint, and drill new ones using a printable template from the hardware brand’s website. Clean the hardware with a soft cloth rather than abrasive cleaners to keep the finish intact for years.
4. Replace the Faucet
A new faucet is the jewelry of the bathroom sink, and replacing a crusty chrome builder-grade model costs sixty to one hundred fifty dollars at retailers like Home Depot and Lowe’s. Stick with a single-hole or centerset configuration that matches your sink’s existing holes to avoid cutting or covering the countertop. Delta and Moen widespread and centerset faucets in brushed nickel or matte black are widely stocked, carry strong warranties, and include DIY-friendly installation instructions. Shut off the water supply valves, disconnect the supply lines, and lift out the old faucet — most swaps take under an hour with an adjustable wrench and a basin wrench.
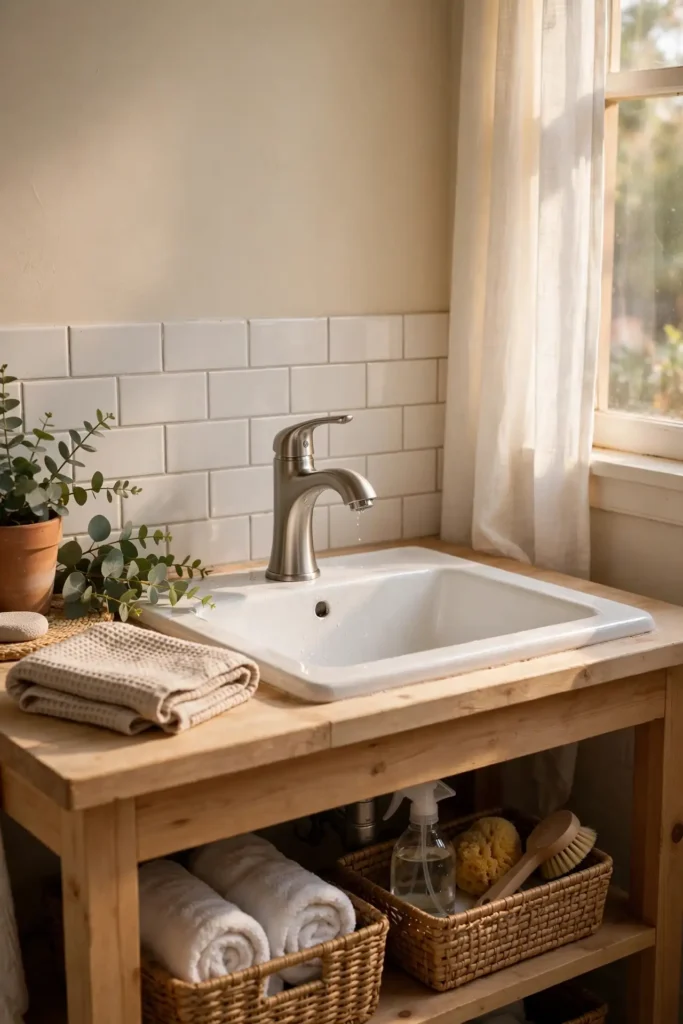
Water efficiency makes a new faucet pay for itself: WaterSense-labeled models use 1.2 gallons per minute or less, cutting hot water waste without noticeably weaker flow. Look for ceramic disc cartridges, which resist drips and last far longer than older compression valves. While the faucet is out, replace brittle supply lines and the P-trap if they show corrosion — a twenty-dollar preventative fix that avoids emergency plumber calls. Take a phone photo of the old faucet’s underside before shopping so you match the hole pattern and clearance for your backsplash and mirror.
5. Swap Light Fixtures
Dated Hollywood strip lights or frosted dome fixtures instantly age a bathroom, and a modern replacement runs forty to one hundred twenty dollars at Home Depot, Lowe’s, or Wayfair. Look for vanity bars with two to four lights in brushed nickel, matte black, or champagne gold finishes that coordinate with your faucet and hardware. Choose fixtures rated for damp locations and bulbs around 2700K to 3000K — warm white light flatters skin tones far better than harsh daylight bulbs. Turn off the breaker, confirm with a non-contact voltage tester, and swap the fixture; most mounts reuse the existing electrical box.
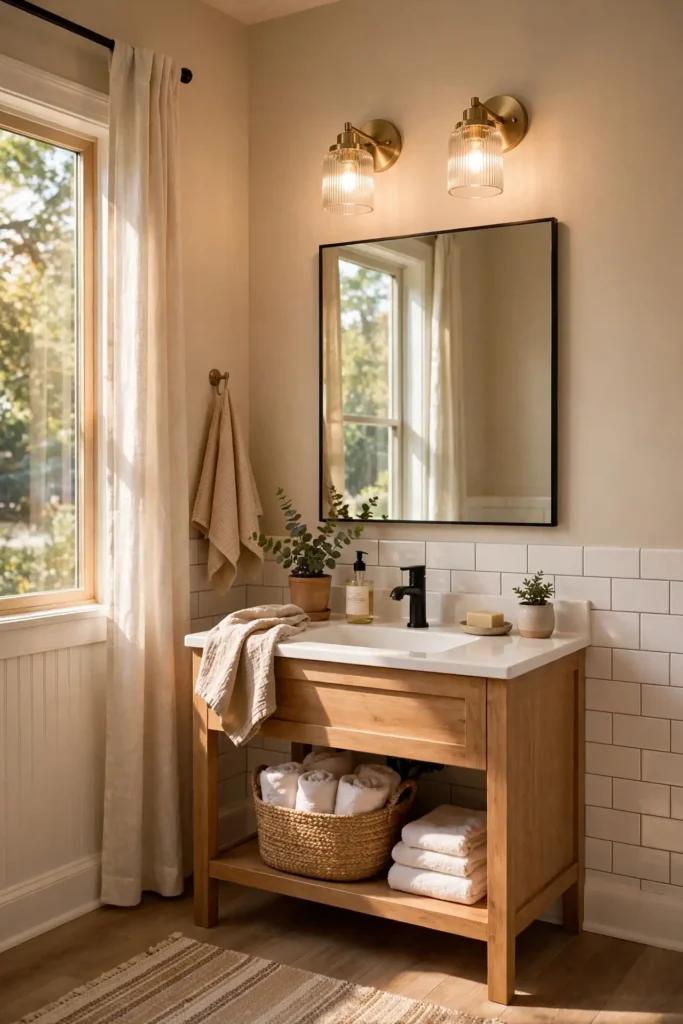
Placement and shade style determine whether the light feels luxurious or clinical. Side-mount sconces on either side of the mirror at eye level eliminate harsh overhead shadows on your face, mimicking what makeup artists prefer. If rewiring isn’t in the budget, pick a fixture with a similar footprint so the mounting holes and old paint lines stay hidden. Frosted glass or opal shades diffuse light softly and hide fingerprints between cleanings. A fresh fixture over the mirror plus dimmer-friendly LED bulbs gives you soft, relaxing spa lighting on a hardware-store budget for years to come.
6. Hang a Statement Mirror
An oversized or architecturally interesting mirror makes a small bathroom feel twice as large by bouncing light around the room. Round mirrors forty to sixty dollars at Target, IKEA, or Home Depot soften boxy bathrooms, while arched or pill-shaped mirrors add a boutique-hotel feel for under one hundred fifty dollars. Hang the center of the mirror at roughly sixty to sixty-five inches from the floor — eye level for most adults — and size it no wider than the vanity. A mirror with a thin brass, black, or natural wood frame pulls the whole design scheme together.
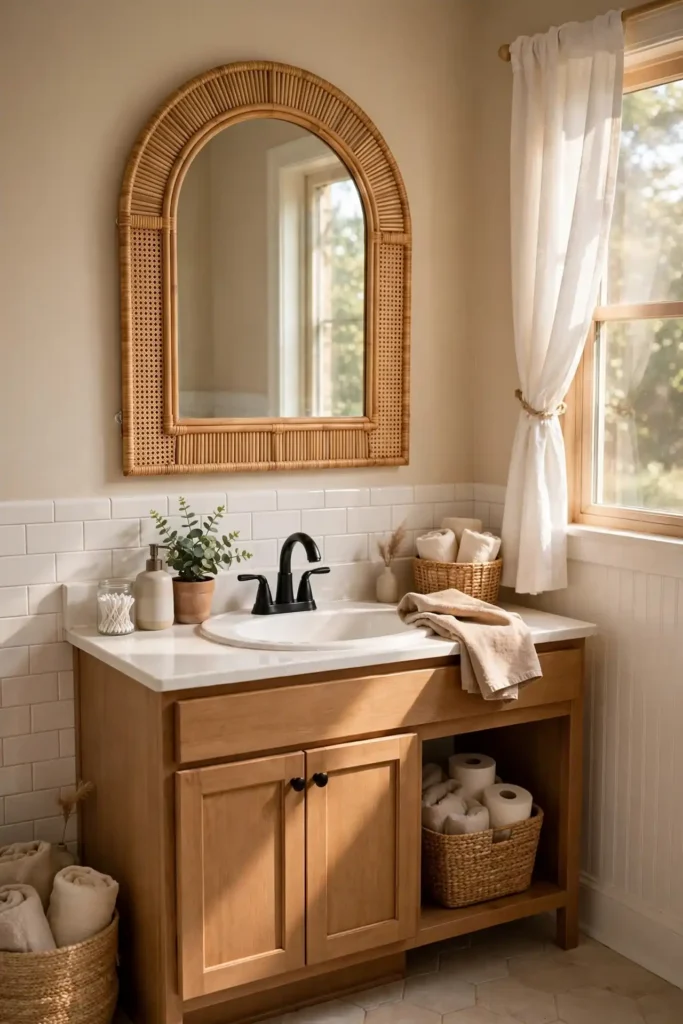
If your existing mirror is glued to the wall, frame it instead of removing it for a forty-dollar transformation. Mirror-frame kits or simple trim molding from Lowe’s, attached with construction adhesive around the edges, hide dated beveled edges and add a custom look. For a frameless slab mirror, consider having a glass shop cut it into a modern arch or rounded shape for thirty to sixty dollars. Always secure heavy mirrors into wall studs or use proper toggle anchors rated for the mirror’s weight, and never hang glass above a spot where it could fall on someone.
7. Refinish the Tub
Refinishing a worn, stained, or avocado-green tub costs three hundred to six hundred dollars through a professional — a fraction of the one thousand five hundred to three thousand dollars a full tub replacement runs. The process involves etching the old surface, repairing chips, and spraying on a durable epoxy or urethane coating that cures to a glossy white finish. DIY refinishing kits like Rust-Oleum Tub and Tile sell for thirty to sixty dollars at Home Depot, but the fumes are strong and durability varies, so hiring a local refinisher is worth it for a tub you use daily.
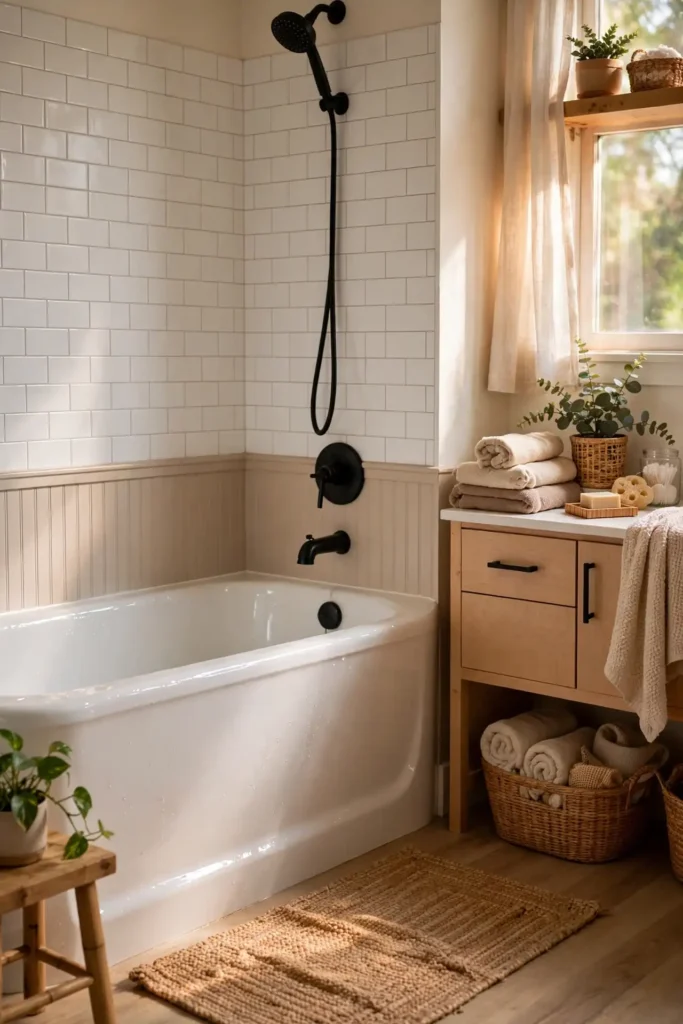
A refinished tub buys you five to seven years of like-new appearance, which is perfect while you save for a full renovation down the road. Keep the new finish pristine by cleaning only with non-abrasive cleaners like Scrubbing Bubbles or diluted vinegar — never use bleach, scouring pads, or suction-cup bath mats, which can lift the coating. Repair small chips immediately with a porcelain touch-up pen to prevent peeling from spreading. Schedule the work before painting walls so any overspray or masking damage is covered by your fresh paint job.
8. Regrout or Paint Grout
Dingy grout makes even clean tile look dirty, and regrouting or painting grout lines is one of the cheapest ways to fake a full tile replacement. Grout paint pens from brands like Rainbow Chalk or Grout-Aide cost twelve to twenty dollars and let you recolor lines to bright white or a contrasting charcoal in an afternoon. For deeper stains, a grout steam cleaner or an oxygen-bleach paste removes years of buildup without chemicals that damage tile. Work in small sections, wipe haze off tiles immediately, and seal with grout sealer afterward.
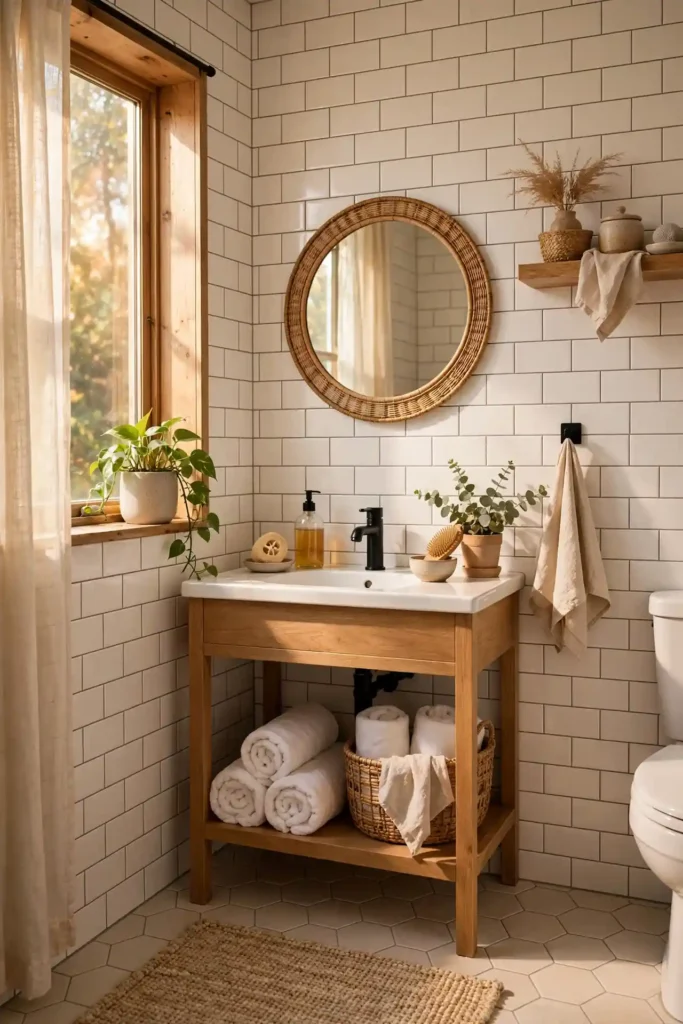
If grout is cracked or crumbling, a full regrout is the better fix: scrape out old grout with a five-dollar grout saw, then press in new premixed grout from Custom Building Products, sold at Home Depot for fifteen to thirty dollars per container. Choose a darker grout color than the original — it hides future stains and gives tile a graphic, modern look. Let the grout cure for forty-eight to seventy-two hours before sealing, then apply sealer annually in shower areas. Fresh, crisp grout lines alone can make a twenty-year-old tile job look brand new.
9. Use Peel-and-Stick Tile
Peel-and-stick tile delivers a backsplash or accent wall makeover for two to five dollars per square foot, with no wet saw, mortar, or grout required. Brands like Smart Tiles and FloorPops, sold at Amazon, Home Depot, and Target, offer convincing subway tile, Moroccan, and marble-look designs in vinyl and gel finishes. Prep is simple: clean the wall with a degreaser, let it dry completely, and press tiles firmly starting from the center. Use a utility knife and straightedge for cuts around outlets, and overlap seams tightly for a seamless look.
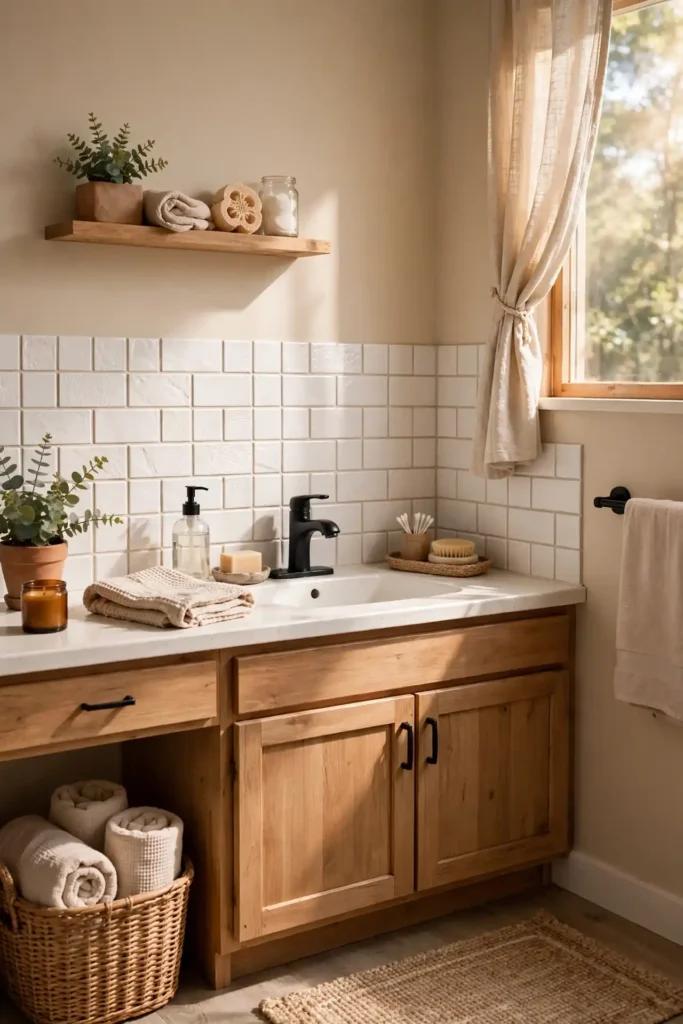
Heat and moisture determine where peel-and-stick tile thrives: it’s excellent for backsplashes behind sinks and vanity walls, but choose shower-rated products or skip it inside the tub surround unless the manufacturer explicitly approves wet use. Press tiles down with a rolling pin or wallpaper smoother to eliminate air bubbles and maximize adhesion. If a tile starts peeling at an edge, a dab of construction adhesive underneath fixes it permanently. When you’re ready for a change, quality peel-and-stick tile removes cleanly — ideal for renters who want a stylish bathroom without losing their security deposit.
10. Paint Floor Tiles
Painting tired ceramic or vinyl floor tile with a specialized floor paint costs thirty to eighty dollars and mimics the effect of a full retiling job. Rust-Oleum Home Floor Coating and similar two-part systems, available at Home Depot and Lowe’s, bond to tile and withstand foot traffic, mopping, and humidity when applied correctly. The process: deep-clean and degrease the floor, sand lightly to scuff the glaze, apply the bonding base coat, then roll on two coats of the topcoat color. A crisp white, checkerboard stencil pattern, or soft gray can completely reinvent dated tile.

Durability depends on prep and curing, so don’t rush either. Keep the bathroom dry and ventilated during application, and let the paint cure for the full time on the can — often seventy-two hours — before placing rugs or heavy items back. Seal with the manufacturer’s recommended topcoat, and use felt pads under furniture legs to prevent scratches. Touch up chips promptly with leftover paint to keep the finish looking seamless. While painted tile won’t last as long as real tile, it easily buys three to five years of fresh-looking floors while you budget for a full remodel.
11. Add Wainscoting or Beadboard
Wainscoting or beadboard adds architectural character that makes a plain bathroom feel custom and expensive for one hundred fifty to three hundred dollars in materials. PVC beadboard panels from Home Depot or Lowe’s resist moisture far better than wood versions and install with construction adhesive and a brad nailer in a single weekend. Run panels to chair-rail height around the lower third of the walls, caulk the seams, and finish with a semi-gloss enamel that matches or contrasts your wall color. White beadboard with navy or sage walls above is a timeless, high-end look.

Proper moisture management is essential: leave a small gap at the floor, seal all edges with paintable silicone caulk, and use mold-resistant primer on any cut edges. Add a slim chair rail or baseboard cap along the top edge for a finished, carpentry-shop appearance — these trims cost just a few dollars per linear foot. In tiny bathrooms, wainscoting on a single wall behind the vanity or toilet delivers the character without closing in the space. Paint everything the same soft white for a cottage feel, or go bold with deep green or charcoal for a moody, designer look.
12. Install a New Shower Head
Swapping a weak, outdated shower head for a modern rain or handheld model is a twenty-to-one-hundred-dollar upgrade that takes ten minutes. Unscrew the old head by hand or with an adjustable wrench, wrap the shower arm threads with Teflon tape, and thread on the new head — no plumber needed. Delta and Moen rain shower heads with water-saving 1.75 gallons-per-minute flow deliver strong pressure while meeting federal efficiency standards. Handheld wands on slide bars, priced forty to eighty dollars, make cleaning the shower and bathing kids or pets dramatically easier.
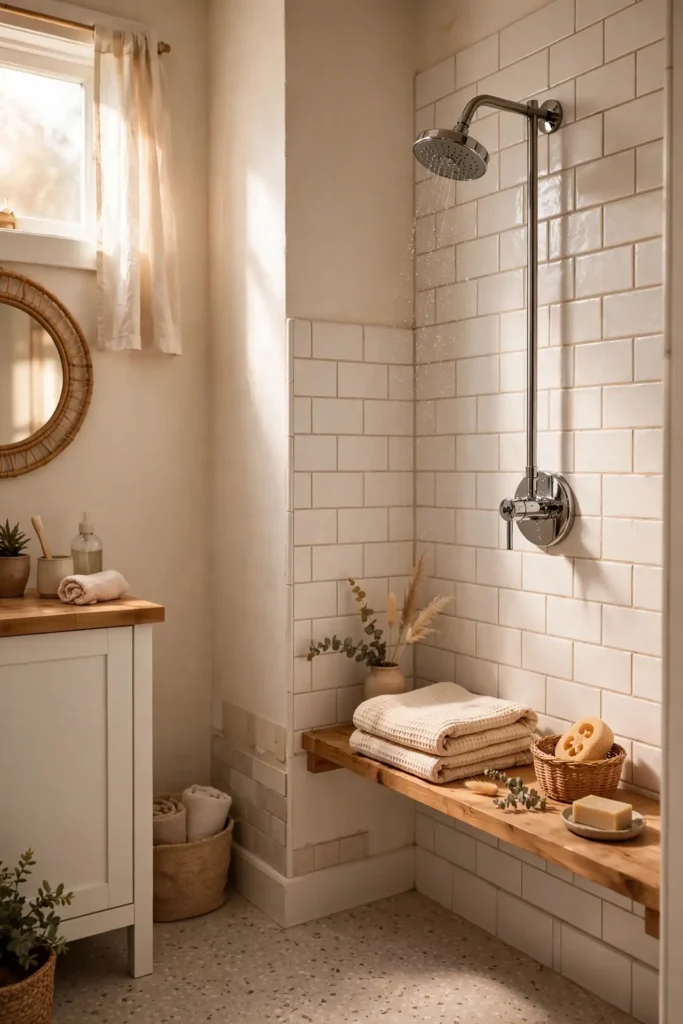
Finish matters as much as function: match the shower head to your faucet and hardware for a coordinated, designer look — brushed nickel, matte black, and chrome are widely stocked at Lowe’s and Amazon. If water pressure is low, check for a clogged aerator or remove the flow restrictor only where local codes allow; a new head with engineered nozzles often fixes weak spray without plumbing changes. Soak the old shower arm in vinegar first if mineral buildup makes removal difficult. A fresh shower head with multiple spray settings turns an ordinary shower into a spa-like experience for pocket change.
13. Replace the Shower Curtain With Glass
Trading a fabric shower curtain for a frameless or semi-frameless glass door makes a bathroom feel instantly larger and more luxurious. A single fixed glass panel — often called a walk-in panel — costs two hundred fifty to five hundred dollars at Home Depot or Lowe’s and installs with wall brackets, no full door track required. Glass eliminates the visual barrier of a curtain, letting tile work show through and light flow freely. Measure your tub or shower opening carefully and choose panels sized for standard sixty-inch tubs to avoid custom pricing.

If a full glass enclosure stretches the budget, a clear curved shower rod with a high-quality curtain liner achieves a similar open feel for under fifty dollars. Curved rods add up to six inches of elbow room inside the tub, and a weighted, mildew-resistant liner in clear or frosted white reads far more expensive than a saggy fabric curtain. Keep glass or liners spotless with a daily squeegee and a weekly spray of equal parts water and white vinegar to prevent hard-water spots. Either option modernizes the shower area for a fraction of a full remodel.
14. Hang a Floor-to-Ceiling Curtain
Hanging shower or window curtains from ceiling height instead of at trim level is a designer trick that makes bathroom ceilings feel dramatically taller. Mount the rod six to eight inches above the window frame — or directly on the ceiling with ceiling-mount brackets — and use curtains long enough to just kiss the floor. For windows, choose a moisture-resistant fabric or outdoor-grade curtain in white or natural linen; eighty-four or ninety-six-inch panels from IKEA or Target cost fifteen to thirty dollars each. The vertical lines draw the eye upward and make even a seven-foot ceiling feel grand.

In the shower, a ceiling-mounted curved track with an extra-long liner creates a custom, hotel-like enclosure for thirty to sixty dollars. Install the track into ceiling joists or use heavy-duty toggle anchors, since wet fabric is heavy. For privacy windows, pair a light-filtering curtain with a frosted window film — the film blurs the view while the curtain adds softness and height. Keep curtain hems off the floor in wet zones to prevent mildew, and wash liners monthly. This single change adds perceived square footage and luxury for almost nothing.
15. Add Floating Shelves
Floating shelves add storage and display space to a bathroom without the bulk or cost of a cabinet, running twenty to sixty dollars per shelf at IKEA, Target, or Amazon. Solid wood shelves with hidden brackets look custom and expensive, while white or black MDF versions blend into the wall for a clean modern look. Mount shelves above the toilet or beside the mirror, anchoring into studs or using toggle bolts rated for at least fifty pounds. Style them with rolled towels, a small plant, and a candle for an instant spa vignette.
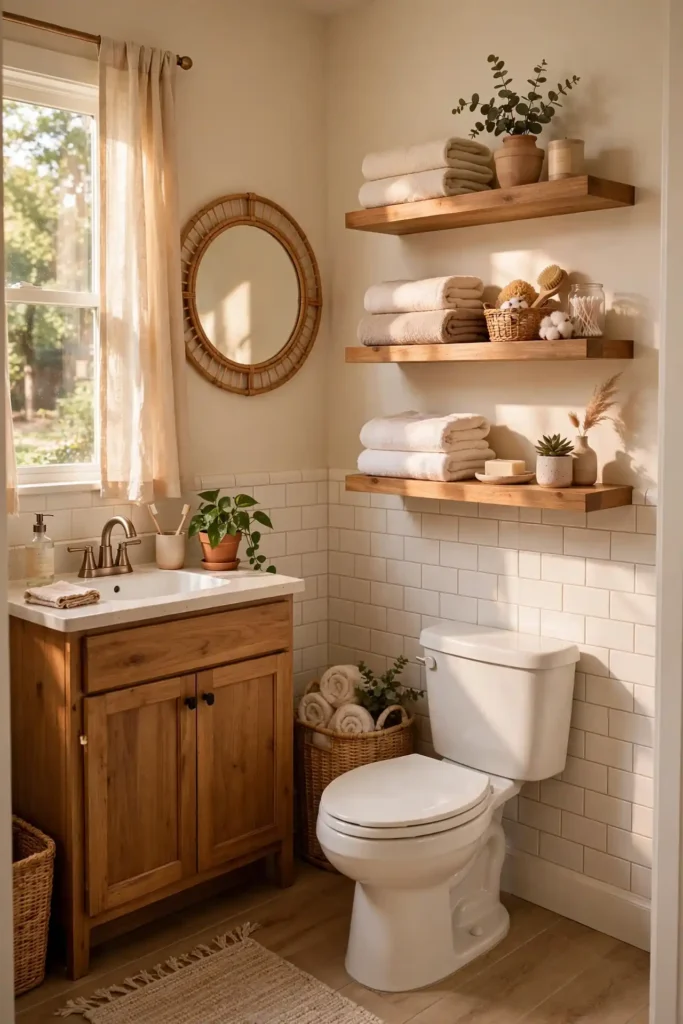
Keep floating shelves practical by storing daily essentials in matching baskets or apothecary jars that hide clutter while looking intentional. Glass or acrylic shelves work beautifully in tiny bathrooms because they disappear visually and won’t block light. Seal wood shelves with a tough water-resistant finish like polyurethane so daily bathroom steam doesn’t warp them over time. Limit each shelf to a few curated items — overcrowding kills the expensive look faster than anything. Two well-styled floating shelves can replace a bulky medicine cabinet and make the whole room feel curated.
16. Update Towels and Textiles
Fresh, plush towels are the fastest way to make a bathroom feel like a boutique hotel, and a coordinated set costs forty to eighty dollars at Target, Costco, or Amazon. Choose thick, 100 percent cotton or Turkish cotton towels in white, warm ivory, or a soft neutral that matches your palette — matching sets always look more expensive than mixed odds and ends. Roll or tri-fold towels on open shelving for a spa display, and replace thin, faded bath mats with a plush cotton rug or a quick-drying stone bath mat for a modern touch.
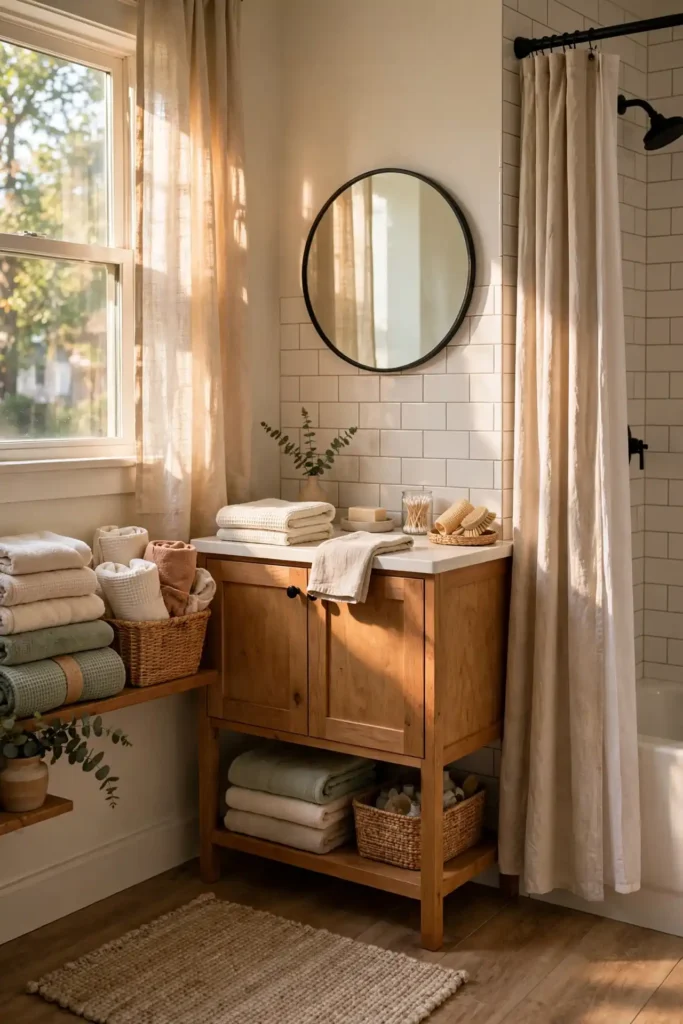
Textiles carry the color story, so use them to tie the whole bathroom together. If your walls and tile are neutral, towels in sage, terracotta, or dusty blue add designer color for very little money. Wash new towels with white vinegar instead of fabric softener to maximize absorbency and keep them fluffy longer. Replace shower curtain liners yearly and hand towels weekly — crisp, clean textiles signal a well-kept bathroom instantly. A cohesive set of quality towels, a new bath mat, and a matching shower curtain can refresh the room for under one hundred dollars total.
17. Swap the Toilet Seat
A yellowed, wobbly, or outdated toilet seat drags down an otherwise clean bathroom, and a quality replacement costs twenty-five to sixty dollars at Home Depot or Lowe’s. Measure your bowl shape — round or elongated — before buying, since the two aren’t interchangeable. Slow-close seats from Kohler or Bemis eliminate slamming and feel noticeably more premium, while quick-release hinges make cleaning underneath a thirty-second job. Installation takes about ten minutes with basic hand tools: pop off the bolt caps, unscrew the old seat, align the new one, and tighten the mounting bolts evenly.
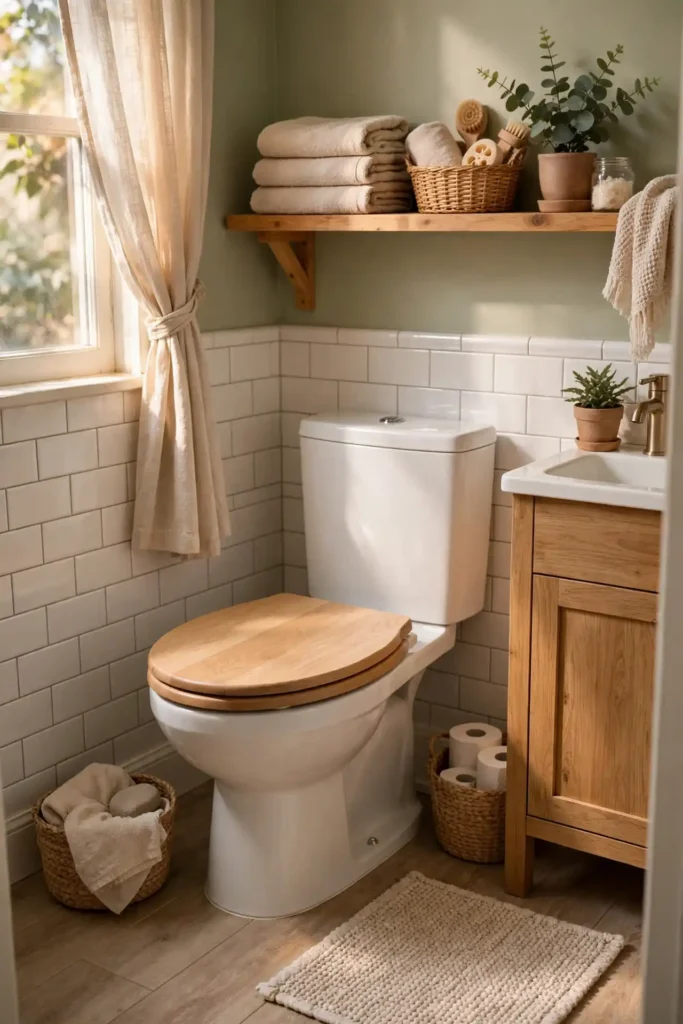
Small upgrades around the toilet compound the fresh effect: replace a rusted flush handle or push button for ten to twenty dollars in a matching finish, and swap a stained supply line for a braided stainless one. If the toilet itself is dated but functional, a new seat plus a deep clean with a pumice stone on hard-water stains can make it look nearly new. Avoid bleach-based cleaners on colored or wooden seats, which can fade or crack the finish. This tiny project removes one of the biggest subconscious “dated bathroom” signals visitors notice.
18. Add Plants
Live plants bring a bathroom to life for ten to thirty dollars, adding fresh, vibrant color, softness, and a spa-like freshness that no fixture can replicate. Humidity-loving varieties thrive in bathrooms: pothos, Boston ferns, spider plants, and peace lilies all tolerate low light and steamy air. Place a trailing pothos on a floating shelf, a fern on the vanity, or an air plant in a glass terrarium on the windowsill. Choose pots in ceramic, concrete, or woven baskets that echo your bathroom’s finishes for a curated, designer look that feels expensive.
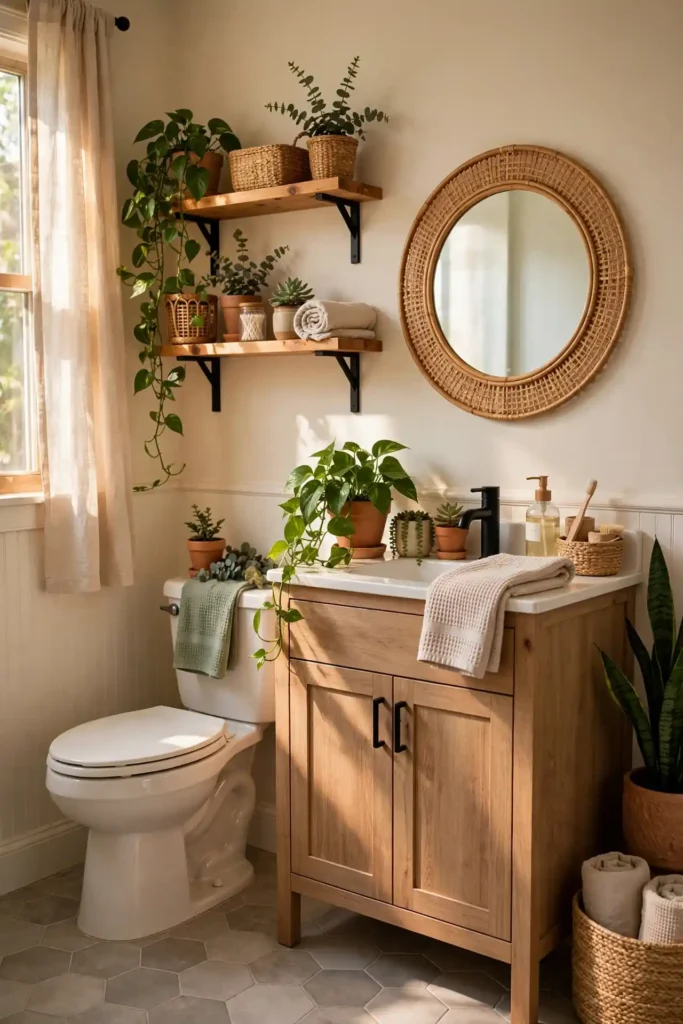
Even bathrooms without windows can host plants — snake plants and ZZ plants survive in very low light, and high-quality faux plants from IKEA or Target have become nearly indistinguishable from real ones. Water sparingly, since bathroom humidity reduces watering needs, and rotate pots monthly so growth stays even. Hang a small eucalyptus bundle from the shower head for twelve to eighteen dollars; the steam releases its scent for a genuine aromatherapy experience. One or two well-placed plants soften hard tile edges and make the whole room feel intentionally styled.
19. Use Wallpaper on One Wall
A single wallpapered accent wall delivers high-end designer drama for just fifty to one hundred fifty dollars in materials, far less than the cost of papering a whole room. Peel-and-stick wallpaper from brands like Tempaper, Chasing Paper, or Spoonflower — sold on Amazon and at Target — installs without paste and removes cleanly, making it renter-friendly too. Botanical prints, subtle grasscloth textures, and classic stripes all shine in bathrooms. Apply it to the wall directly behind the vanity or mirror where it gets maximum visual impact with minimal square footage.
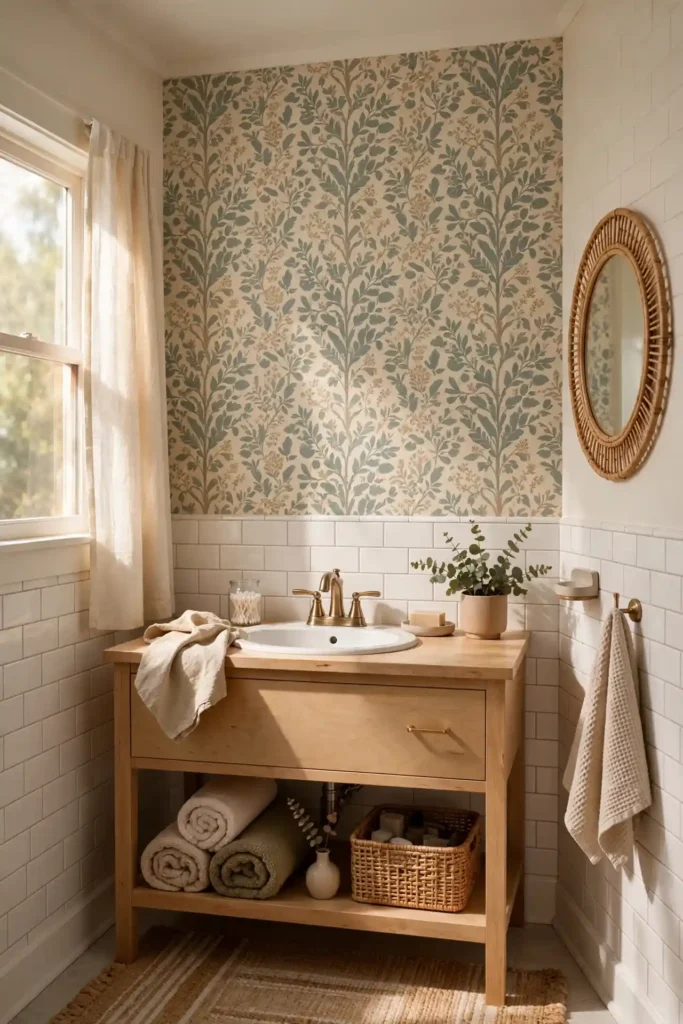
Moisture is the main concern, so choose vinyl-coated or specifically bathroom-rated wallpaper, and avoid placing it inside the shower or directly behind a tub without a backsplash. Smooth the wall, prime with a wallpaper primer, and use a smoothing tool to press out bubbles as you hang each panel. Ventilate the bathroom well during and after showers — a working exhaust fan extends wallpaper life dramatically. If full wallpaper feels risky, framed wallpaper panels or a large-scale mural decal give you the same focal-point effect for even less money and effort.
20. Replace the Countertop With a Remnant
Stone yards and fabricators sell leftover granite, quartz, and marble remnants for fifty to two hundred dollars — enough to top a standard bathroom vanity that would cost six hundred to one thousand dollars as a full slab order. Call local countertop shops and ask what’s in their remnant pile; bathroom-sized pieces are common because remnants come from larger kitchen cutouts. Choose a remnant with veining or pattern that complements your tile, and have the shop cut and polish the edges for a professional finish. Many shops will also cut the sink hole for a small fee.
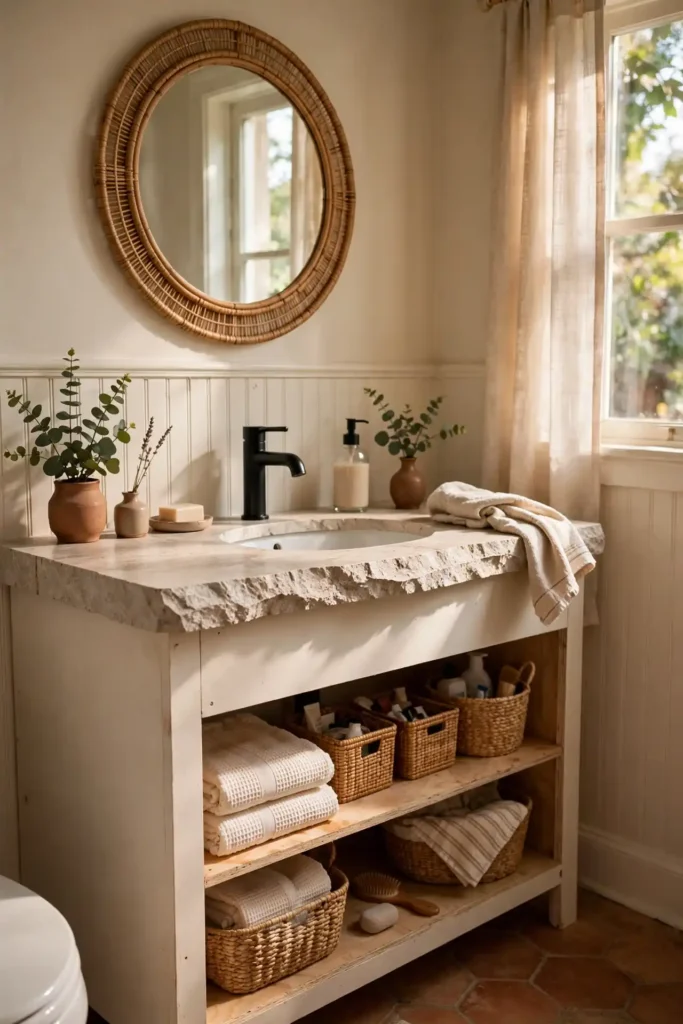
Remnants work best with undermount or vessel sinks, which need only a simple cutout rather than a precise drop-in edge. Pair the stone with your painted vanity and new faucet for a combination that looks like a two-thousand-dollar vanity replacement. Seal natural stone annually with a quality impregnating sealer to prevent permanent stains from cosmetics, toothpaste, and hard water. If stone remnants are scarce in your area, a butcher-block or solid-surface remnant from IKEA or a lumberyard costs even less money and brings warm, organic contrast to a white bathroom.
21. Coordinate Metal Finishes
Mixed metals — chrome faucet, brass mirror, nickel towel bar — make a bathroom look accidentally assembled, while a single coordinated finish reads as intentionally designed. Pick one dominant metal, such as brushed nickel, matte black, or champagne bronze, and carry it through the faucet, cabinet hardware, light fixture, mirror frame, and towel bars. You don’t need to replace everything at once to get this effect: spray paint from Rust-Oleum’s metallic line, twenty-five dollars for primer and paint, can unify a towel bar or mirror frame with your new faucet finish.

If you prefer the designer trend of mixing metals, follow the two-finish rule: one dominant finish on about seventy percent of fixtures and one accent on the rest, with each finish appearing at least twice so it looks deliberate. Keep warm metals (brass, bronze, gold) together and cool metals (chrome, nickel) together for harmony. When shopping, bring a hardware sample to the store to compare finishes under real lighting — online photos lie. Coordinated finishes cost nothing extra when you’re already replacing fixtures, yet they deliver the biggest “expensive bathroom” payoff of any detail.
Where to Splurge and Where to Save
A smart budget remodel puts money where your hands and eyes land daily, and saves everywhere else. Splurge on the faucet, shower head, and anything with moving parts — Delta and Moen fixtures with lifetime warranties cost more upfront but never need replacing. Splurge on paint too, since premium bathroom paint from Behr or Sherwin-Williams resists moisture and looks better longer. Save on decorative items like mirrors, towel bars, and lighting, where Target, IKEA, and Amazon offer designer looks at a third of showroom prices. Save on labor by doing demolition, painting, and hardware swaps yourself.

The biggest savings come from keeping the existing layout: moving plumbing or electrical easily adds one thousand to three thousand dollars per change. Refinish instead of replace for tubs, tile, and vanities, and hunt remnant stone rather than ordering full slabs. Set a contingency fund of ten to fifteen percent for surprises like water damage behind walls. Track every expense in a simple spreadsheet against your total budget — a typical budget bathroom refresh runs one thousand to three thousand dollars, while a full cosmetic remodel stays under eight thousand. Spending strategically is what makes a budget remodel look anything but cheap.
Labor is often the biggest cost. Doing demolition, painting and simple installs yourself can save hundreds, but always hire licensed professionals for plumbing, electrical and waterproofing work.
How to Plan a Bathroom Remodel on a Budget
Successful budget remodels start with a written plan, not a shopping trip. List everything you want to change, then rank items by visual impact per dollar — paint, hardware, lighting, and textiles top almost every list. Measure the room, photograph the plumbing and electrical, and set a firm total budget with a ten to fifteen percent contingency for surprises. Research prices at Home Depot, Lowe’s, and Amazon before committing, and check local Habitat for Humanity ReStores for discounted vanities, mirrors, and tile. A clear scope prevents the budget creep that turns a two-thousand-dollar refresh into a ten-thousand-dollar renovation.

Sequence the work to avoid redoing steps: demolition and plumbing first, then electrical, drywall repair, tile or tub refinishing, painting, and finally fixtures, hardware, and styling. Order materials two to three weeks ahead — backordered faucets and vanities are the most common cause of stalled DIY projects. Pull permits only where required; cosmetic updates like painting and fixture swaps typically don’t need them, but moving plumbing or electrical usually does. Schedule dusty, noisy work for weekends and keep one bathroom functional if possible. A realistic timeline for a DIY cosmetic remodel is two to four weekends.
When it comes to bathroom remodel on a budget, the best results come from balancing style, comfort and everyday function. Use this list as your go-to guide for bathroom remodel on a budget, and start with the ideas that fit your space best. Save this guide on bathroom remodel on a budget so you can come back to it when you are ready to update your home. Good bathroom remodel on a budget choices work in homes of every size and budget.
Bathroom Remodel on a Budget Step by Step
Start your remodel with a full cleanout and assessment: empty every cabinet, photograph the current state, and inspect for water damage, mold, or soft subflooring that must be fixed first. Shut off water at the supply valves, then remove the old faucet, shower head, mirror, and hardware — bag and label every screw. Next, tackle the messy jobs: regrout or refinish tile and tub, patch and sand drywall, and caulk every seam. Doing all the dirty work before painting keeps your fresh paint pristine and saves you from cleaning everything twice.

With prep complete, paint the ceiling first, then walls, then the vanity, allowing full cure times between coats. Install the new faucet, shower head, light fixture, and toilet seat, testing each for leaks before moving on. Hang the mirror, mount floating shelves and towel bars, and lay peel-and-stick tile or paint floor tile if that’s in your plan. Finish with textiles, plants, and styling — rolled towels, a new bath mat, and a candle instantly signal “done.” Walk the room with a critical eye, touch up paint nicks, tighten anything loose, and photograph the transformation for your records.
- Set your budget and priorities.
- Deep clean and regrout existing tile.
- Paint walls and vanity.
- Replace hardware, faucet, lighting and mirror.
- Finish with textiles, plants and accessories.
Final Thoughts on Bathroom Remodel on a Budget
A bathroom that looks expensive has very little to do with how much you spent and everything to do with cohesion, cleanliness, and light. The twenty-one ideas above share one principle: replace what dates the room, refinish what still works, and coordinate every finish so the whole space feels intentional. A painted vanity, new faucet, modern mirror, and fresh textiles can transform a tired bathroom for under one thousand dollars — less than the cost of a single custom vanity. Focus your energy on the details guests actually notice: the mirror, the faucet, the lighting, and the smell.

The best time to start is this weekend with the smallest project on your list — paint a wall, swap the hardware, or hang a new mirror and feel the momentum build. Budget remodels reward patience: watch for open-box deals at Home Depot and Lowe’s, check Facebook Marketplace for vanities and mirrors, and buy paint during holiday sales. Keep a running before-and-after photo log; nothing motivates the next project like seeing how far the room has come. Your dream bathroom isn’t waiting for a ten-thousand-dollar renovation — it’s hiding under the right paint color and a few smart swaps.
Save these ideas and follow along for more bathroom inspiration.
Frequently Asked Questions About Bathroom Remodel on a Budget
Homeowners ask the same smart questions before starting a budget bathroom remodel, and the answers are encouraging. The most common: how much does a budget bathroom remodel cost? A cosmetic refresh with paint, hardware, lighting, and textiles typically runs one thousand to three thousand dollars, while a full DIY cosmetic remodel with refinished tub and tile stays under eight thousand. Can you remodel a bathroom for under one thousand dollars? Absolutely — paint, a new faucet, hardware, mirror, and textiles can transform the room if the layout and plumbing stay put.

Other frequent questions cover timelines and DIY difficulty. How long does a budget bathroom remodel take? A cosmetic refresh takes two to four weekends of DIY work; refinishing or retiling adds another week. Do you need a permit? Cosmetic updates like painting, fixture swaps, and hardware changes generally don’t require permits, but moving plumbing or electrical usually does — check your local building department. What’s the highest-ROI update? Fresh paint and a new faucet consistently top real estate agents’ lists for impressing buyers. The full FAQ block below answers each question in detail with specific product picks and cost breakdowns.
How much does a budget bathroom remodel cost?
A cosmetic refresh can cost a few hundred to a few thousand dollars depending on how much you DIY and which fixtures you replace.
What is the cheapest way to update a bathroom?
Paint, new hardware, a new mirror and fresh towels offer the biggest impact for the least money.
Can I paint bathroom tile?
Yes. Use a tile-specific primer and paint, and seal it well for durability.
Should I replace or refinish my bathtub?
Refinishing is much cheaper and works well if the tub is structurally sound.
What bathroom updates add the most value?
New lighting, updated fixtures, a modern vanity and fresh paint add the most value for the cost.






1 Comment