


The kitchen island is the most used surface in many homes. It is a prep station, a breakfast bar, a homework desk and a gathering spot all in one. That busy role makes decorating it tricky, because anything you add has to look good while staying out of the way.
These 22 kitchen island decor ideas show how to add style without clutter, with everyday and seasonal options. For more countertop inspiration, see our easy kitchen counter decor ideas and these kitchen wall decor ideas.
Keep island decor practical:
- Limit decor to one grouping, ideally on a tray.
- Keep it at one end or centered on large islands.
- Choose washable, durable items.
- Use the island sides and stools for extra style.
1. A Large Wooden Bowl
Nothing anchors a kitchen island quite like an oversized wooden bowl. It acts as a single sculptural focal point, which means the eye rests instead of darting between a dozen small objects. Shop for a hand-turned acacia, mango wood, or olivewood bowl in the 18 to 24 inch diameter range so it holds its own against the island’s length. Crate & Barrel and Williams Sonoma carry beautiful options from about forty to ninety dollars, while Target’s Studio McGee collection offers budget-friendly versions near twenty-five. Choose a medium warm tone for white cabinetry, or a darker walnut finish to ground navy, black, or gray kitchens.
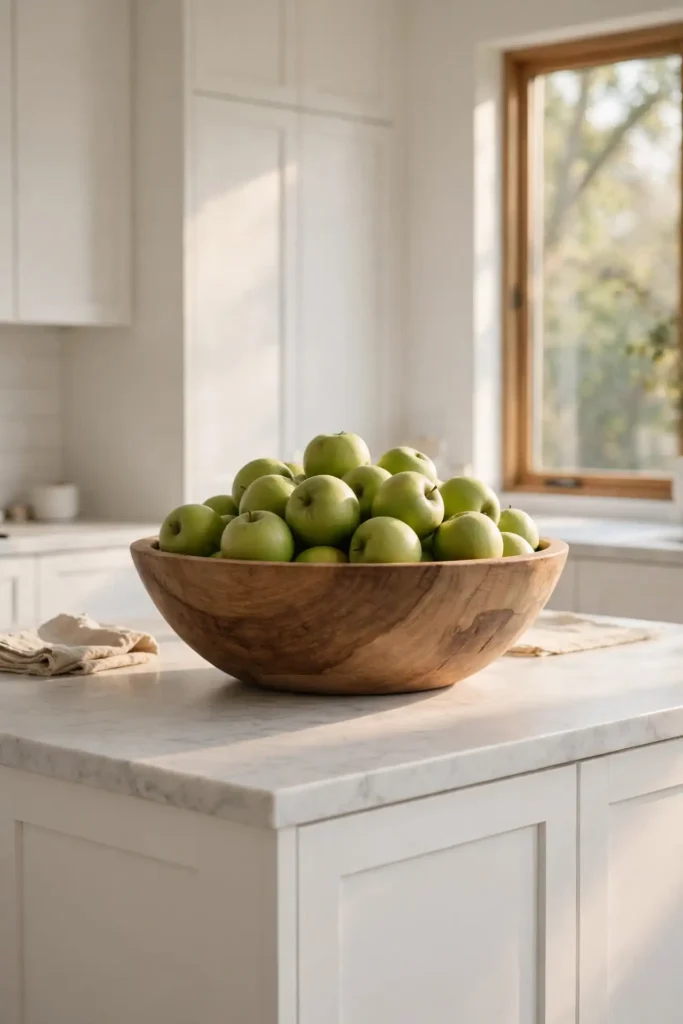
Style the bowl simply and rotate its contents with the seasons. Fill it with green apples and pears in autumn, a mix of pinecones and eucalyptus sprigs in winter, and bright citrus like lemons and blood oranges through spring and summer. Keep the arrangement loose with visible breathing room, since negative space is exactly what separates a styled vignette from a crowded catch-all. Set the bowl slightly off-center, roughly one third of the way from one end of the island, and leave at least twelve inches of clear counter on each side. That margin of empty surface tells the eye this is a deliberate display, not leftover clutter.
2. A Tray With Essentials
A handsome tray turns everyday cooking essentials into a deliberate display instead of counter clutter. Corral your olive oil, finishing salt, pepper mill, and hand soap onto one tray and the whole cluster suddenly looks curated. Choose a tray between fourteen and eighteen inches long — wood with raised edges for warmth, or marble and stone for a cooler modern kitchen. HomeGoods, Target, and Amazon all stock handsome options from about fifteen to thirty-five dollars. Keep the tray within arm’s reach of your main prep zone so it earns its counter space functionally, not just visually.

Limit the tray to four or five items so it stays a vignette instead of a junk drawer in disguise. A classic formula: one tall bottle of olive oil, one short jar of flaky sea salt, a pepper mill, and a small potted herb or bud vase for a touch of green. Decant dish soap into a matching amber glass bottle if it lives on the tray, since brand labels instantly cheapen the look. Wipe the tray down weekly and resist adding one more thing — the rule of restraint is what keeps a tray of essentials looking styled rather than stocked. When in doubt, remove an item.
3. Fresh Flowers in a Pitcher
A pitcher full of fresh flowers is the friendliest way to style a kitchen island, and it costs less than most decor objects. Use a white ceramic, enameled metal, or clear glass pitcher so the stems stay the star, and keep the total arrangement eighteen to twenty-four inches tall including the vessel — tall enough to be seen over a fruit bowl, short enough to talk across. Trader Joe’s and grocery store bunches run five to twelve dollars and look convincingly lush when you strip the lower leaves and cut stems at an angle. Swap the water every two days.

Treat grocery flowers like a design tool by sticking to one color family per arrangement. An all-white bunch of hydrangeas, roses, and ranunculus looks expensive and matches any kitchen, while a mix of peach garden roses and apricot stock flatters warm wood islands. Condition stems properly: trim one inch underwater, remove any foliage below the waterline, and keep the pitcher away from the fruit bowl since ripening fruit emits ethylene that shortens bloom life. When the flowers fade after five to seven days, the pitcher itself still earns its spot — refill it with eucalyptus or dried wheat for a no-maintenance second act.
4. A Fruit Bowl
A fruit bowl is the original kitchen island decor — beautiful, useful, and impossible to mess up. Choose a wide, shallow bowl that shows off color and lets you layer fruit in a single visible tier rather than a deep pile that hides the bottom. Stoneware, woven rattan, and footed glass bowls all work; footed versions add the height that makes an island vignette feel designed. Expect to spend fifteen to forty dollars at Target, HomeGoods, or World Market. Size the bowl to your island: a ten to twelve inch bowl suits a compact island, while fourteen inches and up anchors a long one.
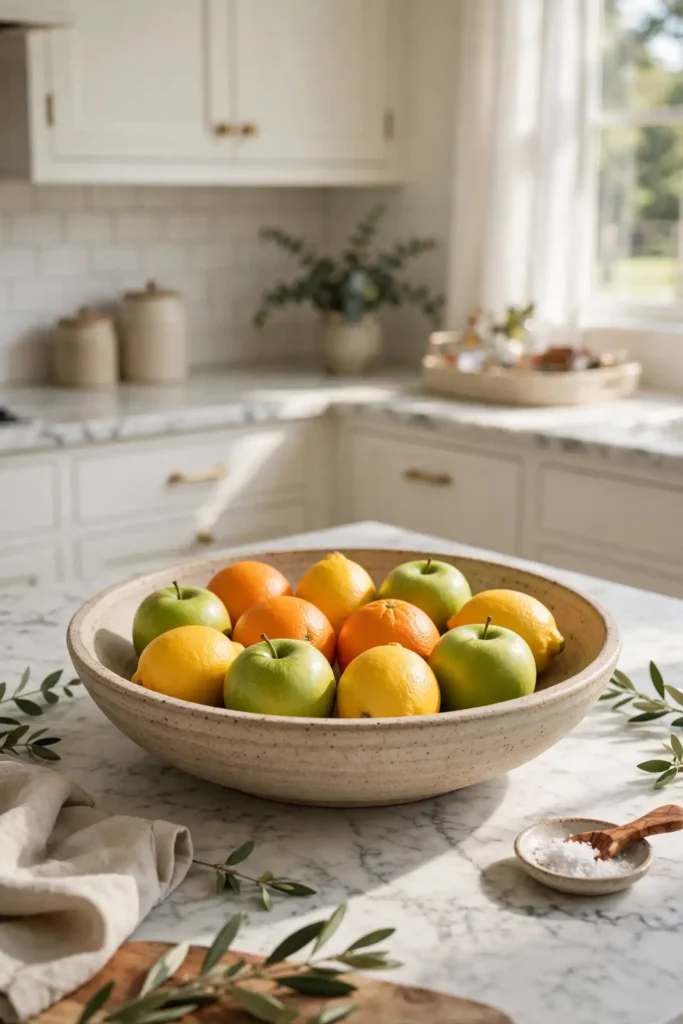
Style it like a still life, not a storage bin. Stick to three colors maximum — green apples, lemons, and oranges read fresh and cohesive — and place the largest fruit at the bottom with smaller pieces tucked on top for a natural mound. Rotate the bowl weekly as you eat through it, keeping the best-looking pieces facing outward and removing anything bruised. In summer, a bowl of peaches or figs looks effortlessly abundant; in winter, pomegranates and clementines with a few sprigs of cedar tucked in feel festive. Keep the fruit bowl as your one edible display so the island never reads as a pantry shelf.
5. A Cake Stand
A cake stand brings height and ceremony to a kitchen island for the price of a dinner out. The pedestal lifts whatever it holds into the sightline, creating a vertical moment that flat decor cannot match. Marble stands with a brass stem run forty to sixty dollars at Crate & Barrel and Williams Sonoma, while wood and stoneware versions at Target land between twenty-five and forty. Choose a twelve to thirteen inch diameter plate — large enough to hold a real cake or a cluster of muffins, small enough to leave working room. A lidded glass dome version doubles as a cheese keeper.

Use the stand even when there is nothing to celebrate. Stack it with croissants from the bakery on Saturday morning, a pile of clementines at the holidays, or a row of small potted succulents when it is between baking duties. Slide a folded linen napkin or a round marble board underneath to give it a finished base and protect the countertop from scratches. Keep the stand near one end of the island rather than dead center, and pair it with something low and textural — a small cutting board or a linen towel — so the composition has a clear high-low rhythm instead of competing pedestals.
6. A Row of Potted Herbs
A neat row of potted herbs gives a kitchen island the life of a garden without leaving the house. Line up three to five small pots of basil, rosemary, thyme, and mint along the back edge of the island, where they stay out of the prep zone but within snipping reach. Match the pots — four-inch terracotta or white ceramic pots from Target, Home Depot, or Trader Joe’s cost three to eight dollars each — because uniform vessels turn a plant collection into a designed row. Most culinary herbs need six hours of bright light, so keep the row near a window side.
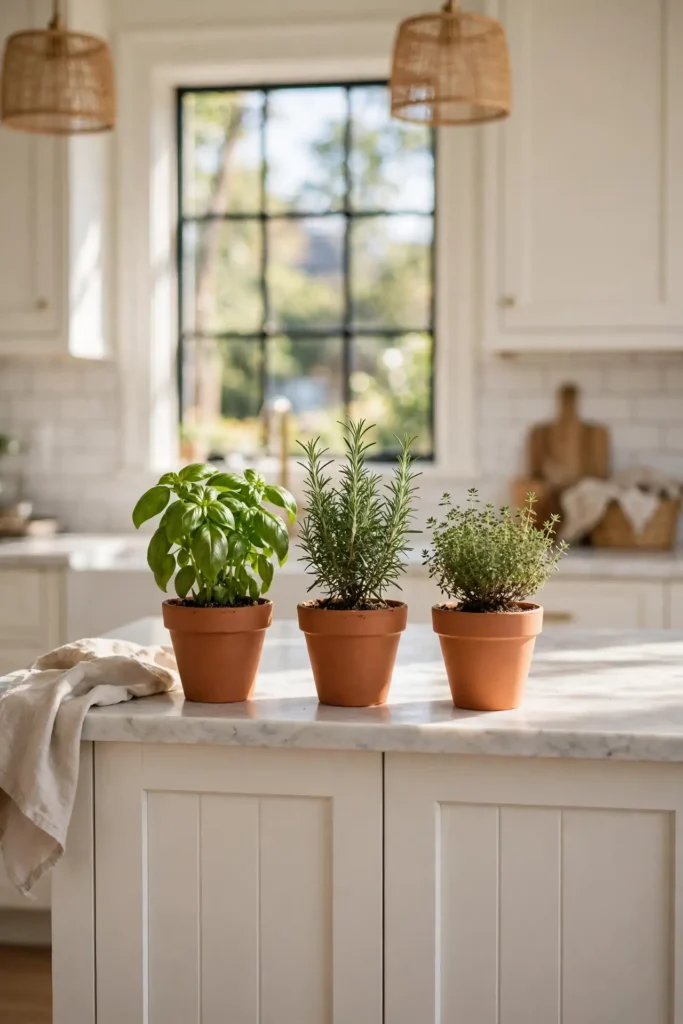
Rotate the pots a quarter turn every few days so growth stays even, and water from the bottom by setting pots in a shallow tray for ten minutes — top watering on a stone countertop invites puddles and stains. Snip herbs regularly, since harvesting is what keeps basil bushy and prevents thyme from going leggy; a weekly pasta night is genuinely good plant care. When a plant looks tired, replace just that one pot rather than the whole row. In winter, swap tender basil for hardy rosemary and sage, which tolerate lower light and still give you that living, fragrant line of green across the island.
7. Cookbooks on a Stand
A cookbook propped open on a stand turns a kitchen island into a working chef’s station — decor that actually cooks. Choose a sturdy wooden or metal stand from Amazon or Williams Sonoma for twenty to thirty-five dollars, and look for one with a weighted base and a lip deep enough to hold heavy books without sliding. Display a single open cookbook to a photogenic page, like a pasta chapter with a full-bleed photo, and keep two or three closed books stacked beneath for height. Pick covers in your kitchen’s palette — cream, sage, or terracotta spines look intentional instead of random.
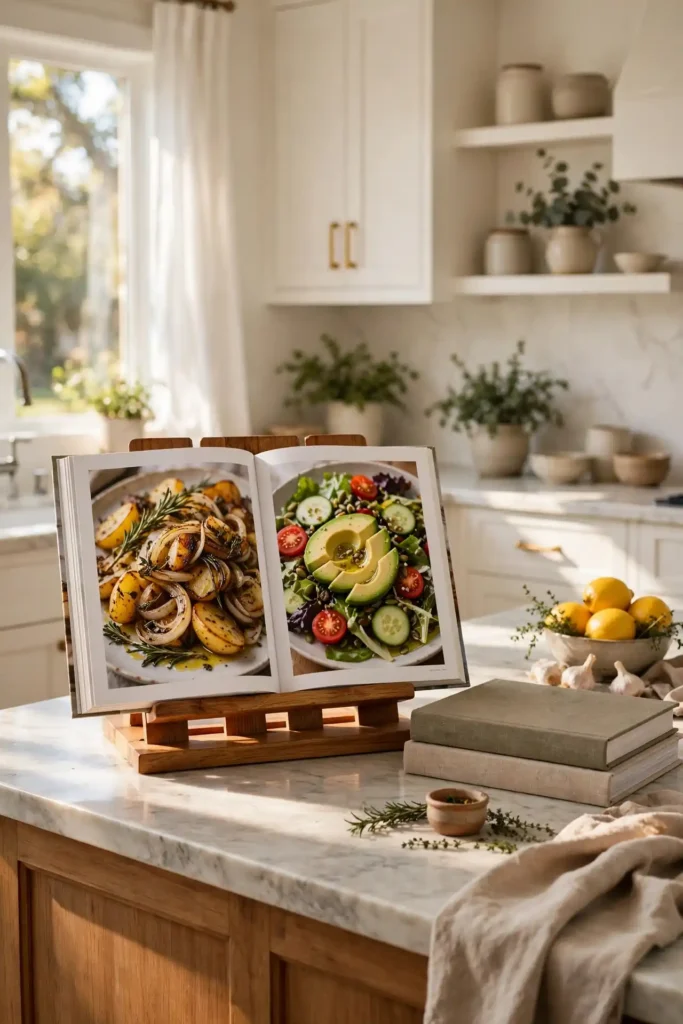
Rotate the featured book with the seasons to keep the island feeling current: grilling titles in summer, baking and soup books through fall and winter. Wipe the stand weekly since flour dust and cooking splatter migrate toward anything near the stove, and keep the stand at least two feet from the range. If counter space is tight, skip the stand and lean one beautiful cookbook against the backsplash instead — the spine facing out, title visible. Either way, curate ruthlessly: three attractive books beat a leaning tower of stained paperbacks every time.
8. Stylish Bar Stools
Bar stools are island decor you sit on, and the right set makes the whole kitchen feel finished. Match stool height to your counter: twenty-four inch counter stools for a standard thirty-six inch island, thirty inch bar stools for a forty-two inch raised bar. Leave nine to twelve inches between seats and about six inches of overhang clearance so knees fit comfortably. Target, Article, and Wayfair sell pairs from about one hundred fifty to four hundred dollars. Upholstered seats in performance fabric handle spills, while bentwood and rattan stools add texture that photographs beautifully.

Choose a stool style that echoes something else in the room so the set feels chosen, not random. Black metal frames with wood seats suit modern farmhouse kitchens; boucle or linen upholstery softens all-white spaces; cognac leather stools warm up gray cabinetry. Backless stools tuck completely under the island overhang, keeping sightlines clean in open floor plans, while low-profile backs add comfort for long homework sessions. Buy one stool first to test the height and comfort at your actual counter, then order the rest — an uncomfortable set, no matter how pretty, ends up pushed aside and unused.
9. Coordinating Pendants
Pendant lights are the jewelry of a kitchen island — they draw the eye upward and finish the whole composition. Hang pendants thirty to thirty-six inches above the countertop surface, measured from the counter to the bottom of the shade, and space multiple fixtures twenty-four to thirty inches apart on center. A good rule: one pendant for every two feet of island length, so a six-foot island takes three. Home Depot, Lowe’s, and Amazon carry stylish options from fifty to two hundred dollars each. Always put island pendants on a dimmer switch for evening ambiance.
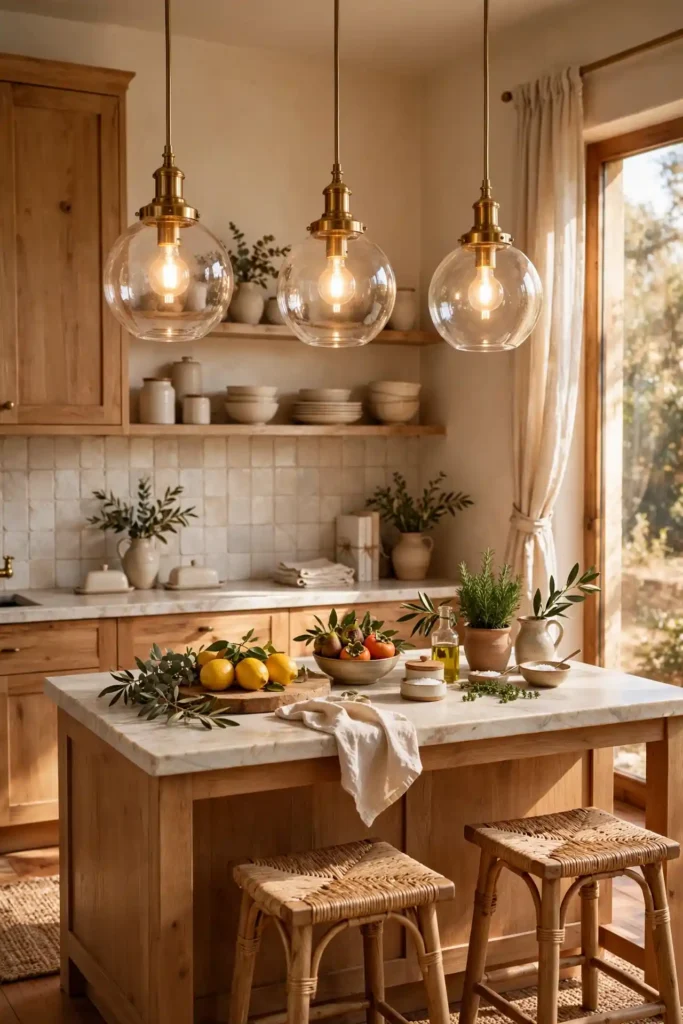
Coordinate pendants with your faucet and cabinet hardware so the metals speak to each other — brushed brass pendants over a brass faucet, matte black pendants with black hardware. Glass globe pendants keep sightlines open in small kitchens and let the bulb become part of the look; choose warm 2700K LED bulbs for a flattering glow. Woven rattan or linen drum pendants add texture and soften modern cabinetry, but keep drum shades at least twelve inches in diameter so they read intentional rather than lost. If your island is longer than eight feet, consider a single linear pendant for clean, even light.
10. A Glass Cloche
A glass cloche turns anything underneath it into a museum piece — which is exactly why it works on a kitchen island. The dome creates a tiny world that reads as intentional display rather than everyday clutter. HomeGoods, Target, and antique shops sell glass cloches from about fifteen to thirty dollars in sizes from eight to fourteen inches tall. Place one over a small potted succulent, a stack of lemons, or a trio of pillar candles on a wood slice base. The transparency keeps the island feeling light, since the eye sees through the display instead of stopping at it.
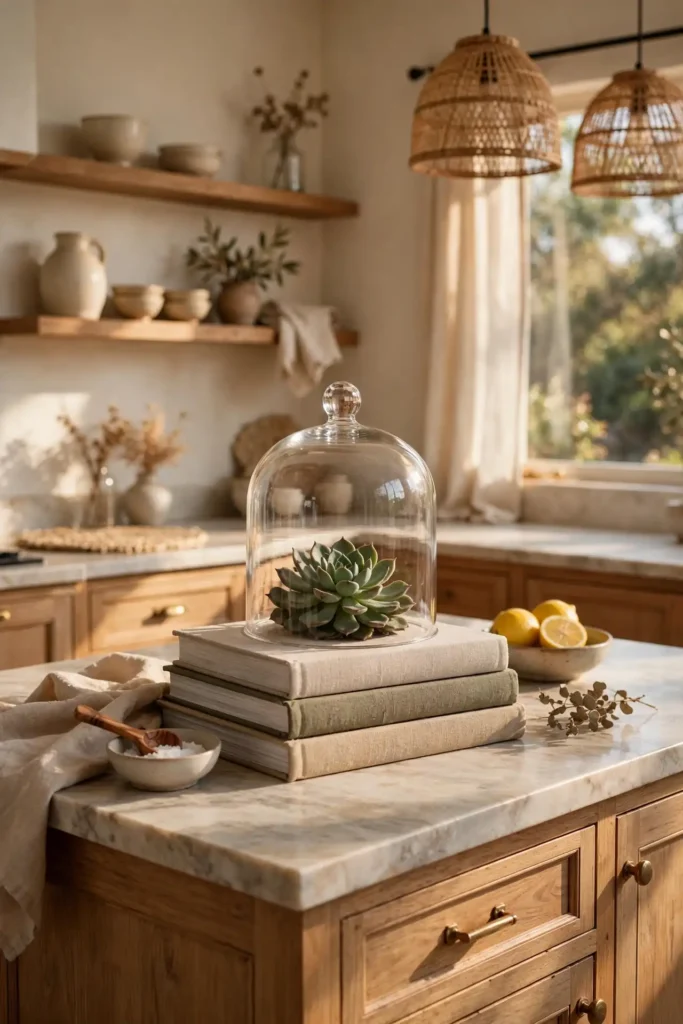
Style the cloche as part of a small grouping, never alone in the middle of the island. Set it on a stack of two cookbooks or a round marble board to give it a base, and flank it with something low — a linen towel, a small bowl of limes — so the composition has layers. Swap the contents seasonally: pinecones and fairy lights in December, a nest with speckled eggs in spring, dried hydrangeas in fall. Keep the glass streak-free with a quick wipe of vinegar and water, since fingerprints on a cloche are visible from every angle in a way they never are on a cabinet.
11. A Wooden Cutting Board
A beautiful wooden cutting board leaning against the backsplash is the easiest island styling trick there is. Choose one large board — twenty to twenty-four inches long — in olivewood, acacia, or walnut with visible grain, and lean it at a slight angle so it catches the light. Williams Sonoma and Crate & Barrel sell statement boards from thirty-five to seventy-five dollars. The wood adds warmth that stone countertops desperately need, and the vertical line breaks up the horizontal stretch of the island. Keep the board food-safe with monthly mineral oil so it doubles as a working surface.

Layer a second, smaller board in front for a collected, designer look — a twelve-inch round board propped against the large one reads effortlessly styled. Avoid the matchy trap of identical boards; mix shapes and wood tones, keeping to two or three tones maximum so the grouping stays cohesive. If your island sits against a wall, the board can live there permanently; on a freestanding island, lean it near one end where it will not topple into the prep zone. Wipe boards after use and never soak them, since standing water warps wood and ruins the display-worthy finish you paid for.
12. Candles for Evening
Candles transform a kitchen island after dark, turning a work surface into the warmest spot in the house. Group pillar candles in three heights — four, six, and eight inches — on a stone or metal tray to contain wax drips, or line up taper candles in brass or glass holders for a more formal look. Choose unscented candles for the kitchen so fragrance never competes with dinner; beeswax and soy options burn cleanly. Target and HomeGoods sell sets from ten to twenty-five dollars. Keep flames at least twelve inches from cabinets and never leave them burning unattended.
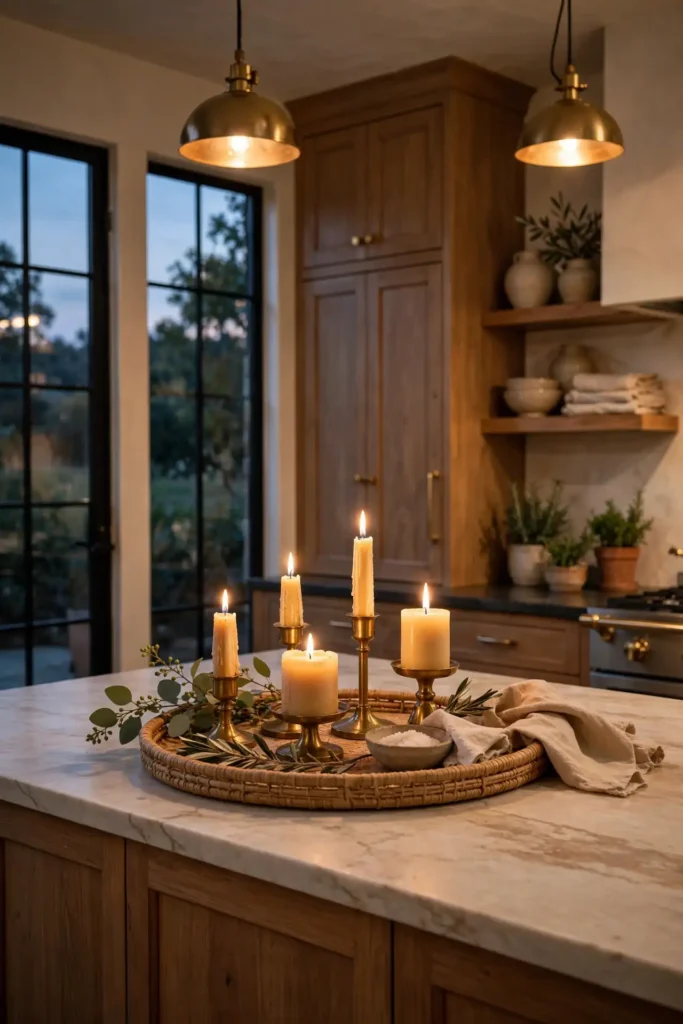
Vary heights and textures so the candle grouping reads as a collection rather than a row of soldiers. Mix a ribbed glass hurricane, a pair of brass tapers, and one chunky wood-wick pillar for a layered look that catches light from every angle. If open flames worry you — and they should near curtains or with curious pets — flameless LED candles with a realistic flicker look surprisingly convincing inside frosted holders. Light the island candles thirty minutes before dinner to let the mood build, and extinguish them when the kitchen closes for the night. Consistency is what makes the ritual feel special.
13. A Small Olive Tree
A small olive tree brings sculptural, Mediterranean calm to a kitchen island — part plant, part art object. Real olive trees need bright direct sun, so a faux tree is the practical choice for most kitchens; Target, HomeGoods, and nearly every home store sell convincing two to three foot faux olive trees from thirty to sixty dollars. Plant it in a stoneware, terracotta, or woven basket planter that echoes your kitchen’s textures. Keep the tree at one end of the island rather than the center, where its airy silhouette frames the view instead of blocking conversation across the counter.

Dust faux olive leaves monthly with a damp microfiber cloth, since kitchen grease settles on foliage and dulls the silvery-green color that makes the tree convincing. If you go real, choose a dwarf variety, water only when the top two inches of soil are dry, and rotate the pot weekly for even growth — olive trees sulk in low light, so supplement with a grow bulb in dark kitchens. Either way, top the soil or the faux base with preserved moss to hide plastic and give the planter a finished look. One tree is plenty; a pair turns the island into a nursery.
14. Seasonal Decor
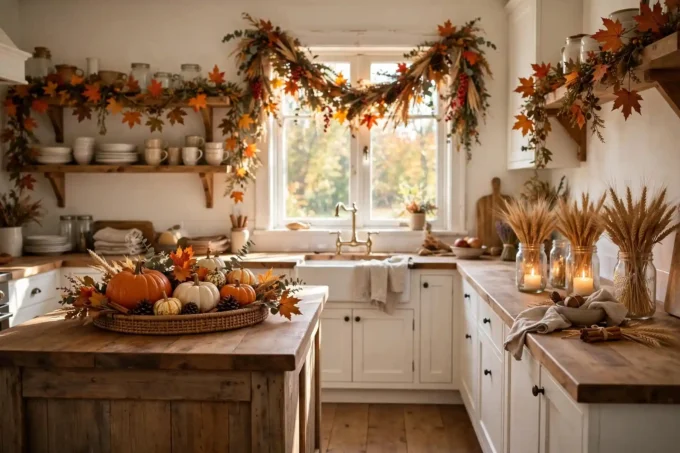
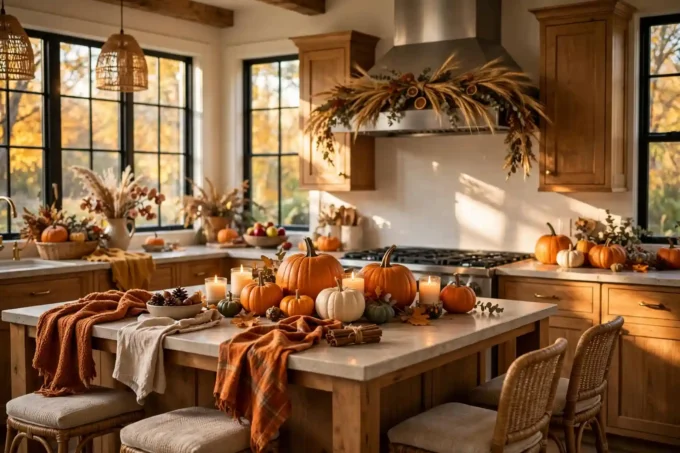
Seasonal decor keeps a kitchen island feeling fresh all year without a full redecorating project. The trick is a small, contained footprint: one vignette, roughly two feet wide, that you refresh each season. In fall, cluster three pumpkins in graduated sizes with a sprig of eucalyptus; in winter, swap in bottlebrush trees and a bowl of pinecones; spring calls for a nest with speckled eggs; summer, a bowl of lemons and a striped runner. Target’s dollar section and HomeGoods make each swap a fifteen to thirty dollar affair. Store off-season pieces in one labeled bin.
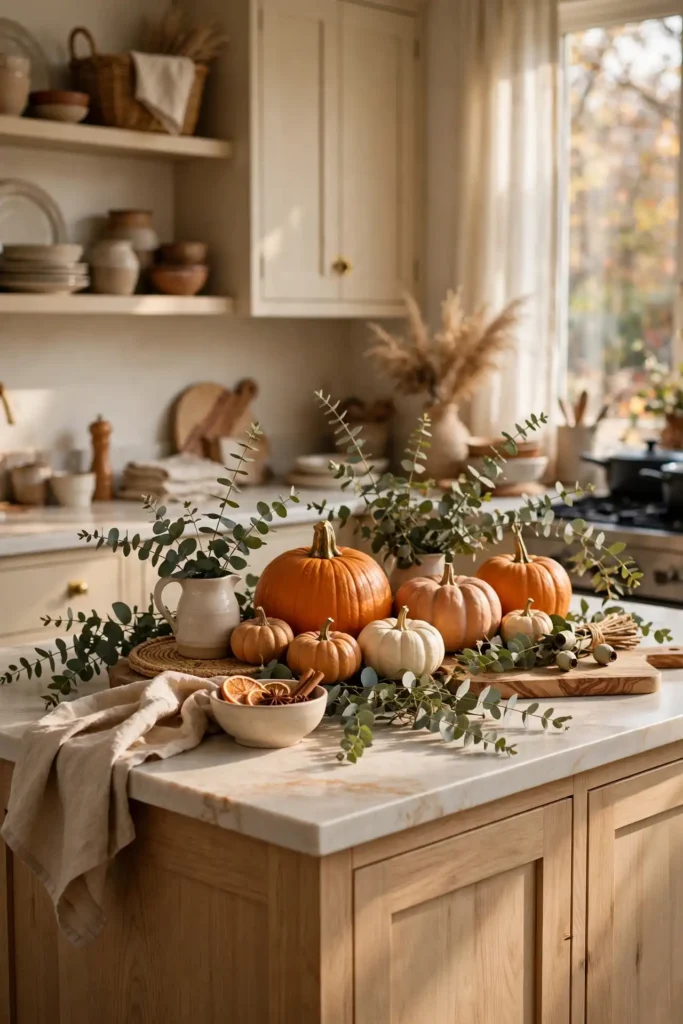
Keep your everyday base — the tray, the cutting board, the vase — in place year-round, and layer seasonal pieces around it so the island never looks bare between swaps. Limit seasonal items to a single color story per season: orange and cream for fall, green and gold for Christmas, pastels for spring. Resist the urge to decorate every surface; one edited vignette reads festive while a dozen small items reads cluttered. When the season ends, remove everything at once rather than letting pieces linger into irrelevance — a pumpkin in December is not charming, it is a chore you forgot.
15. Coffee Station Tray
A coffee station tray corrals the morning ritual into one tidy, good-looking zone on the kitchen island. Start with a tray sixteen by twelve inches — acacia wood or black metal — and arrange a pour-over dripper or small French press, two mugs, a lidded jar of beans, and a tiny spoon. Everything the coffee drinker needs lives in one liftable unit, which means the island clears in seconds when you need the space. Position the tray near an outlet for the kettle, and keep it at the island end closest to the mugs’ cabinet to minimize morning wandering.

Cap the station at five items — the moment a third mug, a syrup bottle, and yesterday’s newspaper join, the station becomes a junk corner. Choose mugs in a matching or tonal set so the grouping reads as a collection; handmade stoneware mugs from Etsy or Target’s Hearth & Hand line cost eight to fifteen dollars each. Refill the bean jar weekly and wipe the tray of coffee rings each morning while the kettle heats. If the household includes tea drinkers, add a small lidded tin of tea bags — but keep the total under that five-item ceiling, or split coffee and tea onto two mini trays.
16. Utensil Crock
A utensil crock keeps your most-used tools within arm’s reach while adding a textural, hardworking accent to the island. Choose a stoneware or ceramic crock six to seven inches in diameter and at least seven inches tall so wooden spoons, spatulas, and whisks stand upright without toppling. Neutral glazes — cream, oatmeal, charcoal — blend with any kitchen, and quality crocks run twenty to forty dollars at Williams Sonoma, Crate & Barrel, or Le Creuset outlets. Place the crock near the range end of the island, where cooking tools earn their keep, not in the middle of the display zone.
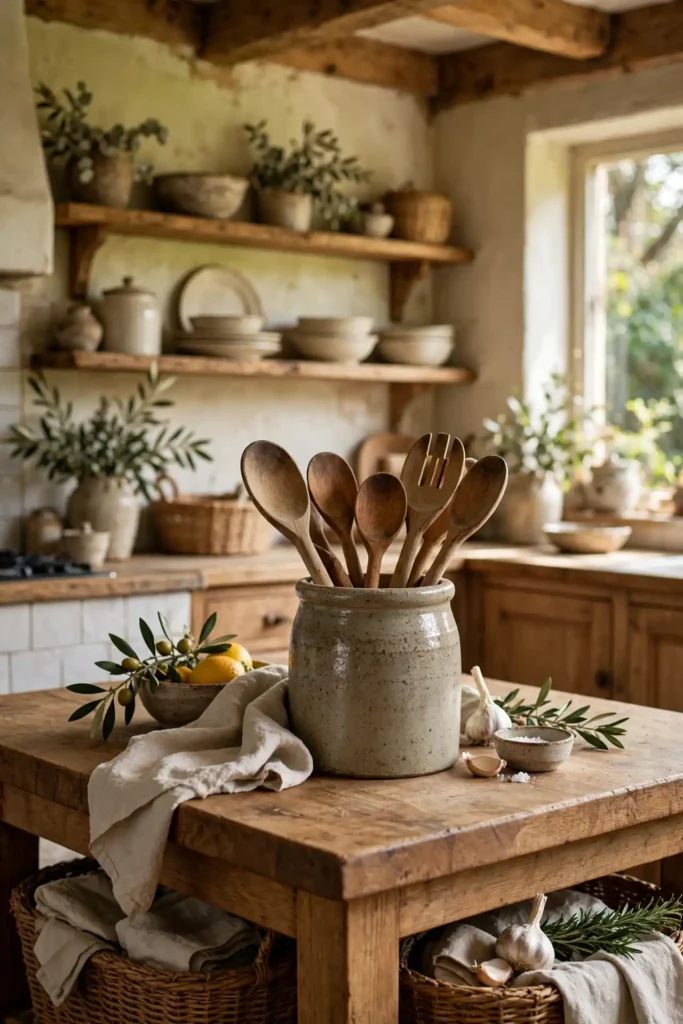
Curate the contents ruthlessly: ten to twelve wooden and silicone tools maximum, in a consistent material story. All-wood utensils look warm and cohesive; mixing neon silicone with bamboo chopsticks looks like a drawer exploded. Retire anything melted, stained, or duplicated — the crock is a display now, not a junk drawer standing up. Wipe the crock’s interior monthly, since cooking splatter creeps inside, and wash wooden tools by hand so they stay beautiful enough to show off. If the crock starts overflowing, that is your signal to edit the drawer, not buy a bigger crock.
17. Textured Ceramic Vase
A textured ceramic vase is the design-world shortcut to a styled island — matte stoneware with a handmade feel instantly looks collected. Shop for vases twelve to sixteen inches tall with visible texture: ribbed, fluted, dimpled, or raw unglazed finishes in cream, sand, or charcoal. Etsy, Crate & Barrel, and West Elm sell statement pieces from forty to eighty dollars. The texture catches light and shadow in a way smooth glass never does, giving the island depth even when the vase stands empty. Choose a narrow neck if you will add stems, or a wide mouth for a sculptural solo moment.

Style the vase with restraint: three to five stems of pampas grass, dried lunaria, or a single architectural branch like curly willow. Dried stems last for months, making this the lowest-maintenance living decor on the list. Group the vase in odd numbers when possible — a tall textured vase flanked by a small bowl or a short candle reads as a designed trio. Keep the vase at least a foot from the island’s working edge so an elbow never finds it, and place a felt pad underneath to protect stone countertops from the unglazed base scratching the seal.
18. Island End Shelves
Open shelves built into the ends of a kitchen island turn dead space into display and storage at once. The short ends of an island are often wasted, but a column of two or three open shelves there holds cookbooks, woven baskets, and pretty serving pieces within easy reach. This works best on custom or semi-custom islands — ask your cabinet maker for open shelving instead of a flat panel, or retrofit with freestanding narrow bookcases in the same finish. Style the shelves at about seventy percent full so they read curated, and use matching baskets on the lowest shelf to hide the inevitable clutter.
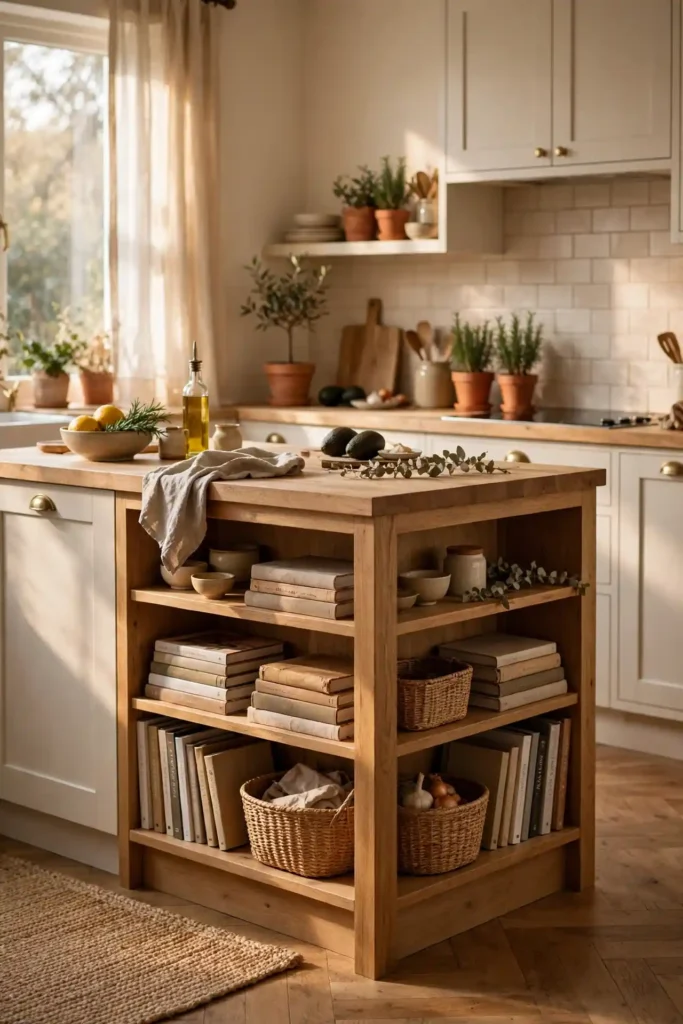
Edit the shelves with the same discipline as the countertop: group items in odd numbers, vary heights, and leave breathing room between clusters. Stack cookbooks horizontally in piles of three to five, then top each pile with a small object — a candle, a bud vase, a brass spoon rest. Keep everyday items like cereal boxes and plastic containers off the display shelves entirely; decant dry goods into matching glass canisters if they must live there. Dust the shelves monthly, since open storage collects kitchen film faster than closed cabinets, and rotate pieces seasonally to keep the ends feeling intentional.
19. Island Runner Rug
A runner rug alongside the kitchen island softens the hardest-working floor in the house and adds a layer of pattern. Choose a runner two and a half to three feet wide and eight to ten feet long, sized to run the length of the island with about six inches of floor showing at each end. Washable rugs are non-negotiable in a kitchen — Ruggable, Tumble, and Target’s washable lines sell runners from one hundred to two hundred fifty dollars. Low-pile flatweave constructions handle chair legs and dropped crumbs best, and a rug pad underneath prevents slipping on tile or hardwood.
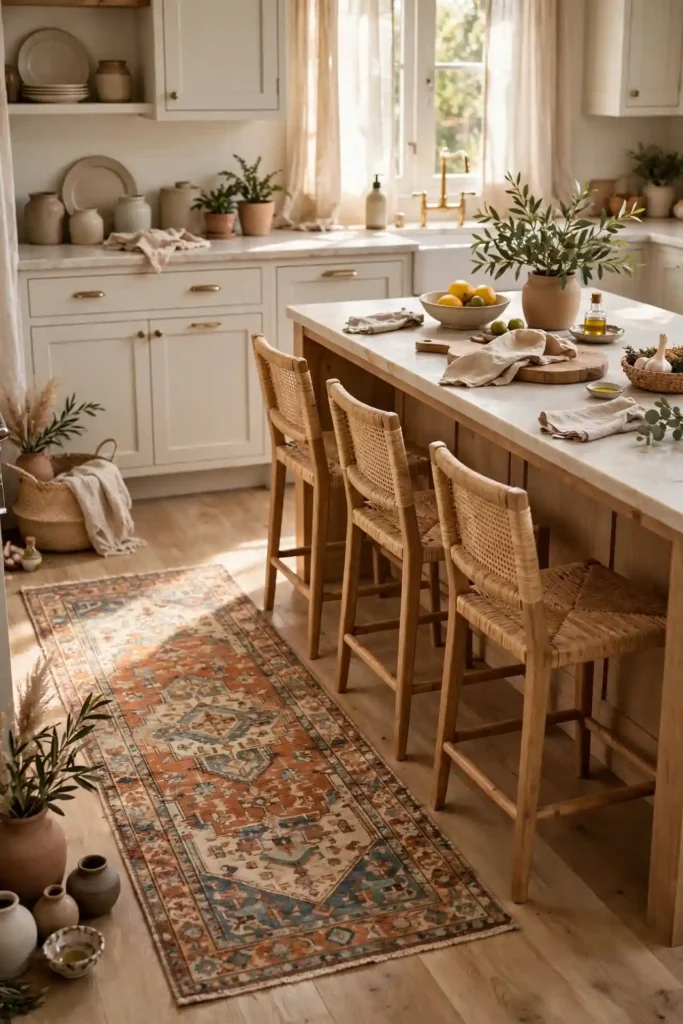
Pick a pattern that hides real life: vintage-inspired prints, subtle stripes, or small-scale geometrics camouflage crumbs and stains between washings. Position the runner six to eight inches from the island base so stools slide without catching the edge, and choose colors that echo the kitchen — a runner with warm rust tones flatters oak floors, while blue-gray patterns suit white and marble kitchens. Wash the runner monthly, or immediately after a spill, and keep a spare so the kitchen never goes bare. In open floor plans, the runner also visually anchors the island as its own zone.
20. Paint the Island a Contrasting Color
Painting the island a contrasting color is the boldest decor move on this list — and the cheapest transformation per square foot. A deep navy, forest green, charcoal, or black island grounds an all-white kitchen and makes every styled object on top pop. Use a durable cabinet-grade enamel like Benjamin Moore Advance or Sherwin-Williams Emerald Urethane, and budget fifty to one hundred dollars for a DIY weekend: deglosser, two coats of paint, and a full cure week before heavy use. Sand lightly between coats for a furniture-smooth finish that stands up to daily kicks and bumps.
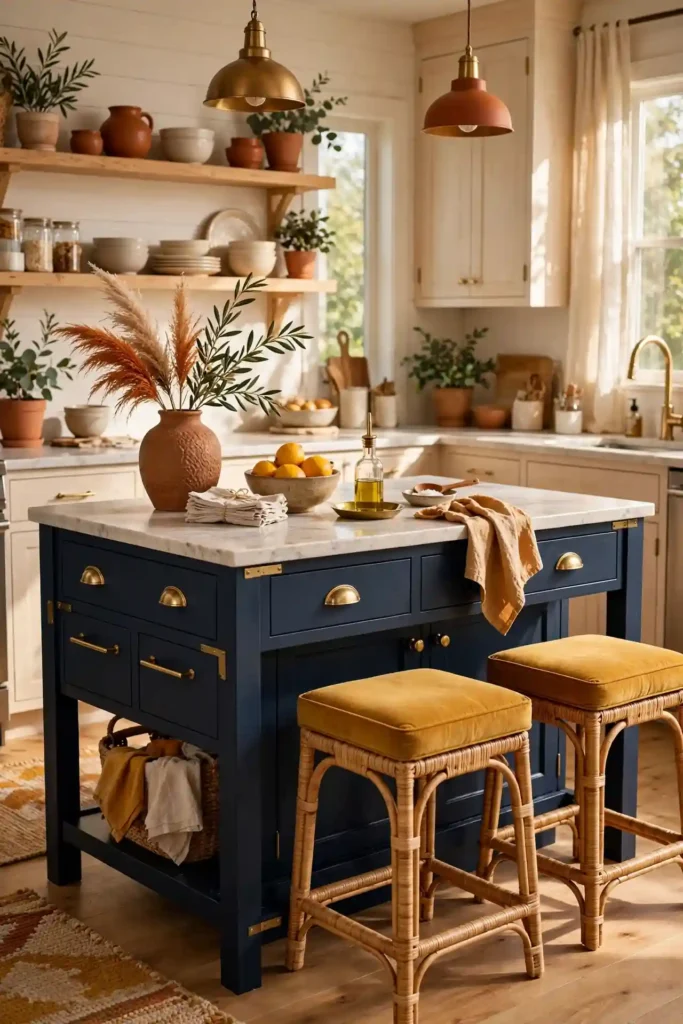
Test your color on a large foam board and live with it against the island for three days, checking it in morning, afternoon, and evening light before committing. Dark islands pair beautifully with brass hardware and warm wood stools, which keep the look rich rather than heavy. If resale worries you, remember that a painted island is a weekend project to reverse — unlike new countertops. Keep the island’s decor lighter and brighter after painting dark: cream ceramics, fresh greenery, and marble accents sing against navy or green, while dark decor on a dark island disappears entirely.
21. Keep a Clear Zone
The secret to an island that looks styled instead of cluttered is a dedicated clear zone — a stretch of empty counter that stays empty. Designate at least one third of the island, ideally the section nearest the range or sink, as pure working space: no trays, no vases, no fruit bowls. This is where you chop, roll dough, and set down hot pans, and keeping it clear means the decor elsewhere reads as intentional rather than in the way. Mark the boundary mentally with a tray or cutting board at the edge of the decor zone so the line holds.

Enforce the clear zone with a simple rule the whole household can follow: decor lives in its corrals, and everything else lands in the clear zone only while in active use. Trays are the enforcement tool — a tray edge is a visible fence that stops the slow creep of mail, keys, and school papers. When the island must host a big cooking project or a buffet, lift the decor groupings off entirely rather than shoving them aside; a styled island that clears in sixty seconds is a working island, not a museum. Reset the zone every evening so mornings start clean.
22. Edit Weekly
Styled islands stay styled because someone edits them — build a five-minute weekly reset into your routine. Once a week, remove everything from the island, wipe the countertop, and put back only what earns its place: the anchor piece, the tray, the living element. Toss dead flowers, recycle the mail that migrated, and wipe down trays and vases that collected dust and cooking film. This weekly audit takes less time than scrolling your phone and prevents the slow accumulation that turns a styled vignette into a cluttered landing strip. Put it on the calendar like any other appointment.
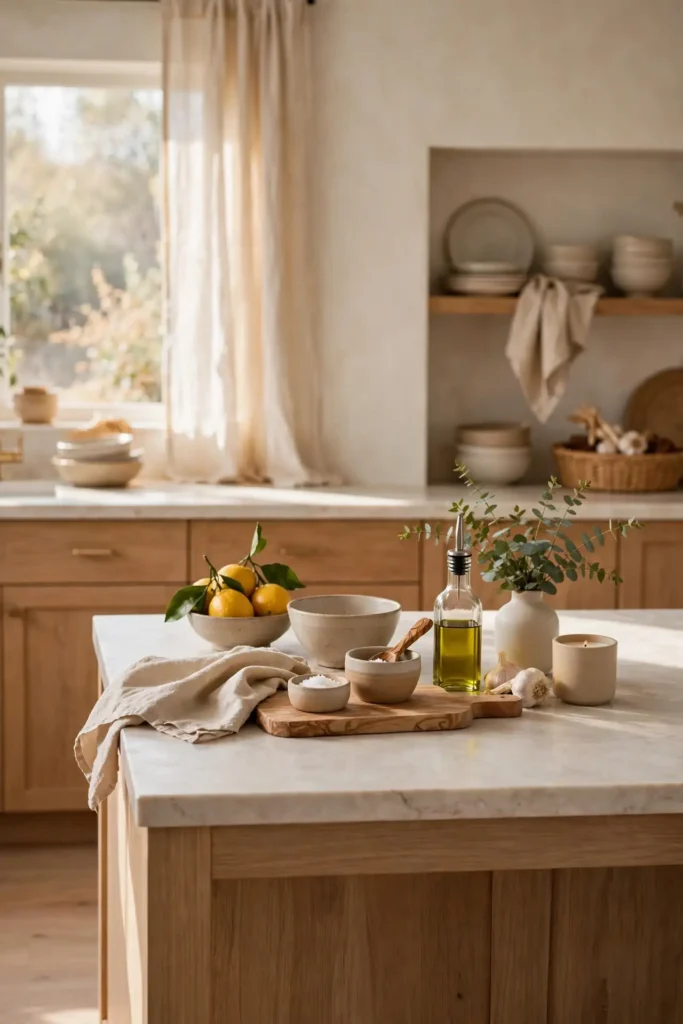
Use the weekly edit to rotate one element so the island never feels stale. Swap the cookbook on the stand, change the fruit in the bowl, or trade the candle grouping for the cloche — one small change refreshes the whole composition. Keep a donation box in the pantry for decor that no longer fits; if an object has sat unused for two months, it leaves the island. Photograph the island after each reset with your phone — the camera reveals clutter your eyes have learned to ignore, and comparing photos month to month shows your styling instincts sharpening.
Kitchen Island Decor Ideas by Island Size
Scale your decor to your island’s size, because the same styling that sings on a ten-foot island swamps a four-foot one. For small islands under six feet, choose one hero piece — a single wooden bowl, a vase with stems, or a cake stand — and keep everything else clear. Medium islands of six to eight feet handle two groupings: an anchor at one end and a smaller vignette, like a tray or cloche, at the other. Large islands over eight feet can carry three zones, but space them at least two feet apart so each reads as its own moment.
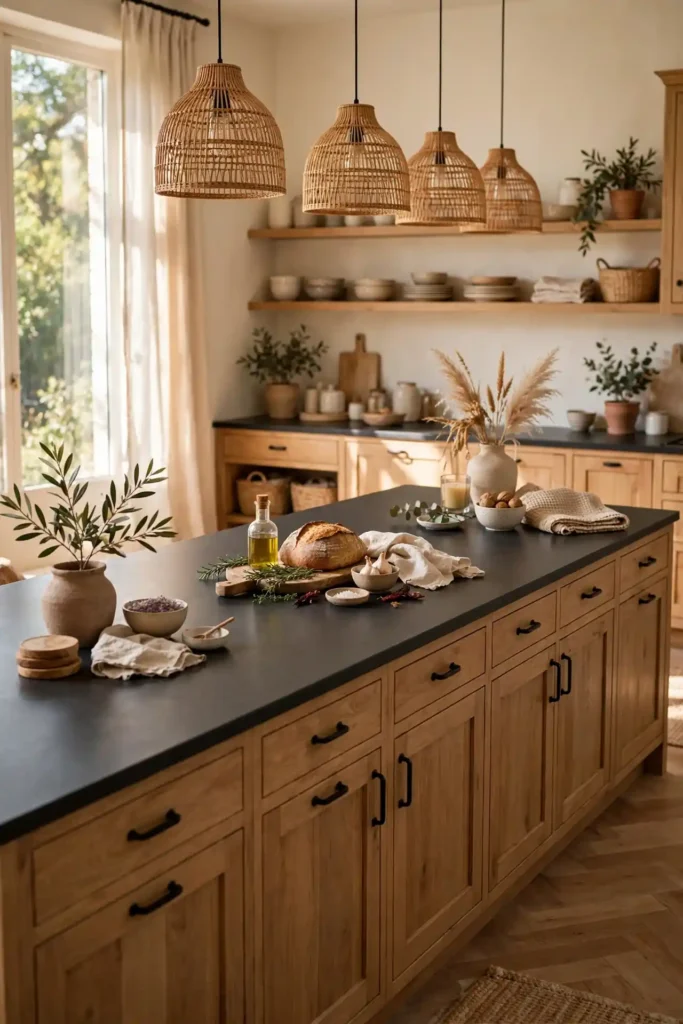
Watch proportions as well as count: decor height should stay under eighteen inches on standard islands so sightlines across the counter stay open, and no single object should be wider than one third of the island’s width. Measure your island before shopping — a fourteen-inch bowl that looks perfect online can overwhelm a thirty-six-inch-deep island in person. When in doubt, go smaller and leave more empty counter; restraint scales to every size, while oversized decor only works on genuinely large islands. Photograph your island from the main sightline, like the living room, and edit anything that blocks the view.
Always consider how the island is used. If it is the main prep area, keep decor at the far end away from the sink and cooktop. If it is mostly for seating and serving, a centered arrangement works well.
Choosing Materials
Cohesive island decor starts with a disciplined material palette — pick three or four materials and repeat them. Wood, stone, ceramic, glass, and metal cover nearly every look: warm woods like acacia and walnut suit farmhouse and traditional kitchens, while marble, glass, and brushed brass lean modern. When every object shares the same few materials, even an eclectic mix reads as collected rather than chaotic. Write your palette on a sticky note and keep it in your phone while shopping; it stops the impulse buys that break the story, like a neon plastic gadget next to handmade stoneware.

Balance warm and cool materials so the island feels layered, not flat. If your countertop is cool white quartz, add warm wood trays, a rattan basket, and brass accents; if the island is warm butcher block, cool it with marble, glass, and matte black metal. Mix finishes within the same metal — brushed brass with aged bronze works, but chrome next to oil-rubbed bronze fights. Choose durable materials for anything near the prep zone: sealed stone, glazed ceramic, and oiled wood wipe clean, while raw linen and unsealed terracotta stain. Durability is a material choice, and it keeps the island looking styled for years.
When it comes to kitchen island decor ideas, the best results come from balancing style, comfort and everyday function. Use this list as your go-to guide for kitchen island decor ideas, and start with the ideas that fit your space best.
How to Style Kitchen Island Decor Ideas Step by Step
Style your island in five deliberate steps and the result will look designed, not accidental. First, clear everything off — every single item — and wipe the counter so you start from a blank canvas. Second, choose your anchor: the one largest piece, like a wooden bowl or vase, and place it slightly off-center. Third, add height with a cake stand, cloche, or leaning cutting board near the anchor. Fourth, add life: fresh flowers, herbs, or fruit. Fifth, add texture with a linen towel, a small basket, or candles. Work in that order and each layer has a job.
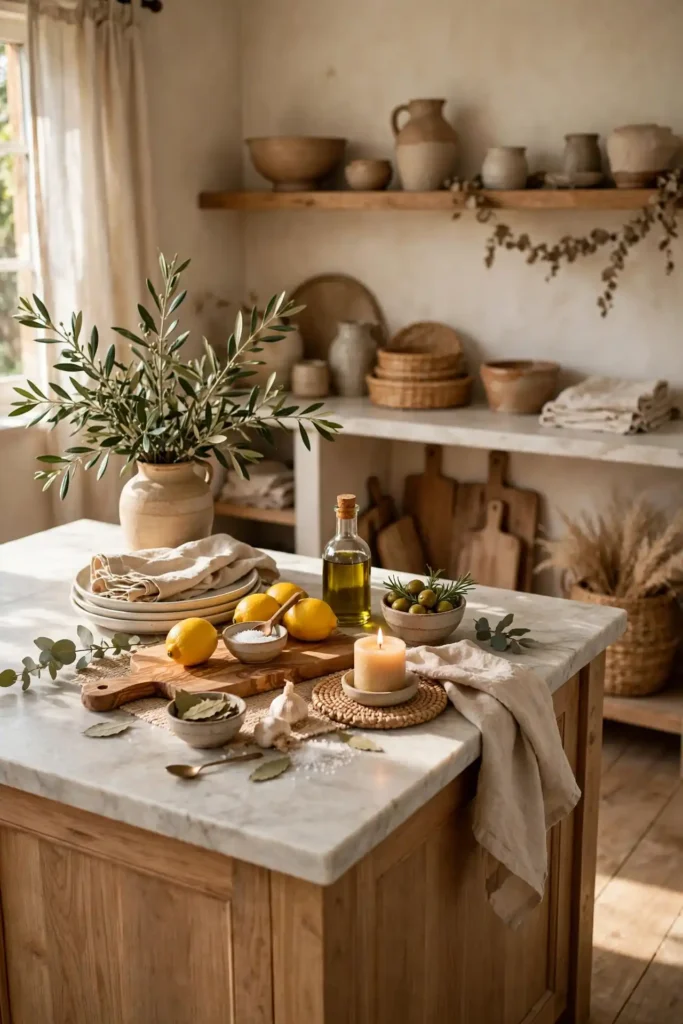
Now step back — literally — and evaluate from the room’s main sightline, usually the living room or entry. Squint at the island: if the composition blurs into one pleasing shape with a clear high point, it works; if your eye jumps between competing objects, remove the weakest one. Photograph the island with your phone, since the camera catches clutter your eyes skip. Limit the final composition to three to five objects or groupings, keep one third of the island clear, and resist adding ‘just one more thing.’ Restraint is the whole technique — editing out is styling.
- Clear the island completely.
- Decide where decor will sit based on how you use the island.
- Place a tray or bowl as the anchor.
- Add one tall element, like flowers or a plant.
- Step back and edit, leaving plenty of workspace.
Final Thoughts on Kitchen Island Decor Ideas
A styled kitchen island is not about owning more decor — it is about choosing fewer, better pieces and giving each one room to breathe. The ideas in this guide all share the same DNA: one clear anchor, a contained footprint, materials that repeat, and a ruthless weekly edit. Whether you start with a wooden bowl, a row of herbs, or simply a fresh coat of contrasting paint, the principle never changes: restraint reads as style, and clutter reads as noise. Your island is the hardest-working surface in the house; it deserves to look intentional.
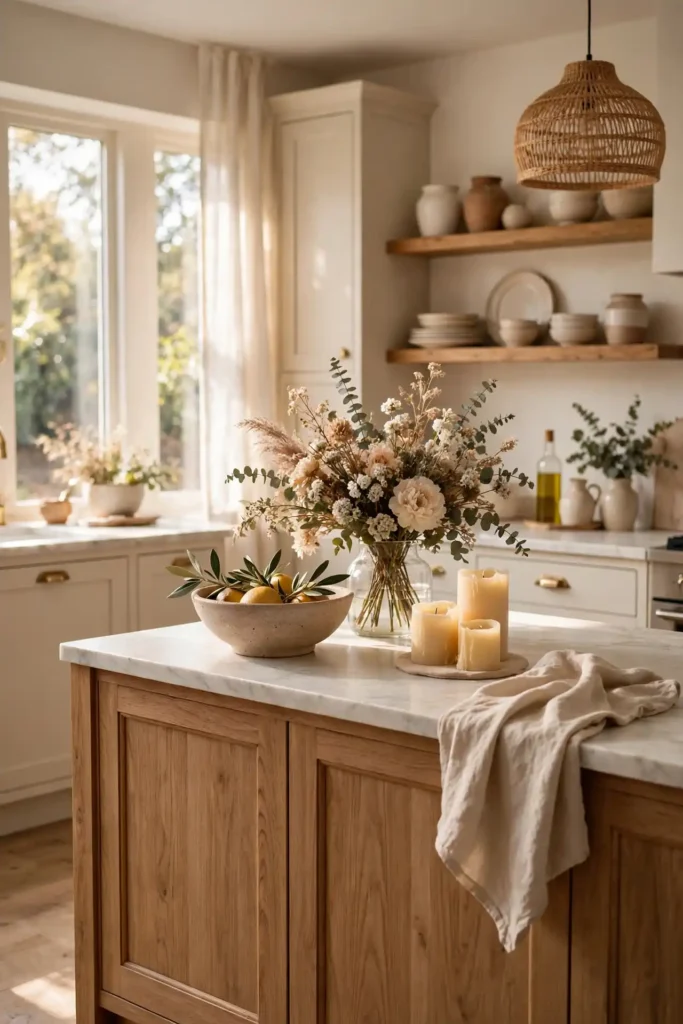
Start small and build confidence one idea at a time. Pick the single idea from this list that made you nod — the tray, the cutting board, the olive tree — and style just that this weekend. Live with it for a week, notice how it changes the feel of the kitchen, then add a second layer. In a month you will have an island that looks styled in photographs and still works for Tuesday night tacos. That is the real goal: a kitchen island that serves your life beautifully, every single day, without demanding constant attention.
Save these ideas and follow along for more kitchen inspiration.
Frequently Asked Questions About Kitchen Island Decor Ideas
Readers ask the same practical questions about styling a kitchen island, and the answers are refreshingly simple. How many decor items belong on an island? Three to five objects or groupings, with at least one third of the surface left clear for actual cooking. How do you keep decor from getting in the way? Corral everything onto trays and boards so the whole display lifts off in under a minute. What height works best? Keep arrangements under eighteen inches so you can see and talk across the island comfortably, every single day.

What is the budget for a styled island? Most of these ideas cost fifteen to sixty dollars each, and a fully styled island typically runs one hundred to two hundred fifty dollars using Target, HomeGoods, and Amazon finds. How do you style around kids and pets? Choose shatterproof materials, skip open flames for flameless candles, and anchor the clear zone rule so homework and snacks have a safe spot. How often should you refresh? Edit weekly, rotate one element monthly, and do a full seasonal swap four times a year.
What should I put on my kitchen island?
A bowl, a vase of flowers, a tray with essentials or a small plant.
How do I keep my kitchen island from looking cluttered?
Limit decor to one grouping and keep most of the surface clear.
Should decor be centered on a kitchen island?
On large islands, yes. On small islands, place it at one end.
What are seasonal kitchen island decor ideas?
Pumpkins in fall, greenery in winter, tulips in spring and lemons in summer.
Can I put plants on a kitchen island?
Yes. Herbs, small olive trees and pothos work well with enough light.






2 Comments