

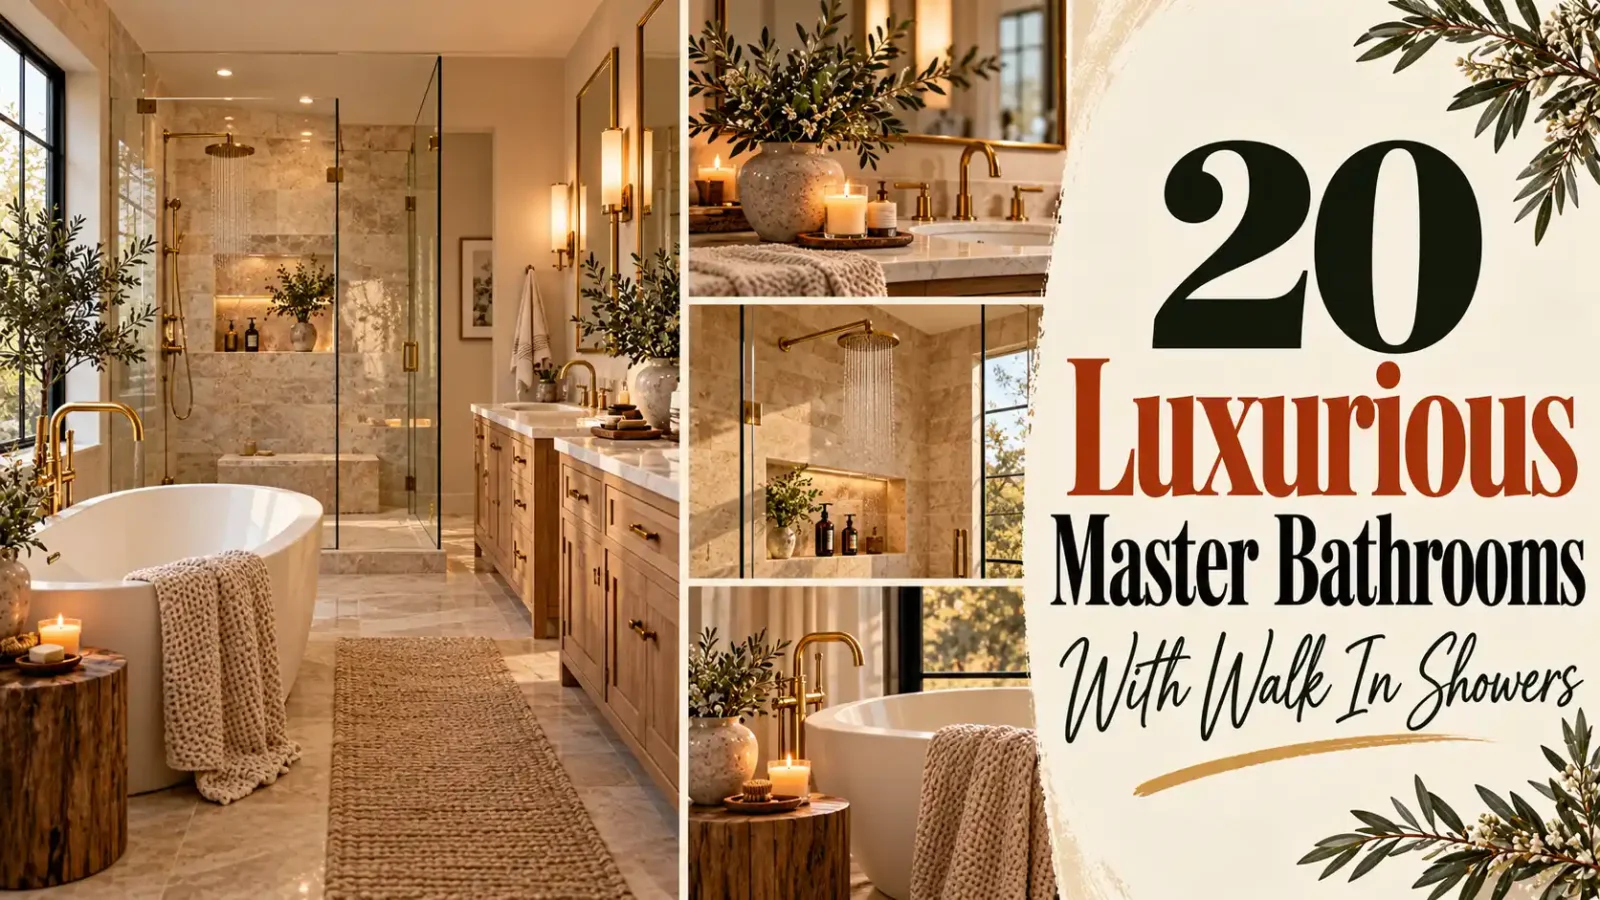
For many homeowners, the dream primary bathroom includes a spacious walk-in shower. It feels open, luxurious and easy to use, and it can make even a modest bathroom feel like a private spa. Removing a rarely used tub to make room for a larger shower is one of the most popular remodels today.
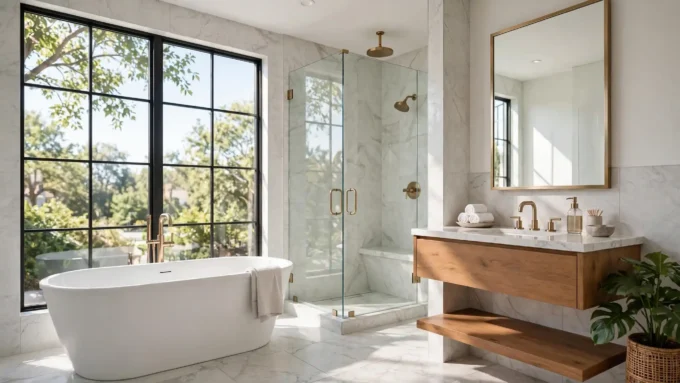
These 20 master bathrooms with walk in showers highlight layouts, glass, tile, seating and lighting ideas you can adapt to your own space. For more details on materials, see our walk in shower tile ideas and these bathroom vanity ideas.
Plan a walk-in shower with these basics:
- Allow at least 36 by 36 inches, though 48 by 60 inches or more feels luxurious.
- Slope the floor properly toward a linear or center drain.
- Include a niche or ledge for toiletries.
- Use slip-resistant floor tile and plenty of ventilation.
1. Frameless Glass Enclosure
A frameless glass enclosure is the fastest way to make your master bathroom feel bigger and more expensive. Built from 3/8-inch or 1/2-inch tempered glass with minimal hardware, it removes visual barriers so your tile work becomes the star. Expect to pay $900 to $3,500 installed in the US, depending on size and glass thickness; brands like DreamLine and Basco sell kits at Home Depot and Lowe’s, while custom shops cut panels for tricky layouts. Most panels stand 72 to 76 inches tall and anchor with slim clips or a recessed channel. Measure twice, because tempered glass cannot be trimmed after fabrication.
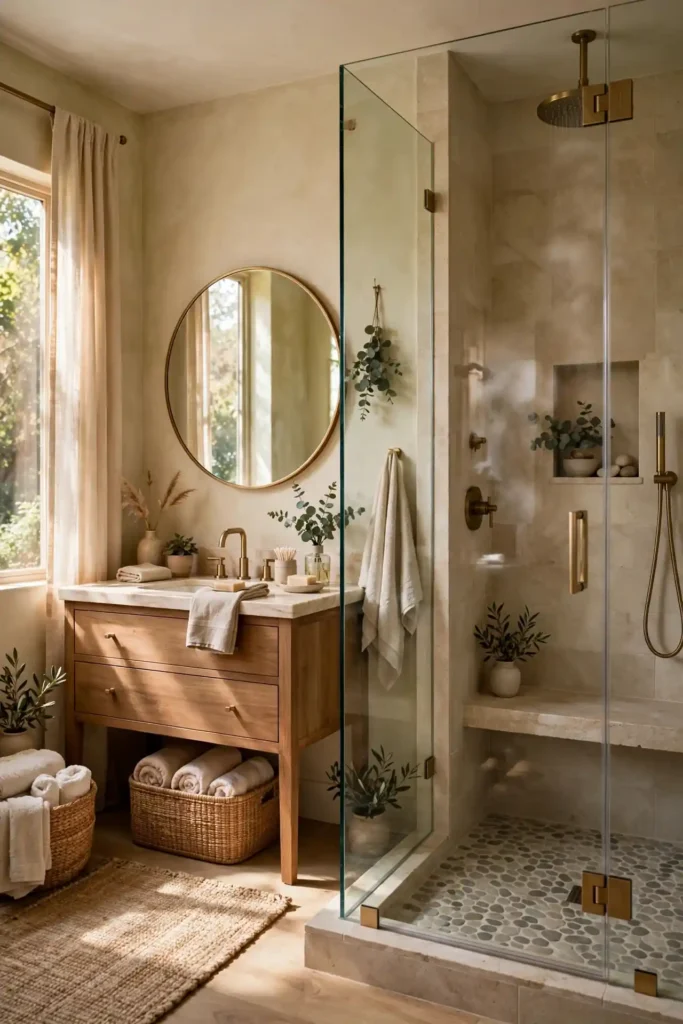
Keeping it spotless is simpler than you think. Squeegee the glass after every shower — a $12 OXO squeegee from Target beats any spray — and apply a protective coating like EnduroShield once a year to repel hard-water spots. Choose your hardware finish deliberately: brushed nickel hinges disappear against light tile, while matte black clips echo modern fixtures from Delta or Moen. For splash control, slope the shower floor a quarter inch per foot toward the drain and keep the glass panel at least 30 inches wide. Skip the door entirely if your shower is 5 feet or longer; a fixed panel plus good drainage keeps water where it belongs.
2. Doorless Walk-In Design
A doorless walk-in design trades the swinging door for an open entry, which makes small master bathrooms feel dramatically larger and gives you effortless, hotel-style access. Plan for a shower footprint of at least 36 by 60 inches so water stays contained; anything smaller and you’ll mop the floor daily. A half wall or a single fixed glass panel of 24 to 36 inches blocks most splash while preserving the open feel. Expect $1,500 to $4,000 for the glass and tile work, with waterproofing systems like Schluter Kerdi adding $400 to $800 in materials from Lowe’s. The real luxury is never cleaning a shower door track again.
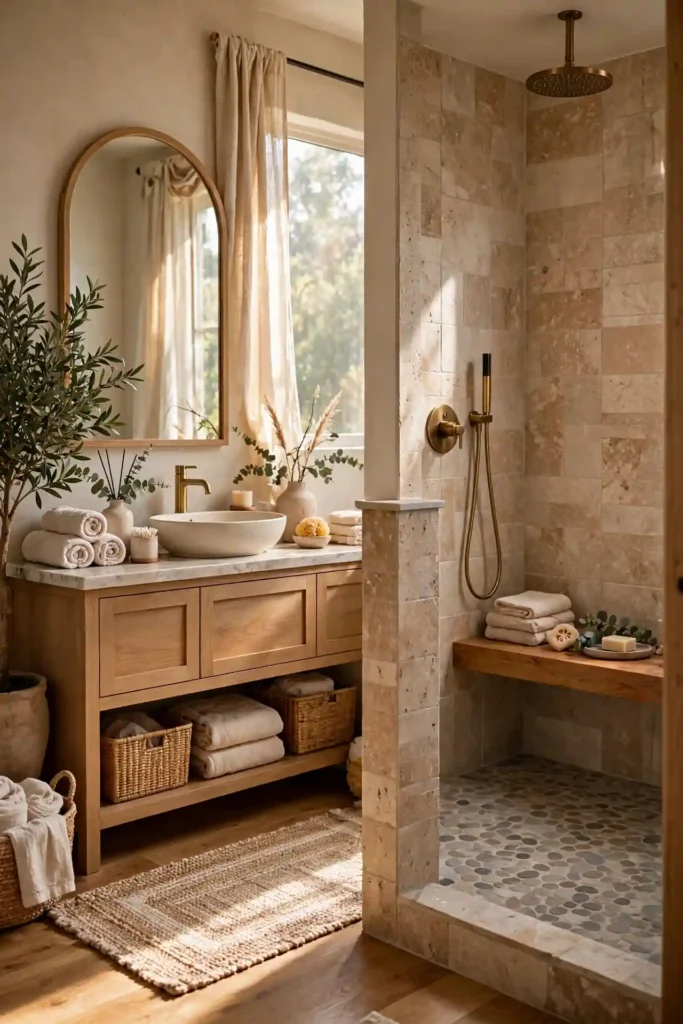
Placement matters more than square footage in a doorless layout. Set the showerhead on the far wall, at least 3 feet from the opening, so spray arcs away from the bathroom floor. A rainfall head paired with a handheld on a slide bar gives you rinsing power without stepping fully inside — Delta’s In2ition combo runs about $250 at Home Depot. Keep towel hooks and the bath mat outside the 3-foot splash zone, and choose large-format floor tile with a DCOF slip rating above 0.42. Add a linear drain along the entry edge as insurance; at $200 to $600 for a Schluter Kerdi-Line, it’s cheap peace of mind.
3. Curbless Entry
A curbless entry erases the threshold between your bathroom floor and the shower, creating one continuous surface that looks high-end and works beautifully for aging in place. The catch is structural: the shower subfloor must sit about 2 inches lower than the bathroom floor to create the required quarter-inch-per-foot slope, which means recessing joists or pouring a sloped mud bed. Linear drains from Schluter or Infinity Drain ($200-$600) make the slope nearly invisible. Budget $2,000 to $5,000 for a curbless conversion during a full remodel — retrofitting one into an existing slab can double that, since cutting concrete is slow, dusty work.
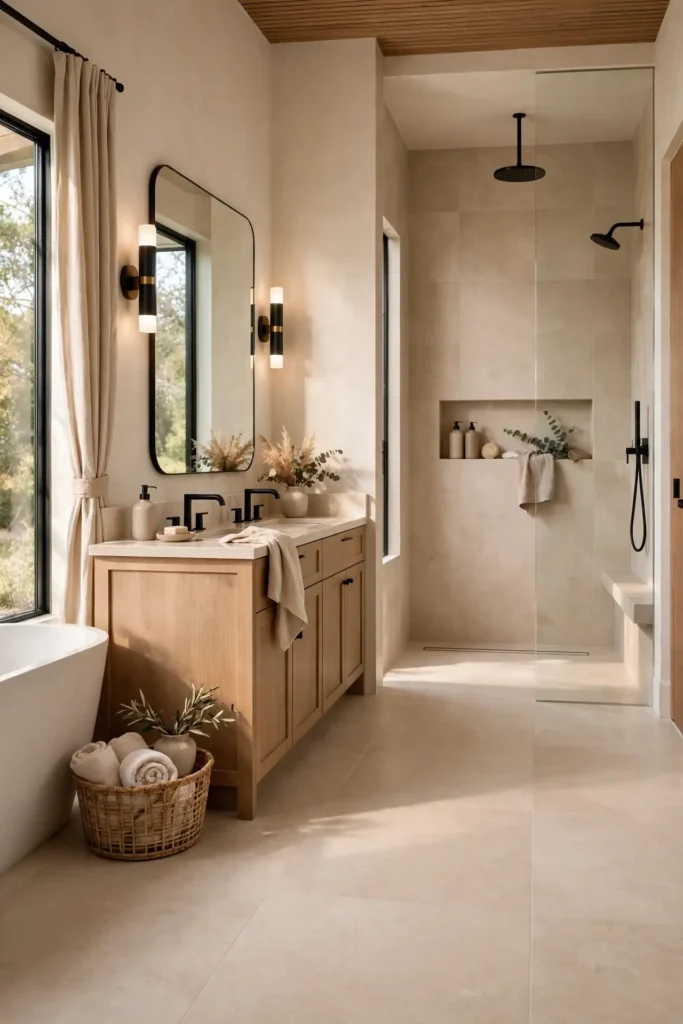
Waterproofing is non-negotiable with a curbless shower, because there’s no curb to catch mistakes. Run a sheet membrane like Schluter Kerdi or Laticrete Hydro Ban from the shower floor up the walls at least 6 inches past the wet zone, and flood-test for 24 hours before tiling. Choose a mosaic or small-format shower floor tile with a DCOF rating above 0.42 — large tiles can’t follow the slope. Electric radiant heat from SunTouch ($8-$12 per square foot at Lowe’s) feels incredible underfoot and dries the floor faster. Finish with a wall-mounted vanity so the continuous floor reads as one unbroken plane.
4. Built-In Shower Bench
A built-in shower bench turns your walk-in shower into a true spa station — a place to sit under the steam, shave your legs comfortably, or rest a foot while you exfoliate. Tiled floating benches built from foam backer board (like Schluter Kerdi-Board) cost $200 to $600 in materials and support over 300 pounds when anchored to studs. Size it 18 inches deep and 17 to 19 inches high, roughly chair height, and slope the top a hair toward the drain so water never pools. Prefer flexibility? A wall-mounted teak folding seat from Kohler runs about $400 and flips up when you need full floor space.
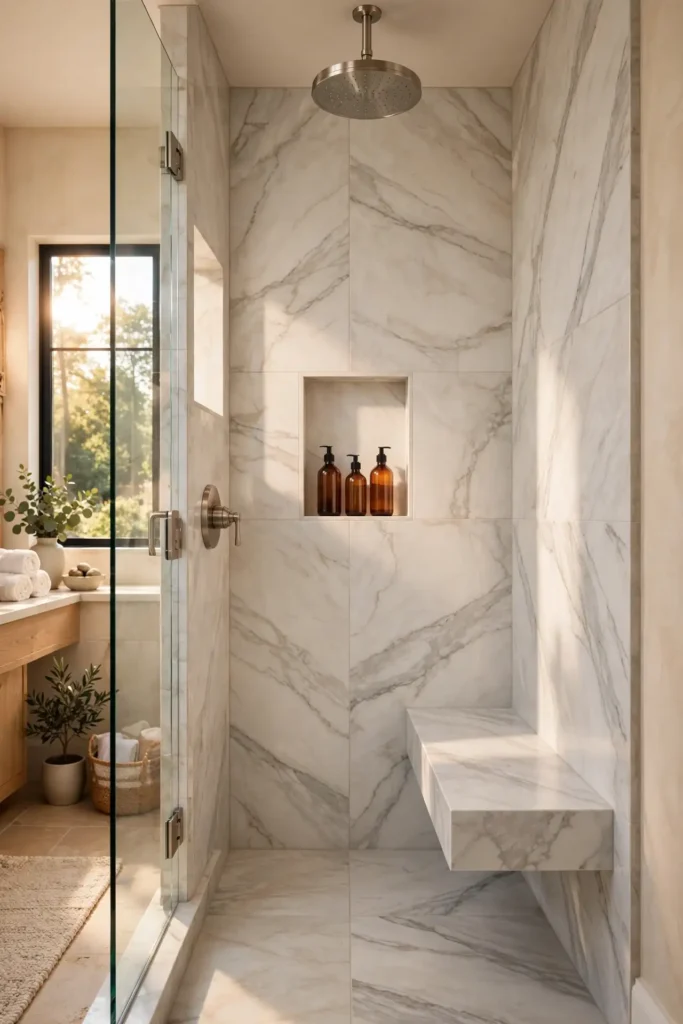
Position your bench where it earns its keep: directly under or beside the showerhead for steam sessions, never in the main spray path where it becomes an obstacle. Run the same wall tile across the bench face for a seamless, custom look, and align grout lines so the bench reads as part of the wall. Add a linear niche at 48 inches above the bench for shampoo within arm’s reach. Seal natural stone benches yearly with Miracle Sealants 511, and choose a quartz or solid-surface top if you want zero maintenance. A bench also future-proofs the bathroom for aging in place — luxury with a practical payoff.
5. Dual Shower Heads
Dual shower heads give you the best of both worlds: a fixed overhead head for the full drench and a handheld wand for targeted rinsing, pet baths, and cleaning the shower itself. Delta’s popular HydroRain two-in-one models start around $300 at Home Depot, while separate head-plus-slide-bar setups from Moen run $400 to $900 before installation. You’ll need a diverter valve — a three-way diverter lets you run both heads at once — and check that your water heater can keep up, since two heads can draw 4 to 5 gallons per minute combined. Most plumbers charge $500 to $1,200 to add the second head during a remodel.
Mount the fixed head 78 to 80 inches high so tall family members stand comfortably underneath, and put the handheld slide bar at 60 inches where everyone can reach it. If your water pressure is weak, look for heads rated at the full 2.5 gallons per minute rather than low-flow 1.75 GPM models — or remove the restrictor where local code allows. A thermostatic mixing valve (about $250 from Kohler) keeps the temperature rock-steady when someone flushes a toilet. Finish both heads in the same collection — Delta’s Trinsic or Moen’s Align — so the pairing looks intentional, not cobbled together.
6. Rainfall Shower Head
A rainfall shower head pours water straight down from above, mimicking a warm summer rain instead of blasting you sideways like a standard head. Look for 8- to 12-inch diameter heads from Moen, Kohler, or Delta ($80 to $400 at Lowe’s); ceiling-mounted arms give the truest rain effect, but a long 16-inch wall arm works in standard 8-foot ceilings. Check your water pressure first — rainfall heads feel weak below 40 PSI, so homes on wells may need a booster. Pair it with a standard handheld on a diverter, because rinsing shampoo from long hair under pure rainfall takes forever.
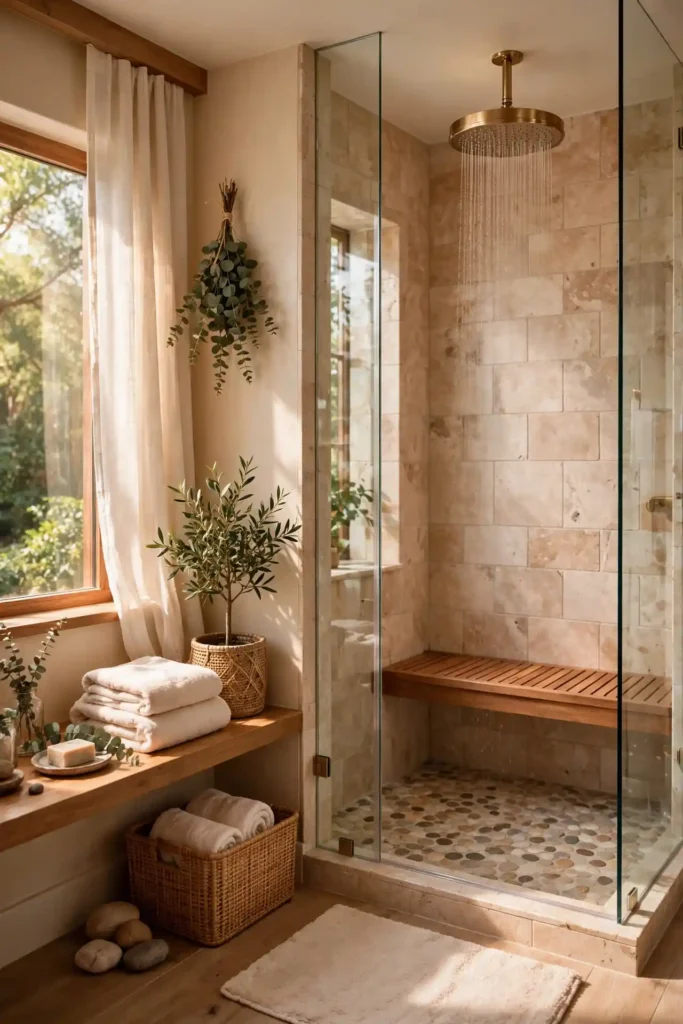
Installation is straightforward if you plan the plumbing early. A ceiling-mount head needs a drop-ear elbow secured between joists and a finished ceiling height of at least 7 feet 6 inches, or tall users will feel cramped. Keep the head 12 to 18 inches from the wall so spray lands inside the shower footprint, and slope the ceiling slightly if you’re adding steam later. Clean the silicone nozzles monthly by rubbing them with your thumb — hard water from municipal supplies crusts them fast. In hard-water states like Arizona and Texas, a $30 inline filter from Amazon extends the head’s life noticeably.
7. Marble Walls
Marble walls are the defining luxury move in a master shower — veined Calacatta or classic Carrara instantly signals high-end, even in a modest footprint. Large-format 12×24 marble tile from MSI runs $12 to $25 per square foot at Home Depot, while full slabs start around $50 per square foot installed. Choose honed over polished for shower walls; it’s less slippery and hides etching better. Seal with Miracle Sealants 511 Porous Plus every 6 to 12 months, and accept that marble is a living surface — it will patina. If perfectionism stresses you, marble-look porcelain gives 90 percent of the look with zero sealing.
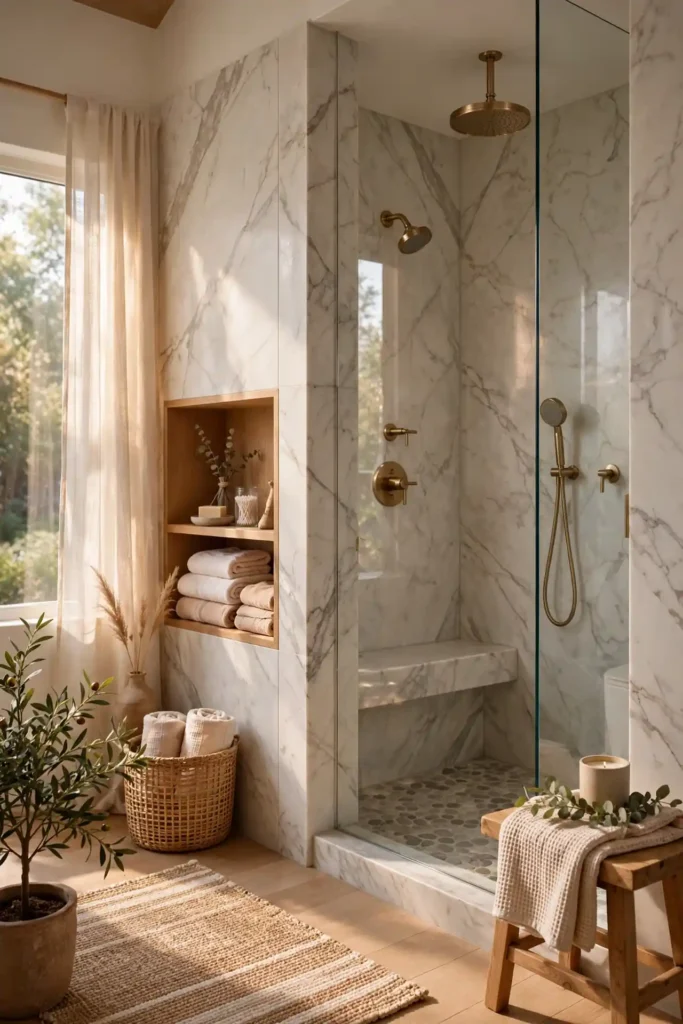
Book-matched slabs — two mirror-image cuts hung side by side — create the jaw-dropping veining you see in design magazines; ask your fabricator, as it adds about 20 percent to material cost. For tile, run a 1/3 offset or stacked pattern and use Mapei Flexcolor CQ grout in a matching white so grout lines disappear. Never clean marble with vinegar or bleach-based sprays — use a pH-neutral stone cleaner like Black Diamond ($15 on Amazon). Pair marble with warm brass fixtures and 2700K lighting to keep it from feeling cold. In hard-water areas, a squeegee habit protects your investment daily.
8. Zellige Tile Shower
Zellige tile brings handmade Moroccan character to a master shower with its rippled glaze and delicious color variation — no two tiles alike. Authentic zellige from Clé Tile or Riad Tile costs $25 to $45 per square foot, and the uneven surface catches light beautifully under a skylight or sconces. Stick to shower walls rather than floors, since the handmade edges can feel rough underfoot. Order 15 percent overage because shade variation means you’ll cull pieces, and seal it before grouting — the porous clay body drinks grout pigment. The result looks collected and artisanal, never builder-grade.
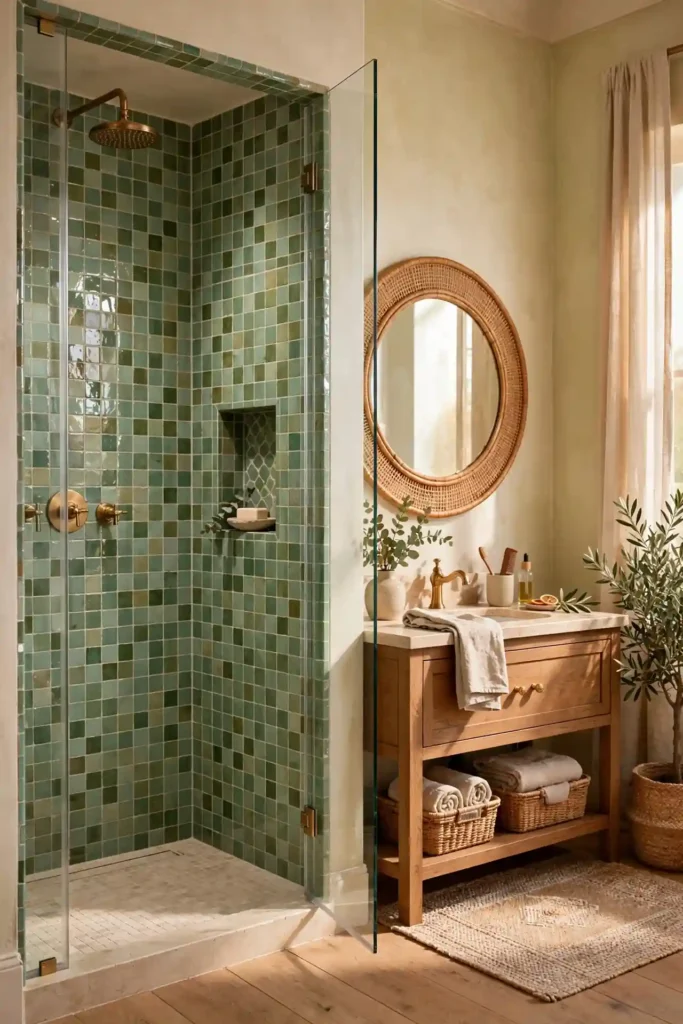
Install zellige with tight 1/16-inch joints and a grout color that matches the tile body — Mapei Flexcolor CQ in Avalanche works for whites — so the handmade texture stays the focus. Your tile setter should dry-lay sections first to distribute light and dark pieces evenly; this is artisan work, so budget $15 to $30 per square foot for labor, roughly double standard tile. Pair zellige with unlacquered brass fixtures that patina alongside it, and keep the palette quiet elsewhere — white plaster-look walls in Sherwin-Williams Alabaster let the tile shine. Seal yearly and clean with pH-neutral soap only.
9. Long Linear Niche
A long linear niche — one horizontal recessed shelf running 24 to 48 inches wide — replaces a clutter of corner caddies with a single clean line. Build it with a prefabricated Schluter Kerdi-Board-SN niche ($80 to $150 at Lowe’s) set between studs, then tile the interior to match your walls. Mount it 48 to 60 inches off the shower floor so bottles sit at chest height, and keep the depth at 3.5 inches to fit standard studs. Position it on the side wall rather than the spray wall, and your shampoos stay reachable but out of the direct blast.
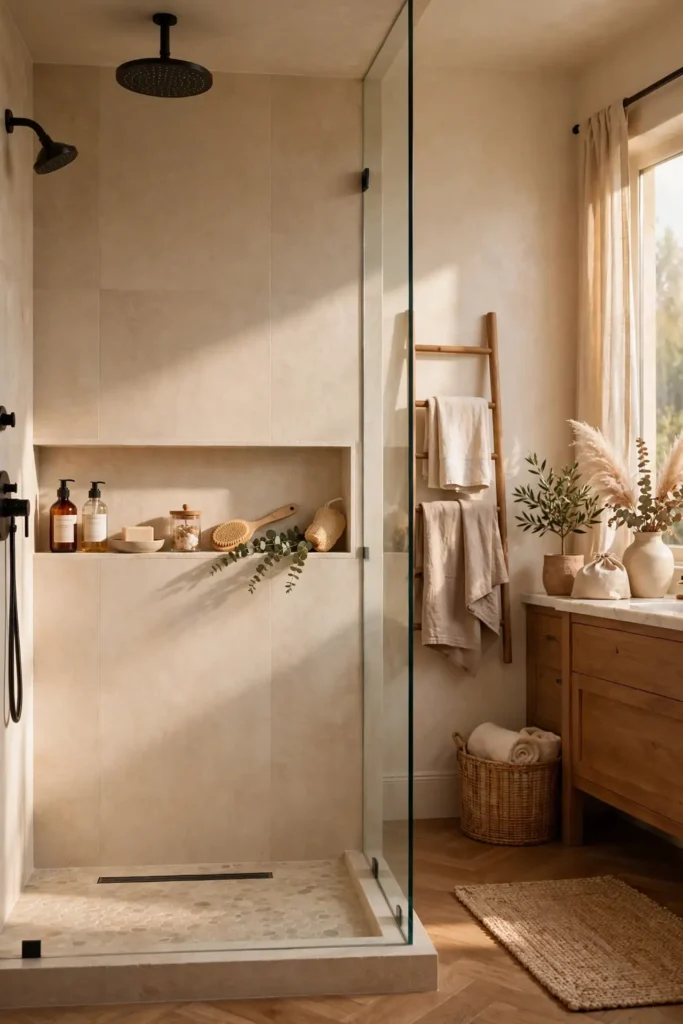
The styling trick is restraint: decant shampoos into matching amber pump bottles ($20 for a set on Amazon) and limit the niche to five or six items, or it reads as clutter. Slope the niche shelf a degree toward the shower so water drains instead of pooling around bottle bases. For drama, add a waterproof LED strip above the niche — a $40 kit from Amazon with a 2700K temperature washes the tile in warm light. Grout the niche interior before the surrounding wall so lines stay crisp, and caulk the shelf-to-wall joint with 100 percent silicone, never grout, to prevent cracking.
10. Skylight Above the Shower
A skylight above the shower floods your master bath with natural light exactly where you want it — no windows to frost, no neighbors to worry about. Fixed Velux skylights start around $500 plus $800 to $1,500 for professional installation, while venting models that release steam cost $300 to $500 more and genuinely reduce humidity. Size it at least 2 by 4 feet for real impact, and position it directly over the shower footprint. Check your roof warranty first: some shingle manufacturers require certified installers. In snowy states, choose a curb-mounted model rated for your snow load.
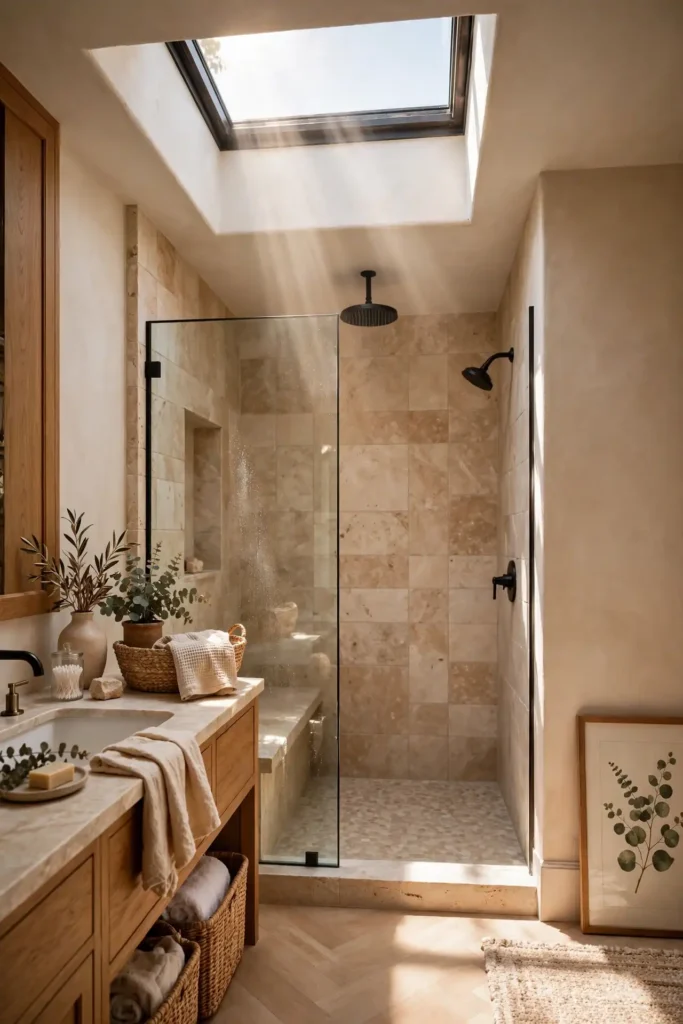
Privacy is built in — nobody sees through a roof skylight — but choose laminated or frosted glass if you want softer light diffusion. Condensation is the real concern: run your Panasonic WhisperGreen exhaust fan on a humidistat, and pick a skylight with an insulated frame to prevent winter dripping. Pair the skylight with a rainfall head mounted just off-center so you shower in actual daylight; it feels absurdly luxurious. Clean the exterior glass twice a year with a telescoping pole from the roof or hire a window service for about $150. Never place a skylight where a future second story might cover it.
11. Steam Shower
A steam shower turns your master bathroom into a private wellness retreat, easing sore muscles and clearing sinuses in about 20 minutes. Mr. Steam and Kohler generators are sized by cubic footage — a 7.5kW unit handles up to 200 cubic feet and costs $2,000 to $3,500, with total installed projects running $6,000 to $12,000. The enclosure must be sealed floor to ceiling with a sloped ceiling so condensation runs to the walls, not onto your head. You’ll need a dedicated 240-volt circuit and a vapor-tight membrane like Laticrete Hydro Ban behind every surface. It’s a splurge, but daily steam rivals any gym membership.
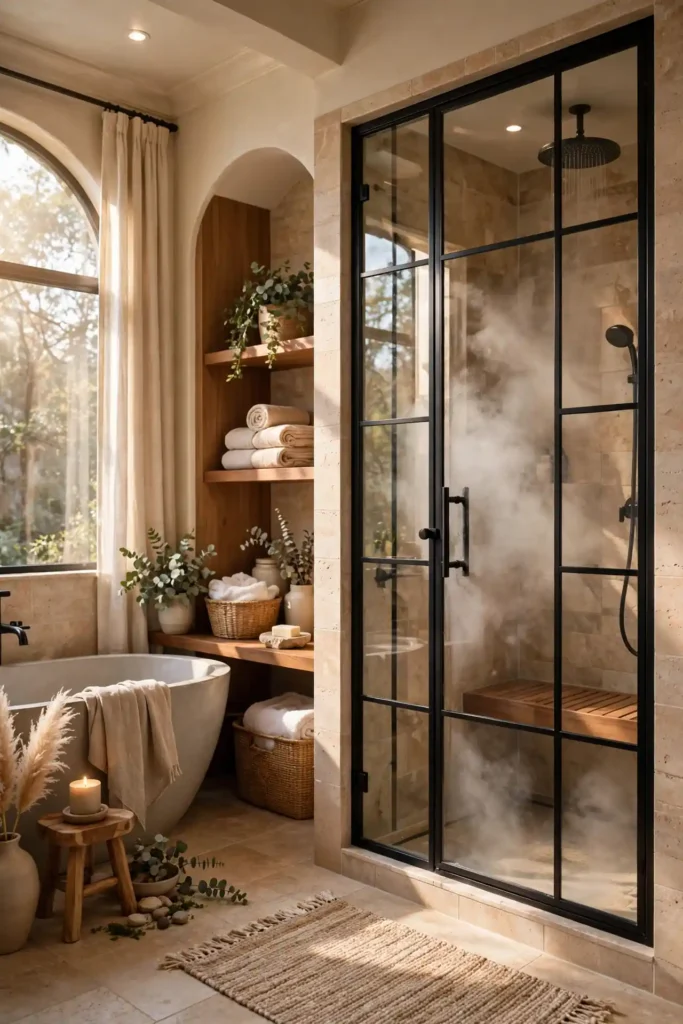
Plan the details before your contractor starts. Include a built-in bench — you’ll want to sit for a 20-minute session — and mount the steam head 6 to 12 inches above the floor, away from seating and never where feet rest. A transom or operable vent above the door releases steam fast when you’re done. Descale the generator yearly with citric acid, especially in hard-water states, and add an auto-drain valve ($150) so the tank empties after each use. Aromatherapy reservoirs ($50 to $100) let you add eucalyptus oil for the full spa effect. Keep the door gasketed and the enclosure under 8 feet tall for efficient heat.
12. Black Framed Glass
Black framed glass brings industrial-chic structure to a walk-in shower, with slim steel-look grids that read like a SoHo loft window. DreamLine’s Unidoor Toulon and similar grid-pattern panels cost $900 to $2,200 at Home Depot, roughly double plain frameless glass. The black lines add graphic punch against white subway tile or marble, and they hide water spots better than clear frameless panels. Choose 1/4-inch tempered glass with a matte black finish — glossy black shows every fingerprint. Match the frame to matte black fixtures from Delta or Moen, and the whole shower reads as one deliberate design statement.
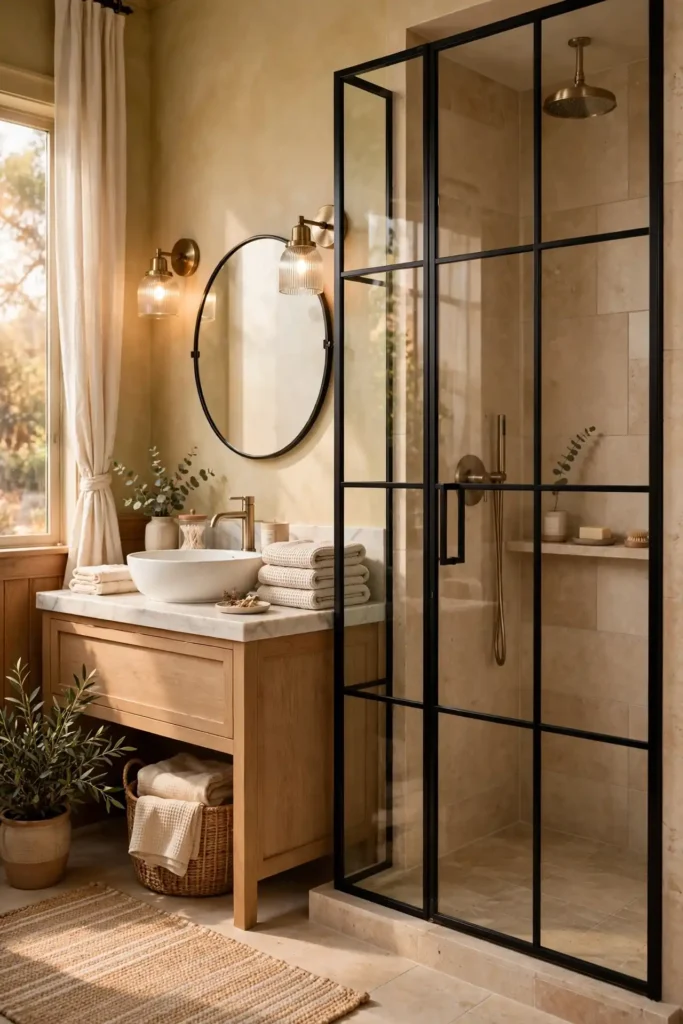
Keep the grid pattern consistent — mixing black-framed shower glass with chrome elsewhere looks accidental. Extend the matte black to your mirror frame, towel bars, and even the Schluter edge trim for a cohesive look. Maintenance is easy but non-negotiable: squeegee after every shower, since hard-water spots show on black frames faster than on chrome. Touch up chips immediately with a matte black appliance touch-up pen ($10 at Lowe’s) to prevent rust on steel frames. If your bathroom is small, use the grid glass on just one panel and clear glass elsewhere — you get the look without visually shrinking the space.
13. Wood-Look Tile Floors
Wood-look porcelain tile gives your master bath the warmth of hardwood with none of the water anxiety — perfect for walk-in showers that flow into the main floor. Planks in 6×36 or 8×48 inches from Daltile or MSI cost $3 to $8 per square foot at Home Depot, a fraction of real teak. The printed grain is remarkably convincing, and porcelain won’t swell, warp, or need refinishing. Choose a matte finish with a DCOF slip rating above 0.42 for the shower floor, and run the same tile from bathroom into shower for that seamless, spa-like flow. It’s the practical luxury that looks expensive.
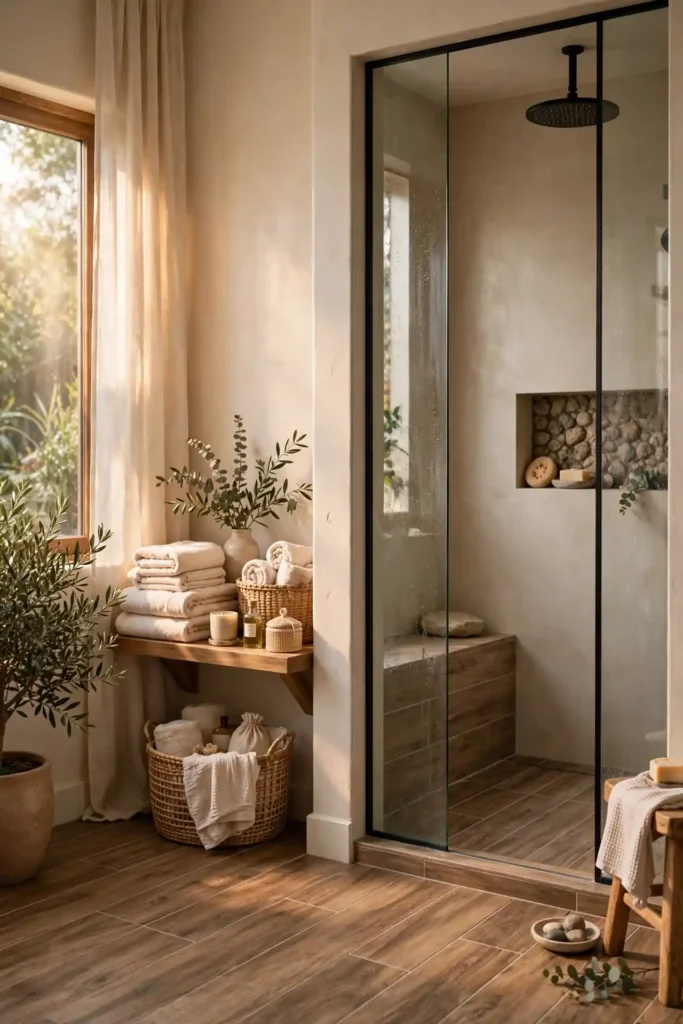
Install planks in a one-third offset pattern — never 50/50, which creates lippage — and use a grout color matched to the tile (Mapei’s Warm Gray blends beautifully) so the floor reads as continuous wood. Inside a curbless shower, cut the planks into smaller pieces or switch to a coordinating mosaic, since long planks can’t follow the slope to the drain. A 1/8-inch grout joint looks most realistic. Pair wood-look floors with white or soft-green walls (Benjamin Moore’s Saybrook Sage) and brushed brass fixtures for a California-spa vibe that photographs beautifully for resale listings.
14. Pebble Shower Floor
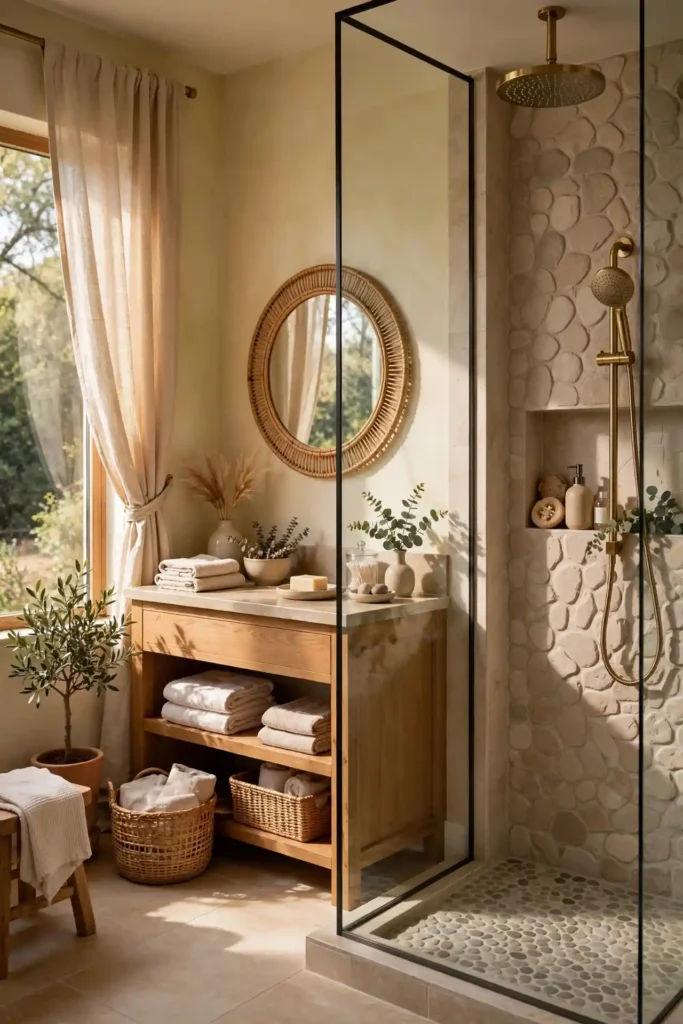
A pebble shower floor delivers a daily foot massage and unbeatable grip — nature’s own slip-resistant surface. Natural stone pebble mosaics cost $8 to $20 per square foot at Lowe’s and tile shops, with sliced flat pebbles feeling gentler than rounded ones. The varied stones hide dirt and hard-water marks far better than white tile. Seal with a penetrating sealer like Miracle Sealants 511 before grouting, since porous stone absorbs grout pigment. Expect more grout lines than a tile floor, which actually improves traction. Your feet will thank you every single morning.
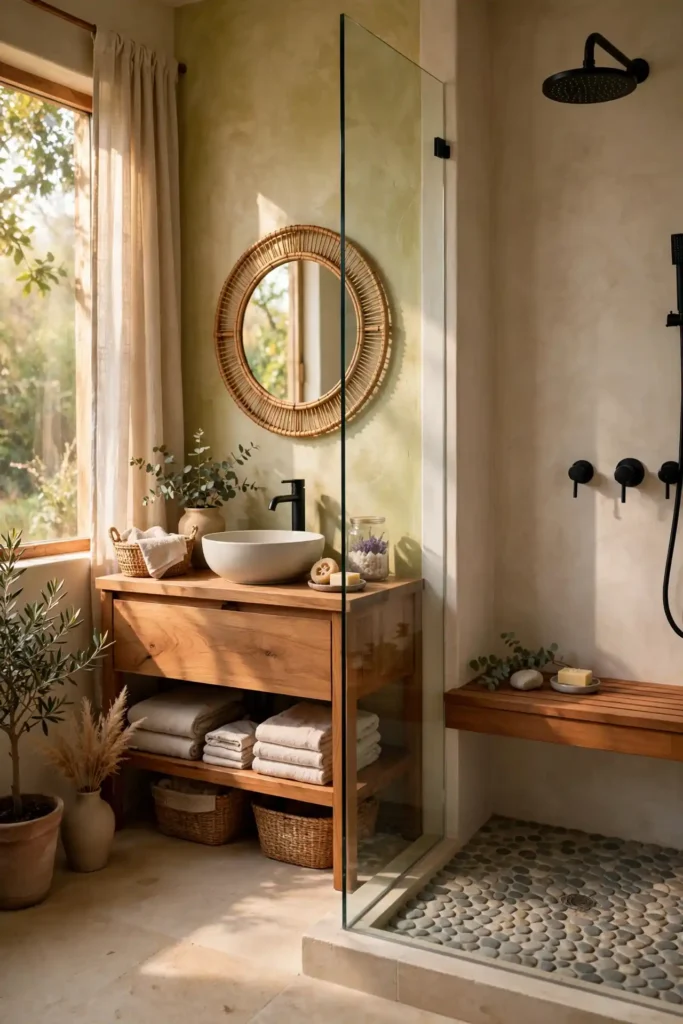
Use sanded grout or, better, Laticrete SpectraLOCK epoxy grout ($60 per kit on Amazon) which resists staining and never needs sealing. Slope the mud bed a quarter inch per foot toward the drain and set pebbles tight so toes don’t catch edges. Cleaning is simple: a weekly scrub with a pH-neutral cleaner and a stiff brush keeps grout bright; avoid bleach, which can discolor natural stone. Pair pebble floors with smooth large-format wall tile for contrast — the texture difference makes both surfaces pop. In a steam shower, pebbles stay comfortably warm underfoot.
15. Wet Room Layout
A wet room layout removes every barrier — the entire bathroom becomes the shower zone, with the tub, toilet, and vanity sharing one waterproofed space. This European style needs at least 60 square feet to work, plus full tanking: a waterproof membrane across the entire floor and up the walls. Budget $10,000 to $25,000 for a true wet room conversion, since every surface must be waterproof and the floor needs precise grading to a central or linear drain. Wall-hung toilets and floating vanities keep the floor clear for water flow and mopping. It’s the ultimate open, accessible luxury.
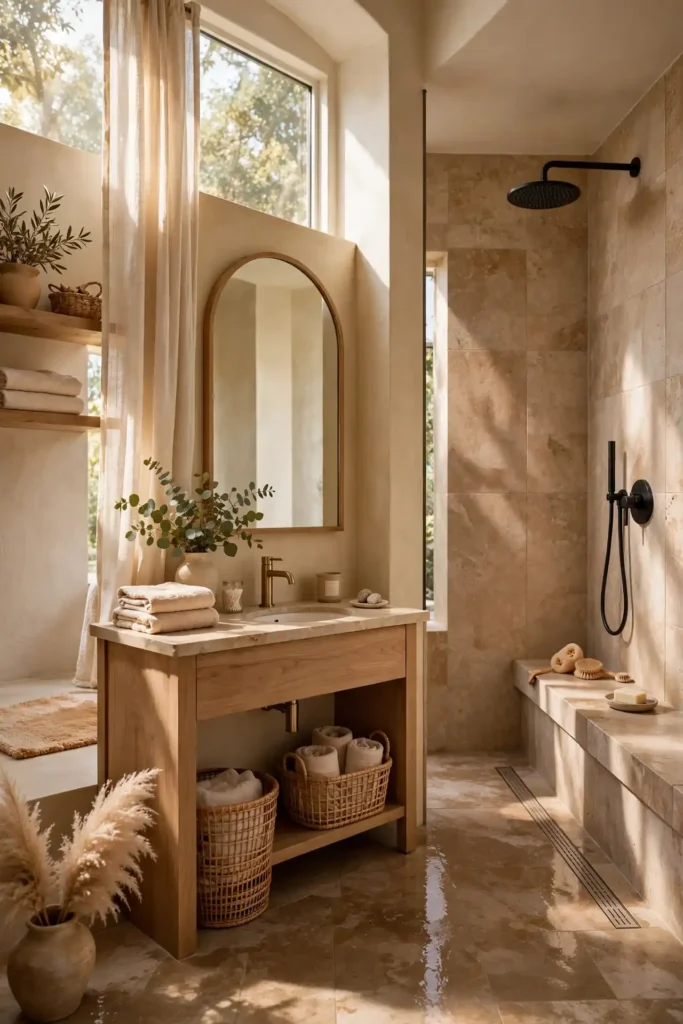
Ventilation makes or breaks a wet room — install a Panasonic WhisperGreen humidity-sensing fan (about $200 at Home Depot) that runs until moisture clears. Grade the floor a quarter inch per foot toward the drain from every direction, and choose one slip-resistant tile (DCOF above 0.42) for the entire floor so the space reads as unified. A ceiling-mounted rainfall head keeps spray contained, and a half-glass panel shields the vanity without closing the room. Heated floors are nearly mandatory here — stepping onto warm tile in a fully open room feels incredible. Keep storage in waterproof niches or sealed cabinets only.
16. Warm Brass Fixtures
Warm brass fixtures add instant richness to a master shower — that golden glow flatters every skin tone and makes white tile look expensive. Delta’s Champagne Bronze and Kohler’s Vibrant Brushed Moderne Brass collections run $400 to $1,200 for a full shower trim kit at Lowe’s. Choose lacquered finishes for consistency, or unlacquered living brass that develops a unique patina (it darkens beautifully but spots unevenly at first). Brass pairs gorgeously with marble, zellige, and deep green paint like Sherwin-Williams Evergreen Fog. It’s timeless in a way chrome simply isn’t.
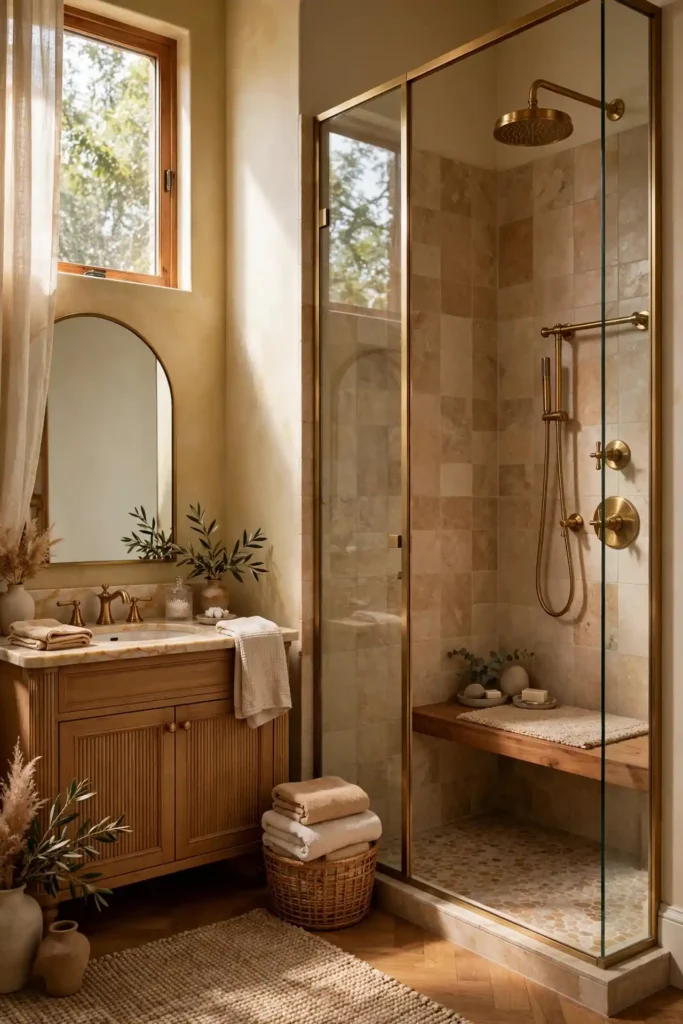
Match your brass across brands by undertone, not name — hold samples together in your bathroom’s light, since one company’s ‘brushed gold’ can read pink next to another’s. Extend the finish to the mirror frame, cabinet pulls, and even the Schluter tile trim so nothing looks like an afterthought. Clean lacquered brass with a damp microfiber cloth only; abrasive cleaners strip the coating. For unlacquered brass, embrace the patina or polish occasionally with Bar Keeper’s Friend. Budget an extra 15 to 20 percent over chrome — the warmth is worth every penny at resale.
17. Floor-to-Ceiling Tile
Floor-to-ceiling tile draws the eye upward and makes standard 8-foot ceilings feel dramatically taller — the single most transformative trick in a master shower. Large-format 24×48 porcelain slabs minimize grout lines; MSI and Daltile options run $8 to $20 per square foot at Home Depot, with installation adding $12 to $25. Run the tile behind the vanity and toilet wall too, so the whole room reads as one wrapped space. Start your layout from the most visible wall and cut tiles symmetrically at corners. The result feels like a European hotel, not a suburban bathroom.
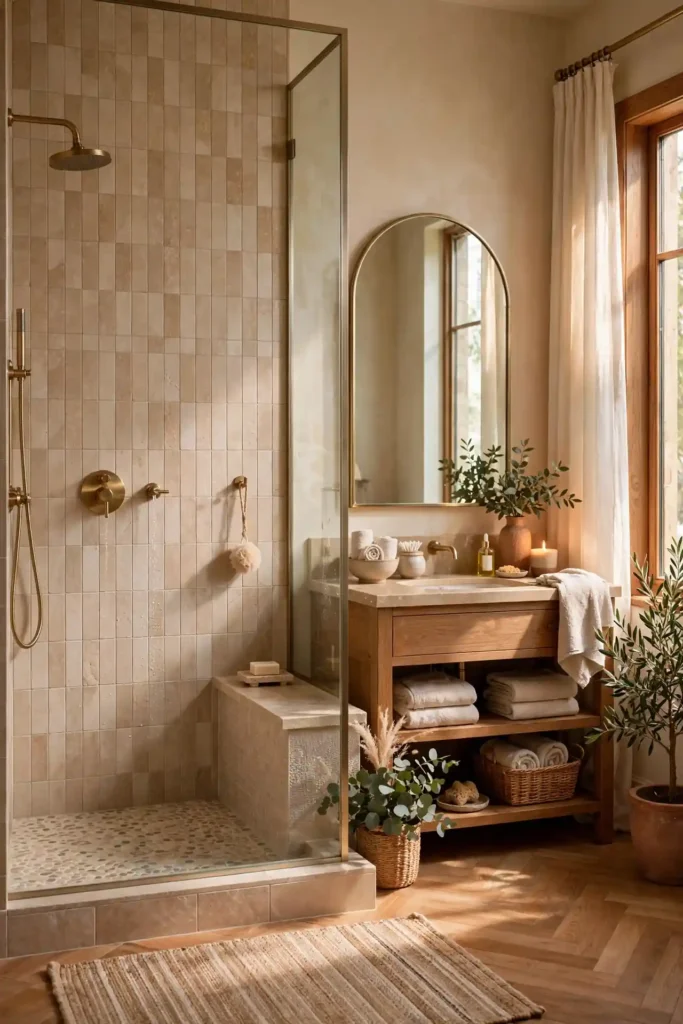
Finish the top edge cleanly with a Schluter Jolly or Rondec profile in a matching finish — raw cut edges scream DIY. If your ceiling isn’t perfectly level (most aren’t), scribe the top row or add a painted trim board to hide the gap. Carry the tile onto the shower ceiling for a true wet-room feel, and add a waterproof recessed light rated for wet locations. For contrast, wrap three walls in tile and paint the fourth in a rich hue like Benjamin Moore Hale Navy — the mix keeps the room from feeling cold. Seal natural stone; porcelain needs nothing.
18. Heated Floors
Heated floors are the luxury you feel every morning — stepping onto warm tile instead of cold porcelain changes your whole routine. Electric radiant mats from SunTouch or WarmlyYours cost $8 to $15 per square foot at Lowe’s, so a 50-square-foot bathroom runs $400 to $750 in materials plus $500 to $1,000 for an electrician. A programmable thermostat ($100 to $250) warms the floor before your 6 a.m. alarm. Operating cost is modest — roughly 10 to 15 cents per day for a bathroom. Install only during a remodel; retrofitting means tearing up the floor.
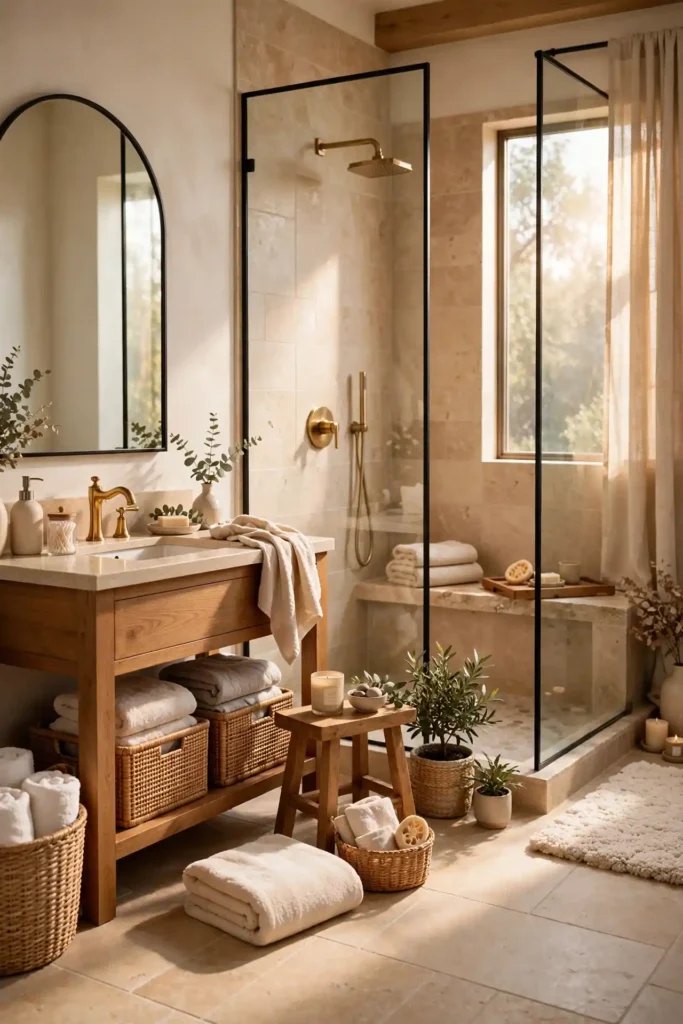
Choose a system rated for shower use — SunTouch TapeMat and WarmlyYours TempZone are both approved under tile in wet areas when installed over a waterproof membrane. Add an insulating underlayment board like Wedi or Schluter Ditra-Heat-Duo; without insulation, half your heat sinks into the subfloor. Set the thermostat to warm the floor 30 minutes before you wake and shut off after your routine — no need to heat tile all day. Pair heated floors with a curbless shower so the warmth flows seamlessly underfoot. Your feet, and your home’s resale value, will thank you.
19. Window in the Shower
A window in the shower delivers natural light and fresh air exactly where mildew loves to grow — it’s beautiful and practical. Use a vinyl or fiberglass frame (never wood, which rots) with obscure or frosted glass for privacy; a 2×3-foot awning window runs $300 to $800 plus installation. Slope the sill toward the shower so water drains, and tile the jamb and sill rather than drywalling them. Place the window at least 60 inches off the floor so spray stays below the frame. In cold climates, choose double-pane glass to avoid winter condensation drips.
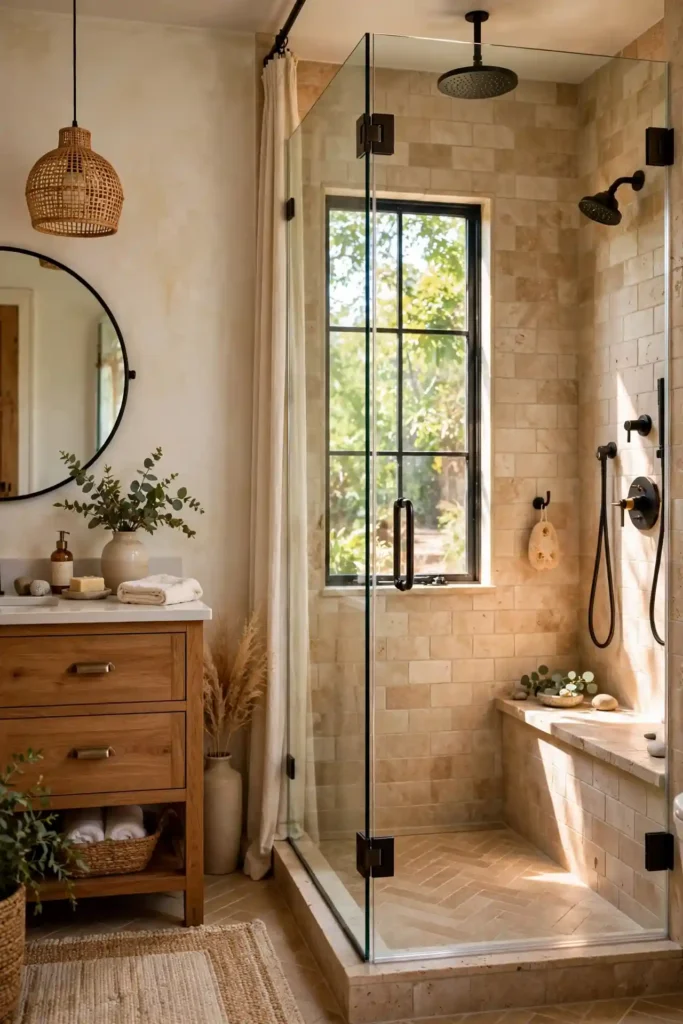
Waterproof like you mean it: run your shower membrane into the rough opening and seal the window flange with flashing tape before tiling. Use 100 percent silicone — not grout — where tile meets the frame, since the materials expand differently. If a real window isn’t possible, a frosted glass block or a Sun Tunnel skylight delivers similar light without the leak risk. For existing windows, apply a privacy film ($25 on Amazon) instead of replacing glass. Keep the view simple outside — a bamboo screen or frosted lower pane beats staring at a neighbor’s siding.
20. Spa Color Palette
A spa color palette wraps your master bath in calm — think warm whites, soft sage, and watery blues that lower your blood pressure on sight. Start with Sherwin-Williams Alabaster (SW 7008) or Benjamin Moore White Dove on walls, then layer in Benjamin Moore Saybrook Sage or Behr Tranquil Gray for quiet contrast. Keep the palette to three colors max: a dominant light tone, a mid-tone for tile or vanity, and one deep accent like Sherwin-Williams Evergreen Fog. Warm 2700K lighting keeps whites creamy instead of clinical. The goal is a palette that feels like exhaling.
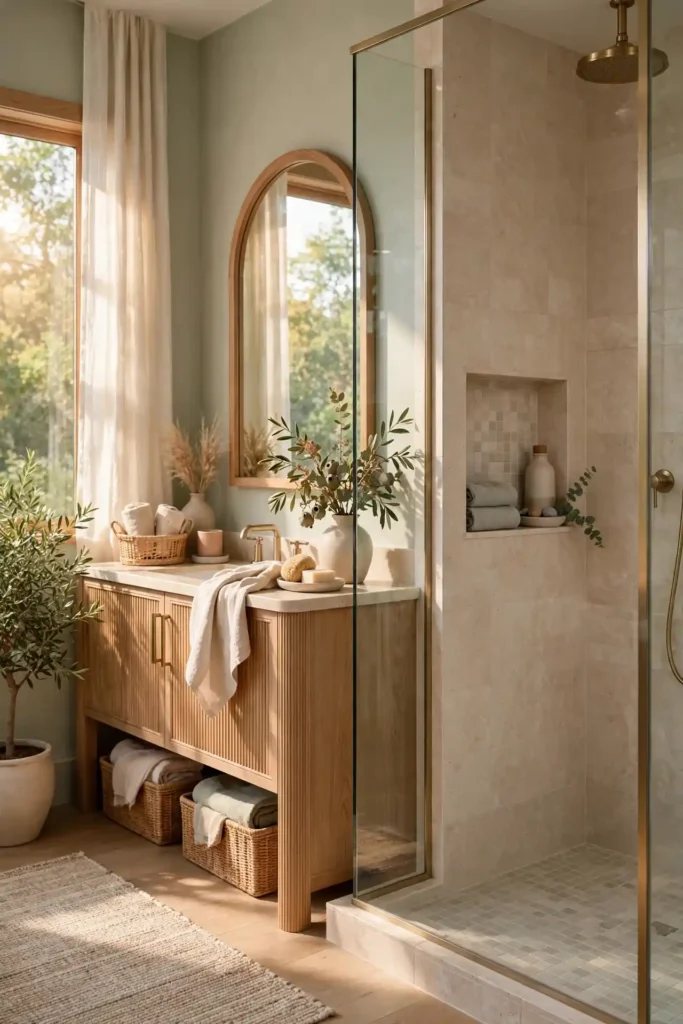
Apply the 60-30-10 rule: 60 percent dominant light tone on walls and large tile, 30 percent mid-tone on the vanity or floor, 10 percent deep accent in towels, art, or plants. Natural materials do the heavy lifting — a teak bench, woven seagrass baskets from Target ($25 to $40), and eucalyptus stems in a vase. Avoid pairing stark white with chrome everywhere; it reads cold and commercial. Instead, mix warm metals, honed stone, and soft textiles. Test paint swatches in your actual light for three days — bathroom lighting shifts color dramatically between morning and evening.
Layout Tips for Master Bathrooms With Walk In Showers
Smart layout starts with honest measurements: a comfortable walk-in shower needs at least 36 by 48 inches, though 42 by 60 inches feels truly luxurious. Keep 30 inches of clear space in front of the shower entry and 21 inches in front of the toilet per NKBA guidelines. Place the shower along an exterior wall when possible — plumbing stays simple and you gain the option of a window. Keep the door swing clear of all fixtures, and plan a 60-inch double vanity with 30 inches of width per sink. Measure twice, tile once.
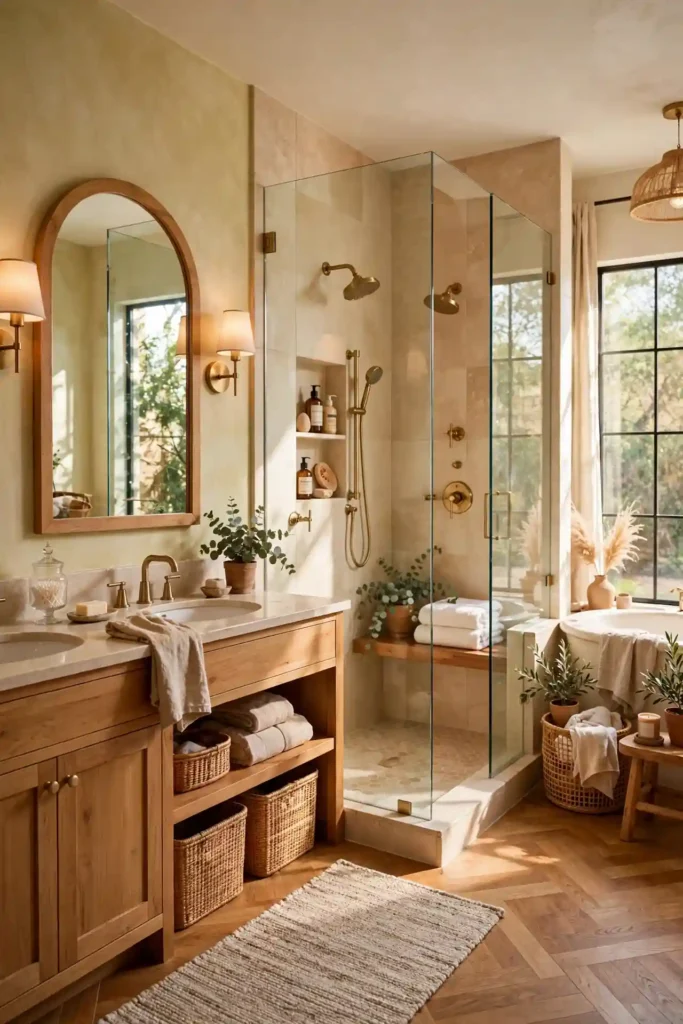
Zone the room into wet and dry areas: shower and tub on one side, vanity and toilet on the other, with the driest path from door to vanity. In narrow bathrooms, a wet-room style shower along the far short wall keeps the long sightline open. Store daily items in a vanity tower or recessed medicine cabinet so counters stay clear — clutter kills the spa feeling fast. Add a linen closet or 18-inch-deep tower near the shower for towels. Finally, walk the layout with painter’s tape on the floor before demo; living the footprint for a day reveals problems drawings hide.
Budget Considerations
Master bathroom remodels with walk-in showers fall into three tiers: a cosmetic refresh at $3,000 to $8,000 (paint, fixtures, new glass), a midrange gut at $15,000 to $30,000, and luxury at $40,000-plus with custom everything. Labor eats 40 to 50 percent of the budget, so keeping your existing plumbing layout is the single biggest saver — moving a drain or toilet can add $2,000 to $5,000. Splurge on what you touch daily: the shower valve, tile, and glass. Save with a stock vanity from Home Depot and standard-format tile. Always hold back a 15 to 20 percent contingency.
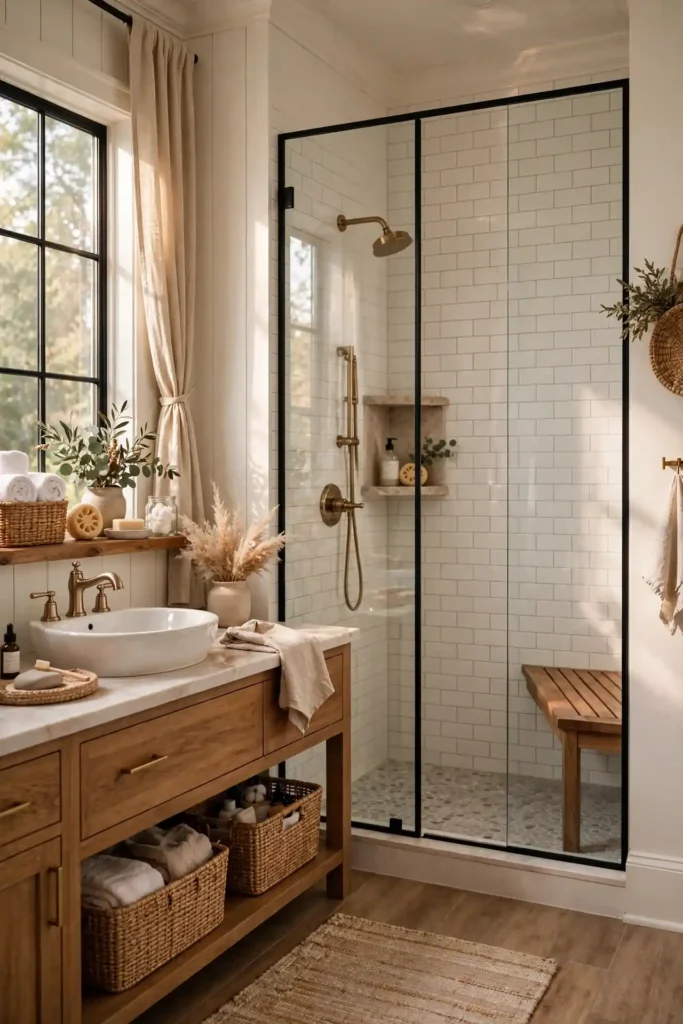
Get three detailed bids and compare line items, not just totals — one contractor’s ’tile allowance’ might be $5 per square foot while another’s is $15. Order fixtures and tile 6 to 8 weeks before demo; backorders are the number one schedule killer. Ask about cash or off-season discounts — winter remodels in northern states often run 10 percent cheaper. Finance wisely: a HELOC typically beats credit cards, and bathroom remodels recoup roughly 60 percent at resale per Remodeling Magazine’s Cost vs. Value report. Track every change order in writing; verbal ‘while you’re at it’s are where budgets go to die.
How to Plan Master Bathrooms With Walk In Showers Step by Step
Step one: measure everything and photograph your plumbing locations, then set a firm budget with that 15 to 20 percent contingency baked in. Step two: hire right — an NKBA-certified designer ($100 to $250 per hour) for layout, plus a licensed, insured contractor with bathroom-specific references. Step three: pull permits; most US cities require them for plumbing and electrical changes, and skipping permits torpedoes resale. Step four: finalize every selection — tile, valve, glass, vanity — before demo day. Decisions made mid-project cost triple and stall your contractor’s schedule badly.
Step five: order everything with 6 to 8 weeks of lead time, and confirm delivery dates in writing. Step six: demo and rough-in — plumbing, electrical, and framing happen first, then inspections. Step seven: waterproof, tile, and grout; flood-test the shower pan for 24 hours before a single tile goes down. Step eight: install glass, fixtures, and vanity, then caulk every change of plane with 100 percent silicone. Step nine: final inspection, deep clean, and a long celebratory shower. Photograph everything for your records — and for the listing photos when you eventually sell.
- Measure the bathroom and decide on shower size and location.
- Choose curbed or curbless design and drain type.
- Select tile, glass and fixtures.
- Plan niches, benches and lighting.
- Hire licensed professionals for plumbing and waterproofing.
Final Thoughts on Master Bathrooms With Walk In Showers
A luxurious master bathroom with a walk-in shower isn’t about cramming in every trend — it’s about choosing two or three hero features and executing them beautifully. Maybe that’s a frameless glass enclosure with marble walls and warm brass fixtures, or a curbless entry with heated floors and a skylight. Timeless choices — natural stone, quality valves, good lighting — outlast every trend cycle and protect your resale value. Spend where your body meets the room: the showerhead, the floor underfoot, the bench you sit on. Everything else is supporting cast.
Start where you are: even one upgrade — a rainfall head, a new glass panel, a fresh coat of Benjamin Moore White Dove — moves your bathroom toward spa territory. Pin your favorite ideas from this guide, measure your space this weekend, and get that first contractor quote. Your master bathroom should be the hardest-working retreat in your home, and a walk-in shower is its centerpiece. You’ve got the plan, the price ranges, and the product names — now make it yours. Here’s to slow mornings, hot water, and tile you’ll love for decades.
Frequently Asked Questions About Master Bathrooms With Walk In Showers
Wondering where to start? The questions below cover what US homeowners ask most: how much a walk-in shower costs, the minimum size that actually works, whether you can go curbless on an existing concrete slab, and how to keep glass enclosures spot-free. You’ll also find answers on steam shower requirements, the best slip-resistant flooring, waterproofing basics, and whether a luxury master bath boosts resale value. Each answer gives you specific numbers — costs, dimensions, and product picks — so you can plan with confidence. Read them before you hire, because informed homeowners get better bids.
Common follow-ups include how long a remodel takes (typically 3 to 6 weeks for a full gut), which permits your city requires, and how to choose between a rainfall head and dual heads. The FAQ block also tackles maintenance — sealing marble, descaling steam generators, and cleaning zellige — plus layout questions for small or narrow bathrooms. If your question isn’t answered, drop it in the comments; this guide gets updated with reader questions twice a year. Start with the cost questions, since they shape every other decision you’ll make.
How big should a walk-in shower be in a master bathroom?
A comfortable size is at least 48 by 36 inches, while 60 by 36 inches or larger feels luxurious.
Is it OK to remove the tub from a master bathroom?
Many homeowners do. Keep at least one tub elsewhere in the house if resale is a concern.
Do walk-in showers need a door?
Not always. Doorless showers work well when the shower is large enough to contain spray.
What is the best floor for a walk-in shower?
Small mosaic, pebble or textured porcelain tiles offer good grip and slope well to the drain.
Are curbless showers more expensive?
They can be, since the floor may need to be lowered for proper drainage.






Leave a comment