


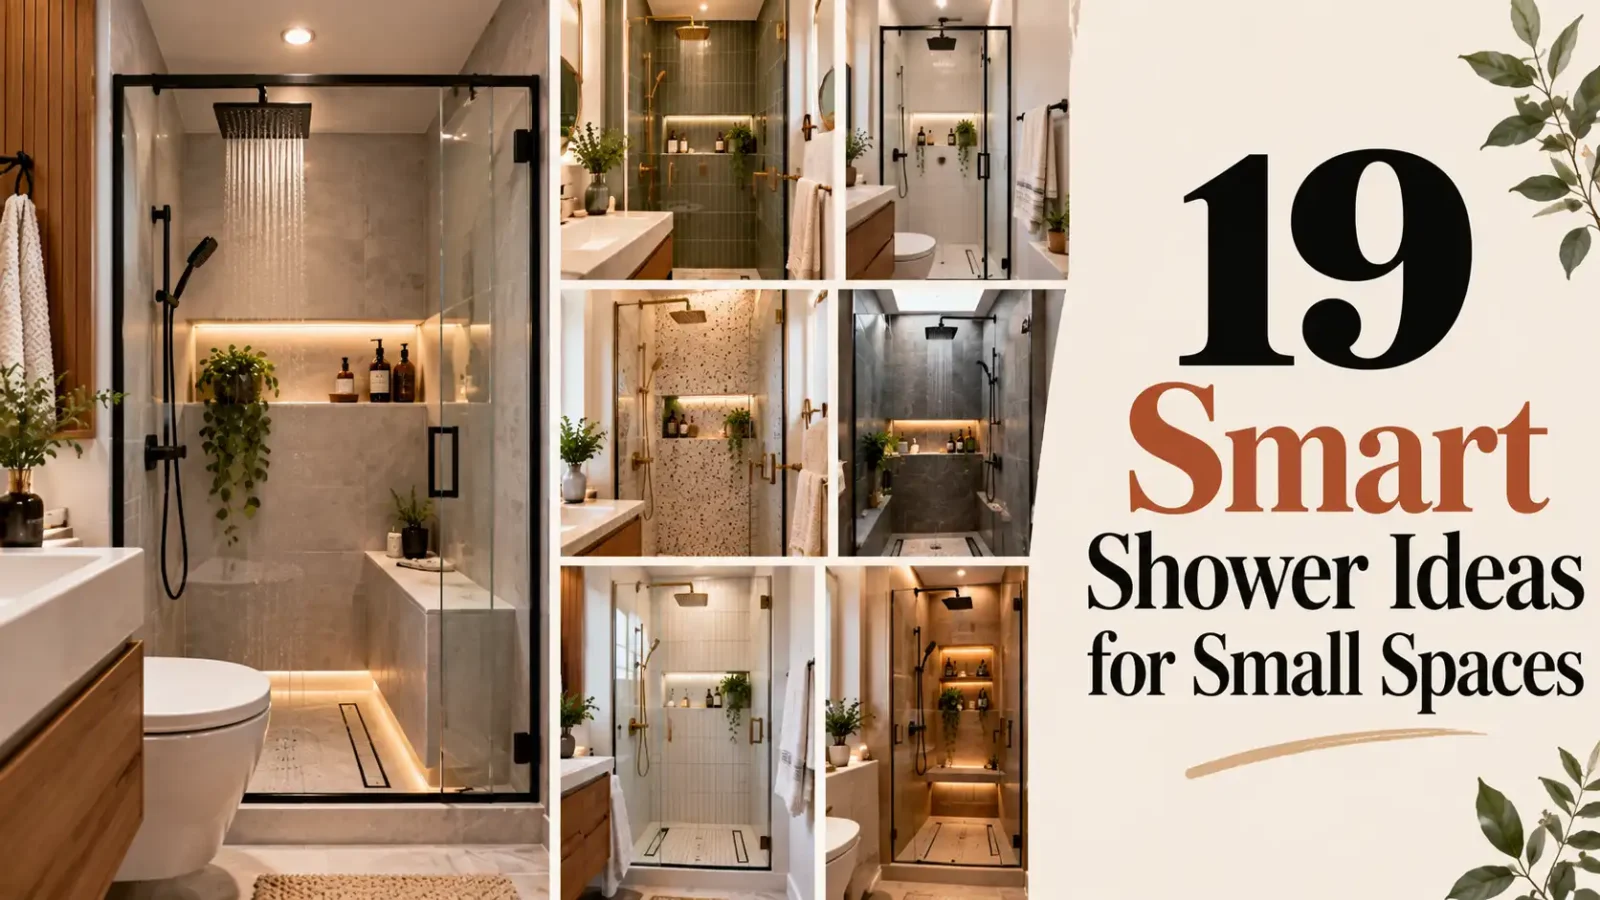
A small bathroom does not have to mean a cramped shower. With the right layout, glass and tile choices, even a tiny space can have a shower that feels open, bright and comfortable. The key is removing visual barriers, using vertical space and choosing fixtures sized for the room.
These 19 shower ideas for small spaces cover layouts, materials and storage that make every inch count. For more inspiration, see our walk in shower tile ideas and these bathroom shelf decor over toilet ideas.
Small shower planning tips:
- A 32 by 32 inch shower is the typical minimum; 36 by 36 feels more comfortable.
- Clear glass keeps the room feeling larger.
- Light-colored, large-format tile reduces visual clutter.
- Recessed niches save space compared to hanging caddies.
1. Frameless Glass Panel
A frameless glass panel replaces a bulky shower curtain or metal-framed door with a single sheet of thick tempered glass, typically 3/8 inch, held in place with discreet clips or a slim channel. In a small bathroom, that matters because sightlines run uninterrupted from the door to the back wall, which tricks your eye into reading the whole room as one continuous space. Your tile becomes the visual star instead of a frame breaking the view into pieces. A single fixed panel runs about $300 to $800 at Home Depot, and professional installation usually adds $200 to $500 depending on your market.
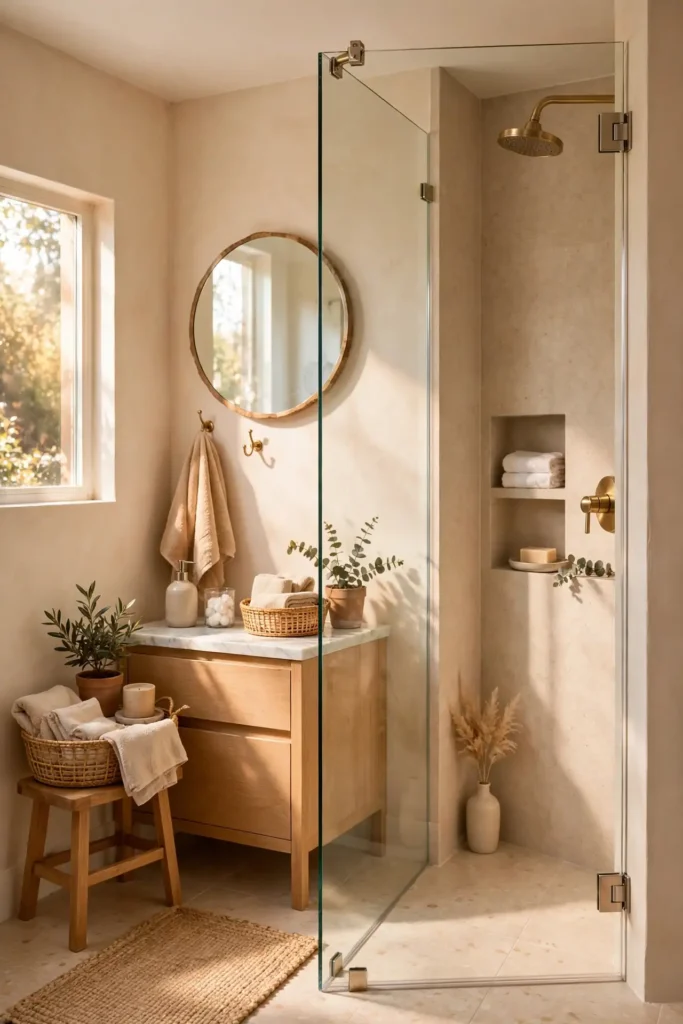
To make it work, measure your opening carefully and order glass sized to leave a splash gap of 1 to 2 inches from the panel edge to the nearest fixture. Choose low-iron or ultra-clear glass, such as Guardian ShowerGuard options, which avoids the greenish tint of standard glass and keeps light bouncing through. Pair the panel with a rain shower head mounted overhead so spray stays inside without needing a door. Squeegee the glass after each shower with a simple $15 tool, and it will stay spotless without scrubbing. Frameless panels also make the bathroom easier to clean overall, since there is no metal frame trapping soap scum in corners.
2. Corner Shower
A corner shower tucks the entire bathing area into the corner of the room, freeing up the rest of your floor plan for the vanity, toilet, and movement. Neo-angle corner units with an angled front fit into 32-by-32-inch or 36-by-36-inch footprints, making them one of the most space-efficient shower ideas for small spaces. Prefab acrylic corner kits from Kohler or DreamLine cost $400 to $1,200 at Lowe’s and can be installed in a weekend by a handy homeowner. The angled entry feels surprisingly roomy because your elbows clear the corner walls. Check local code minimums before you buy, since some jurisdictions require a 30-inch clear opening for shower entries.

For a custom look, tile a corner shower instead of using a kit: frame the corner with two glass panels on the open sides, and run the same floor tile up the corner walls so the nook feels built in. Add a corner niche or small bench at the back for storage and shaving. Corner showers work best when the plumbing wall shares the corner, which shortens pipe runs and saves roughly $200 to $400 in labor. Just make sure the entry clears any door swing before you commit, and finish the look with a slim glass panel or an open walk-in entry.
3. Curbless Design
A curbless shower removes the raised threshold entirely, so the bathroom floor flows straight into the shower area with only a subtle slope for drainage. This is a game changer for small spaces because the continuous floor makes the whole room look and feel larger, with no curb chopping the space in two. A linear drain along the back wall, like the Schluter KERDI-LINE, keeps water contained while looking sleek. Expect to pay $1,500 to $4,000 installed, since the subfloor must be recessed or raised to create the slope. Because there is no lip to step over, curbless showers also work beautifully for aging in place.

To do it right, slope the shower floor at a quarter inch per foot toward the drain and use small mosaic or textured tile with an anti-slip rating for grip. Waterproof the entire wet area with a membrane system such as Schluter-KERDI from Home Depot, not just the shower floor, because splash travels farther than you think. Curbless designs also age well: no step means easy access for years to come. Pair the look with a wall-mounted vanity so the eye keeps moving across uninterrupted flooring, and run the fan during and after showers so the open wet area dries quickly.
4. Large-Format Tiles
Large-format tiles, meaning 12-by-24-inch or 24-by-24-inch pieces, cut down the number of grout lines in your shower dramatically. Fewer grout lines mean the walls read as one calm, continuous surface instead of a busy grid that makes a small shower feel cramped. Big tiles also trap less soap scum and need less scrubbing, since grout is what stains first. Porcelain large-format tile costs $3 to $10 per square foot at Floor & Decor, and a small shower typically needs under 100 square feet. Rectified porcelain in a soft white or light gray is the safest bet for small showers, since pale tones and few seams double the airy effect.
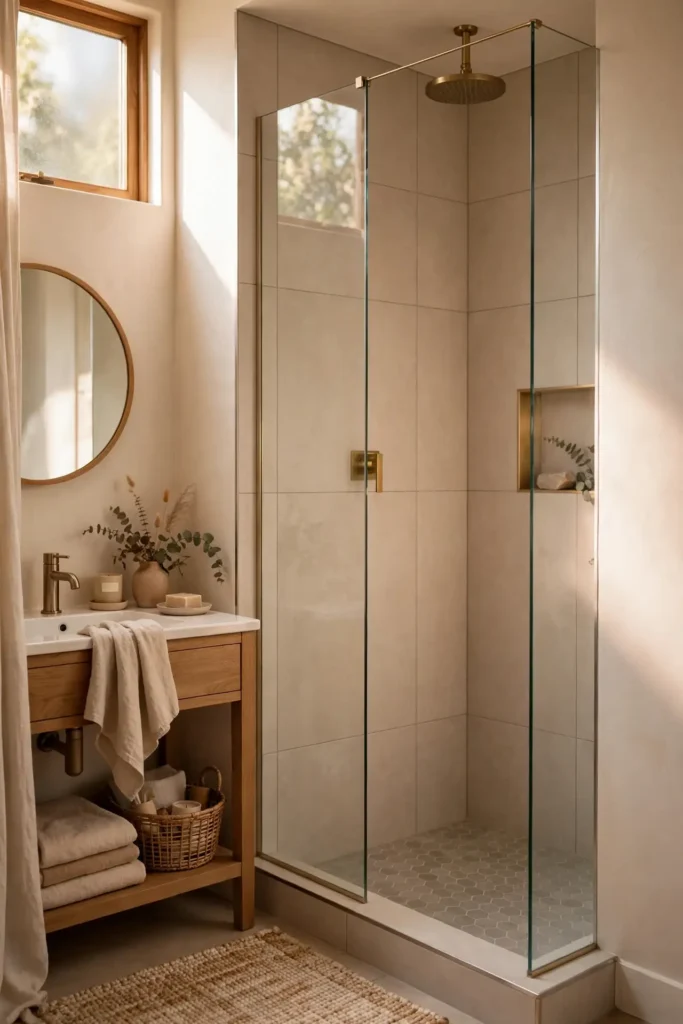
Ask your installer about rectified edges, which are cut perfectly square so tiles can sit just 1/16 inch apart for a nearly seamless look. Keep the layout simple: stack the tiles vertically or run them horizontally along the longest wall to stretch the room visually. Choose a light, low-variation porcelain so the eye glides instead of catching on bold patterns. One caution: large tiles need a flat, well-prepped wall, so skim-coat or level the substrate first or you will see lippage. Rent a large-format tile cutter or have the store make straight cuts, since scoring big tile by hand is tricky.
5. Light Colors
Light colors reflect more daylight and artificial light, which is the simplest trick for making a small shower feel open. White, soft gray, warm beige, and pale blue tile or paint bounce light around the room instead of absorbing it, so shadows shrink and corners stop feeling cave-like. Matte white subway tile, around $2 to $5 per square foot, remains the best value brightening move in American bathrooms. Even keeping the ceiling bright white adds perceived height because the eye travels up unimpeded. Paint the ceiling the same bright white as the walls to erase the boundary and lift the whole room.

Layer your lighting instead of relying on one bulb: a warm 3000K ceiling fixture plus tile in a glossy or satin finish multiplies brightness without adding square footage. If you love color, keep walls pale and bring in accent color through towels, a plant, or art outside the glass. Pair light tile with light grout, such as Mapei Frost or White, so the grout does not draw a dark grid across the walls. Small doses of contrast, like matte black fixtures, still pop against a pale backdrop. A small potted fern or eucalyptus sprig adds life without stealing an inch of space.
6. Recessed Niche
A recessed niche is a shelf carved into the wall cavity between studs, giving you storage that sticks out zero inches into the shower. In a small shower, that matters because hanging caddies eat elbow room and rust over time. A standard niche is 12 by 24 inches, fitting most shampoo bottles upright, and framing it costs almost nothing when the wall is already open during a remodel. Use the same tile as the walls so it reads as a designed detail rather than an afterthought. For a two-person household, build a double niche with a shelf divider down the middle.
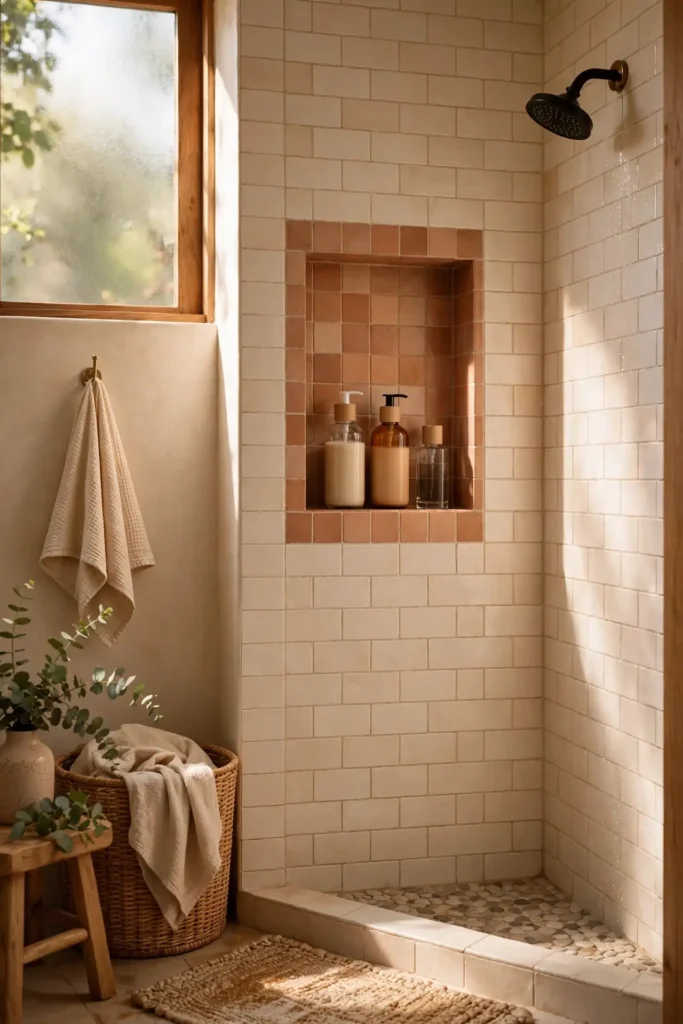
Plan niche placement before tile goes up: center it at chest height, around 48 inches from the shower floor, and keep it on an interior wall to avoid fighting insulation and plumbing in exterior walls. Slope the bottom shelf tile slightly forward so water drains instead of pooling. Ready-made waterproof niche inserts from Schluter, roughly $60 to $150 at Lowe’s, make installation foolproof for your tiler. Add a second small niche lower down for razors or a foot rest, and tile the niche with an accent mosaic for a custom look that costs only a few dollars more.
7. Sliding Glass Door
A sliding glass door, also called a bypass door, glides on a track instead of swinging outward, which saves the 24 to 30 inches of clearance a hinged door needs. In a tight bathroom where the door nearly hits the toilet or vanity, that difference is everything. Bypass doors for a 60-inch alcove cost $350 to $900 at Home Depot, from brands like DreamLine and Basco, and most can be installed in a few hours with basic tools. The overlapping panels also contain splash well. Measure twice before ordering, since bypass doors are harder to adjust than hinged ones after installation.
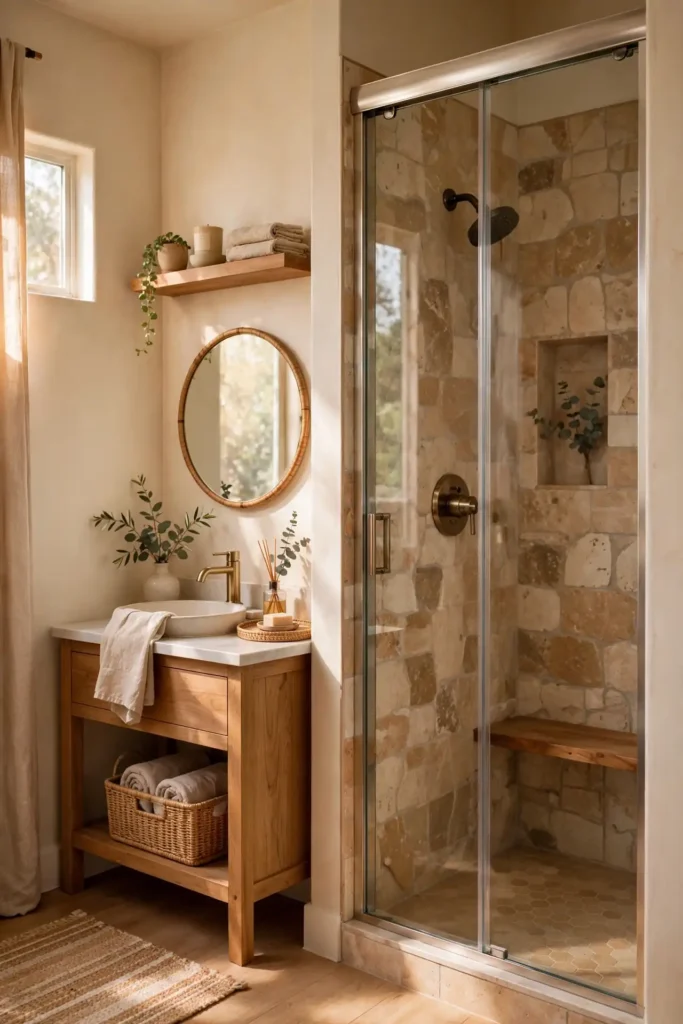
Choose frameless or semi-frameless bypass models with easy-release rollers, which lift off the track so you can clean the glass and track properly. Check the minimum alcove width: most 60-inch units adjust down to about 56 inches. If your opening is narrower, a single sliding panel on one side works down to 36 inches. Keep the track caulked and wipe it monthly, since grime builds where the panels overlap. Pair a sliding door with clear glass for the most open feel, while frosted glass adds privacy for shared bathrooms. A quick monthly wipe keeps rollers gliding smoothly for years.
8. Vertical Tile Layout
Running tile vertically, whether stacked subway tile or tall planks, pulls the eye upward and makes low shower ceilings feel taller. This optical trick works especially well in small showers where every inch of perceived height counts. Vertical stack bond, where tiles align in clean columns, looks modern and costs no more than a standard offset pattern since the tile itself is the same price. A 3-by-12-inch subway tile run vertically is a favorite among US designers right now. It also costs nothing extra in labor, since your tiler charges by the square foot, not by the direction of the pattern.
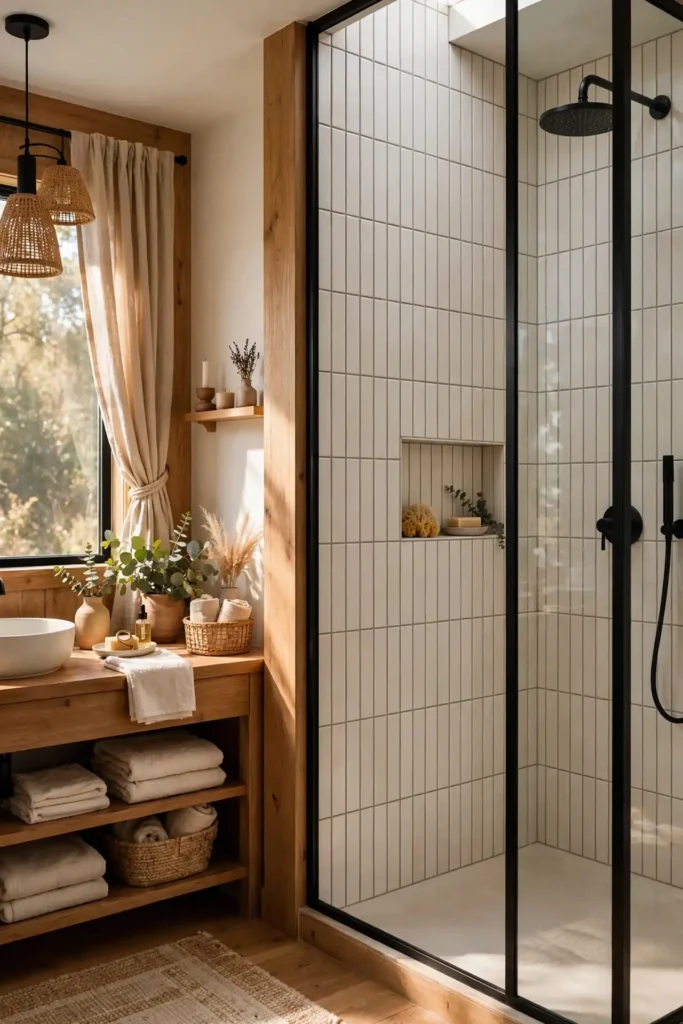
To pull it off, start your vertical lines dead center on the back wall and work outward so cuts land evenly at the edges. Use a laser level, about $30 at Amazon, to keep columns straight from floor to ceiling. Contrast grout, like dark gray with white tile, emphasizes the vertical lines and adds height drama, while matching grout keeps things calm. Vertical layouts pair beautifully with a ceiling-mounted rain head, since both draw attention upward and open the space visually. For extra drama, run the vertical tile behind the vanity mirror too, tying the whole bathroom together.
9. Tile to the Ceiling
Tiling all the way to the ceiling, instead of stopping at 6 or 7 feet, removes the visual stop line that chops a small shower in half. When tile runs floor to ceiling, the wall becomes one continuous plane, and the shower reads as a full-height room rather than a boxed-in stall. This works even in 8-foot bathrooms, and you can economize by using your feature tile on the shower walls and a cheaper field tile elsewhere. The extra tile usually adds just $200 to $500 in material for a small shower.

Before you commit, check your ceiling height and ventilation, since full-height tile in a steamy shower needs a good exhaust fan to prevent moisture buildup. Slope the ceiling slightly if you want condensation to run off instead of dripping, though a flat ceiling with proper ventilation is fine for most US homes. Finish the top edge with a metal profile like Schluter JOLLY for a clean, professional line. Full-height tile also lets you run the same tile into a window surround for a seamless look. Painted ceilings in steamy bathrooms should use a moisture-resistant bathroom paint to prevent peeling.
10. Continuous Floor Tile
Running the same tile from the bathroom floor straight into the shower pan blurs the boundary between wet and dry zones, which makes the entire room feel like one larger space. This is one of the simplest high-impact shower ideas for small spaces because it costs nothing extra in material, just careful planning. Use a porcelain tile rated for wet areas, and cut it smaller inside the shower if needed to follow the slope. The unbroken pattern tricks the eye into seeing more floor than you actually have. Choose a through-body porcelain so chips, if they ever happen, blend in invisibly.
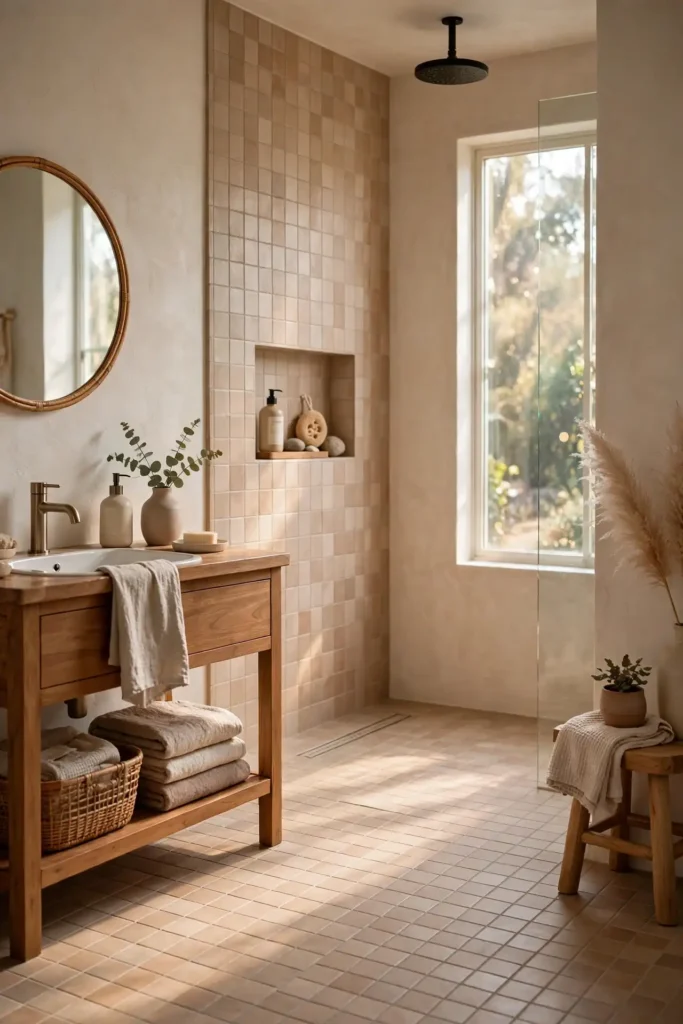
To do it safely, confirm the tile has a slip resistance rating of 0.42 DCOF or higher, which many porcelain tiles list on the box at Floor & Decor or Home Depot. Inside the shower, use 2-by-2-inch cuts of the same tile or a matching mosaic so the pan can slope to the drain. Keep grout color consistent across the whole floor so the eye glides without interruption. This approach pairs especially well with curbless showers and frameless glass, where every seam you eliminate multiplies the spacious feeling. Grout the entire floor in one session with the same batch to avoid slight color shifts.
11. Wall-Mounted Shower Head
A wall-mounted shower head on a short arm frees up headroom and visual clutter compared to bulky shower towers or handheld-only setups. In a small shower, mounting the head at 80 inches on the wall, with a slim arm extending 6 to 9 inches, keeps the center of the shower open for your shoulders and elbows. Fixed rain heads from Moen or Delta cost $80 to $300, and installation is a simple swap if your plumbing is already roughed in at the right height. The clean profile reads minimal and modern.

Aim the head slightly away from the entry so water does not spray out of an open walk-in design. If two people use the shower, consider a wall-mounted head plus a separate handheld on a slide bar, which adds flexibility without crowding the wall. Choose a head with multiple spray settings and a WaterSense label, which uses 1.75 gallons per minute or less and trims your water bill. Keep the arm short in narrow showers so the head does not push into your space. A fixed head at the right height plus a handheld covers nearly every showering need.
12. Handheld Shower
A handheld shower on a slide bar or hook gives you a movable spray that reaches every corner, which makes cleaning a small shower dramatically easier. You can rinse the walls, wash the dog, or clean the glass without climbing around. Handheld kits from Delta, Moen, or Kohler cost $50 to $200 at Lowe’s, and most thread onto your existing shower arm in ten minutes with no plumber needed. A slide bar version doubles as an adjustable-height head for kids and shorter adults. Look for a model with a magnetic dock, which makes one-handed docking easy with soapy hands.

Mount the slide bar on the side wall rather than the back wall so the hose does not cross your body while you shower. Choose a hose at least 60 inches long, preferably 72 inches, in a metal or tangle-free finish so it reaches the far corners. Look for models with a pause or trickle button, which saves water while you lather up. In a tiny shower, pair the handheld with a corner caddy or niche so the wand has a home, and rinse the head monthly with a vinegar soak to prevent hard-water buildup.
13. Corner Shelves
Corner shelves turn the dead space where two walls meet into storage that never blocks your elbows. Triangular glass or stone shelves, roughly 8 inches per side, fit snugly into shower corners and hold shampoo, conditioner, and soap within arm’s reach. You can buy adhesive or silicone-mounted versions for $15 to $40 on Amazon, no drilling required, or have your tiler set stone corner shelves during a remodel for a built-in look. They work in any shower size but shine in small ones. Floating corner shelves in matching tile look custom and cost less than you would expect.

Place the first shelf at about 48 inches high and stack two or three with 10 to 12 inches between them so tall bottles fit. Choose shelves with a slight forward pitch or drainage slots so water runs off instead of pooling. Avoid wire caddies that rust; solid glass, teak, or quartz shelves wipe clean and look far better. If you rent, tension-pole corner caddies that stretch floor to ceiling need no hardware at all and cost under $30. Two shelves are usually plenty for one or two people, so check weight ratings before loading them with heavy glass bottles.
14. Fold-Down Bench
A fold-down bench gives you a seat for shaving, foot washing, or just resting, then flips flat against the wall when you are done, taking up zero shower space. This is ideal for small showers where a permanent bench would eat precious standing room. Teak or phenolic resin fold-down seats cost $150 to $400 on Amazon and mount to studs or blocking with stainless hardware. Look for a seat at least 15 inches wide and 14 inches deep so it feels stable, and choose marine-grade hardware for humid bathrooms. Most support 250 to 400 pounds when anchored correctly.

Install the bench 17 to 19 inches above the shower floor, the standard comfortable seat height, and make sure it lands over solid blocking, not just tile and drywall. Add blocking during a remodel, or use a wall-mounted bracket rated for the load if the wall is already finished. Leave at least 24 inches of clear space in front of the seat so your knees do not hit the opposite wall. Wipe teak benches with oil twice a year to keep the wood from graying, and test the folded position to confirm it clears your glass panel.
15. Tub-to-Shower Conversion
Converting an old tub into a walk-in shower reclaims the awkward 30-by-60-inch tub footprint and turns it into standing space you actually use. Many homeowners find the tub sits empty for years, while a roomy shower gets used daily. A conversion typically costs $2,000 to $6,000 in the US, depending on tile choice and whether plumbing moves, and a pro can finish in three to five days. Kits from Bath Fitter offer one-day installs with acrylic walls for around $3,000 to $5,000. Most homeowners recoup a good share of the cost in daily comfort and added home appeal.
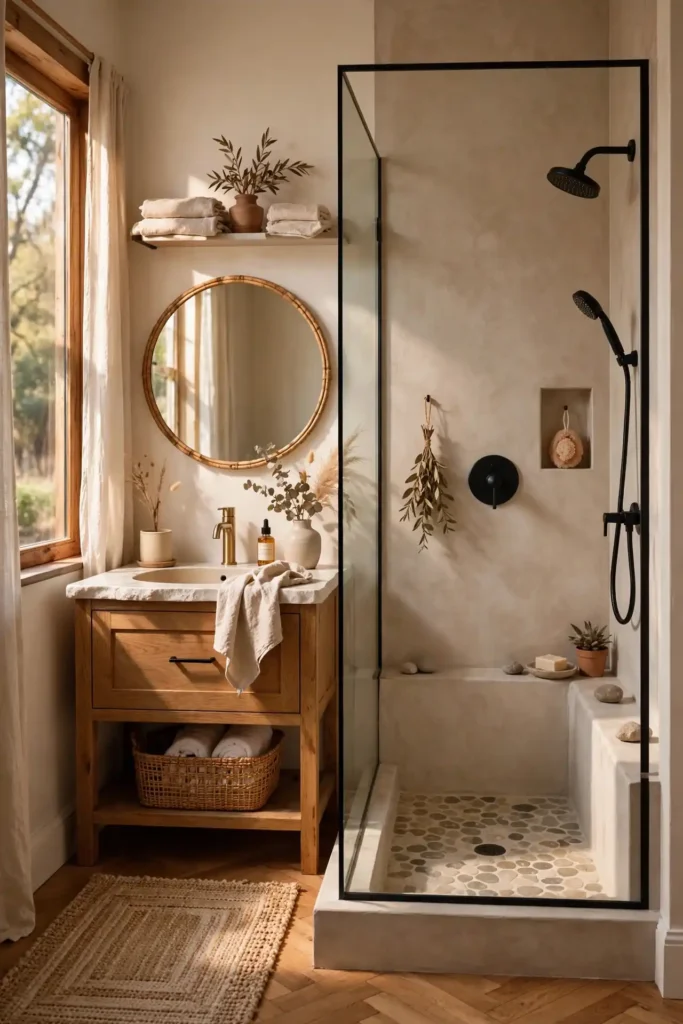
Before you start, check whether removing your only tub hurts resale value in your market; families with small children often want at least one tub in the house. Keep the existing drain location to save roughly $500 to $1,000 in plumbing costs, and reuse the footprint so no floor reframing is needed. Add a niche and a fold-down bench to make the new shower feel luxurious rather than just practical. A glass panel instead of a curtain keeps the converted space bright and open, and a low-threshold entry makes it safer for kids and older adults.
16. Skylight or Window
A skylight or window floods a small shower with natural light, which instantly makes the space feel larger and more inviting than any paint color can. Daylight reveals the true color of your tile and eliminates the cave-like gloom of windowless bathrooms. A fixed skylight costs $500 to $1,500 installed, while a frosted glass window runs $300 to $800 depending on size. Even a small 2-by-2-foot skylight transforms the shower experience. Position it directly over the shower for maximum effect, and choose a venting model if your bathroom lacks an exhaust fan, since it doubles as ventilation on warm days.
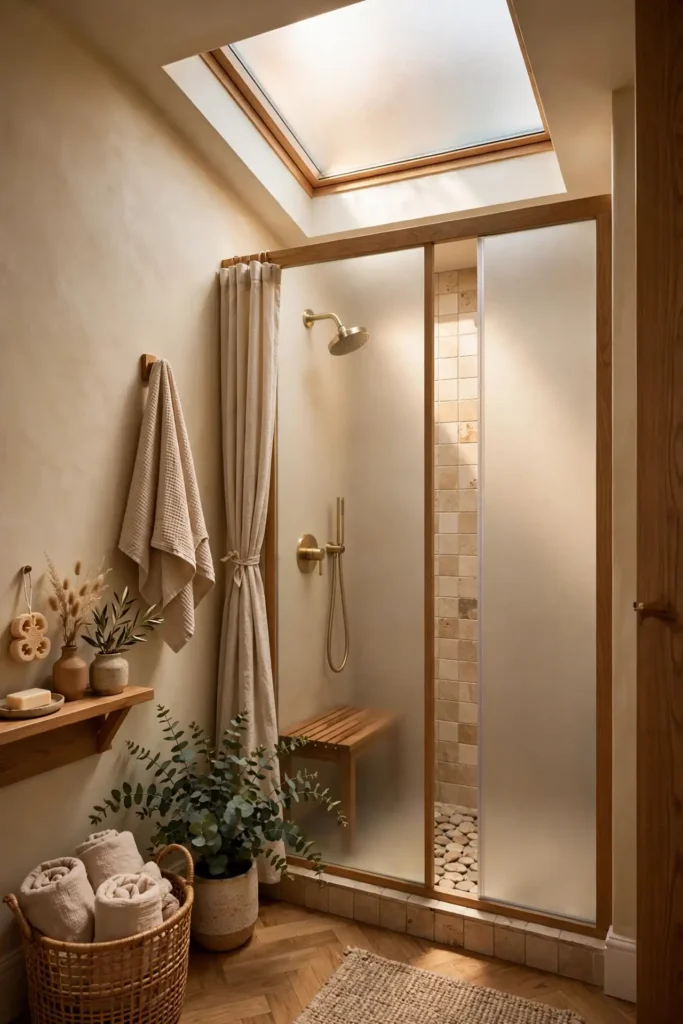
Choose frosted, obscured, or textured glass for privacy, and make sure any window in the shower is vinyl or fiberglass, never wood, since wood rots in constant moisture. Slope the window sill toward the shower so water drains off, and tile the surround for a seamless look. If adding a window is not possible, a solar tube like the Velux Sun Tunnel, around $200 to $500, pipes daylight in through the roof with minimal construction. Always pair natural light with a good exhaust fan to manage the extra humidity. Frosted skylight glazing keeps the light soft while preserving complete privacy from above.
17. Minimal Fixtures
Minimal fixtures mean fewer, sleeker pieces: one slim shower head, a simple lever handle, and no bulky body sprays or multi-knob setups. In a small shower, every extra knob and pipe visually crowds the walls and gives soap scum more places to collect. A single-function pressure-balance valve trim from Delta or Moen costs $80 to $200 and delivers a clean, modern look with one easy control. Less hardware also means less to clean and fewer parts that can leak. A clean, uncluttered wall also makes the shower faster to wipe down after each use.
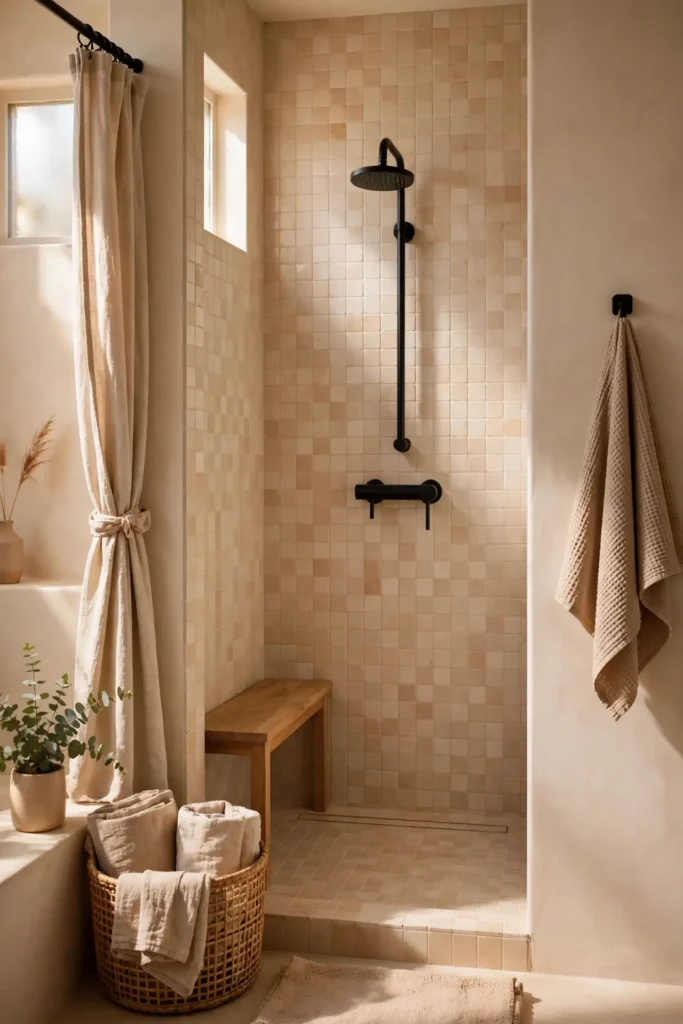
Hide what you can: in-wall or ceiling-mounted heads, recessed valves, and slim linear drains keep surfaces smooth and open. Choose fixtures in one finish, like matte black or brushed nickel, so the eye reads them as a quiet set rather than a collection of parts. Skip the rain head plus handheld plus body spray combo in a 3-by-3-foot shower; pick the two you will actually use. Minimal fixtures pair perfectly with large-format tile and frameless glass for a spa-like calm. Brushed finishes hide water spots better than polished chrome, cutting your cleaning time further.
18. Pocket Door to the Bathroom
A pocket door slides into the wall cavity instead of swinging into the room, freeing up the 20 to 30 square feet of floor space a hinged door’s swing zone steals. In a small bathroom, that recovered space can hold a larger vanity or simply let you move without dodging the door. Pocket door kits cost $100 to $250 at Home Depot, plus the door slab and installation, with a full pro install running $500 to $1,200. The result is a cleaner entry, a roomier-feeling bathroom, and no risk of the door hitting someone at the vanity.
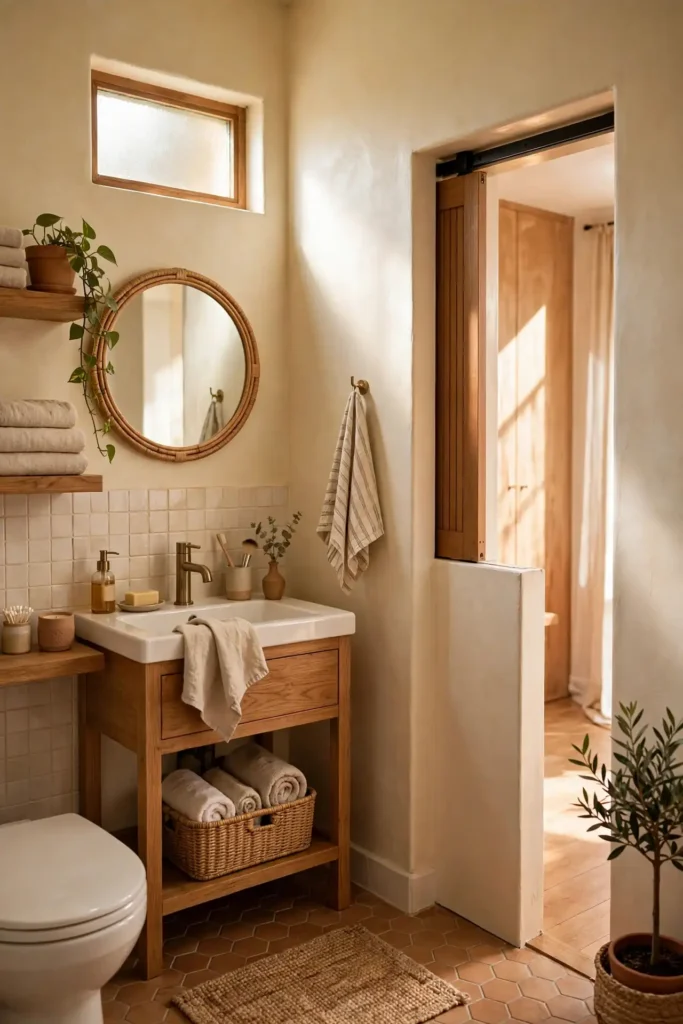
Plan for the wall cavity: pocket doors need a wall free of plumbing and electrical, so they are easiest to add during a remodel when walls are open. Use a solid-core door for better sound privacy, since hollow pocket doors leak noise. Add a soft-close mechanism, about $30, so the door does not slam into the pocket. If a full pocket door is not possible, a barn-style sliding door on the hallway side achieves the same swing-free entry with surface-mounted hardware for $150 to $400. Frosted glass pocket doors are another option, borrowing hallway light while keeping privacy.
19. Good Ventilation
Good ventilation is non-negotiable in a small shower because steam concentrates fast in tight spaces, feeding mold, peeling paint, and musty smells. An exhaust fan rated for your bathroom’s square footage, measured in CFM, pulls humid air out before it condenses on walls and ceilings. For bathrooms under 100 square feet, choose a fan rated at least 1 CFM per square foot, so an 80-square-foot bath needs an 80 CFM fan. Quality quiet fans from Panasonic or Broan cost $100 to $250. Look for a sone rating under 1.0 so the fan runs quietly enough to leave on.

Run the fan during your shower and for 20 to 30 minutes after, using a timer switch, about $25 at Lowe’s, so you never forget. Check that the duct vents outside the house, not into the attic, which is a common shortcut that causes roof mold. Keep the fan grille clean, since dust cuts airflow dramatically. If your shower has a window, crack it along with the fan for cross-ventilation. Good airflow also helps grout dry between showers, which keeps it from staining and crumbling early. Replace the fan if your mirror still fogs heavily after ten minutes of runtime.
Layout Tips for Shower Ideas for Small Spaces
The best small-shower layouts keep the wet zone tight and the dry zone usable, which starts with placing the shower in a corner or along the shortest wall. A 32-by-48-inch alcove or 36-inch square corner shower leaves enough room for a standard 30-inch vanity and an 18-inch toilet clearance in a 5-by-8-foot bathroom, the classic American layout. Sketch your plan on graph paper with each square equal to 6 inches, and mark door swings before you finalize anything, since a swinging door can eat a quarter of a small room.
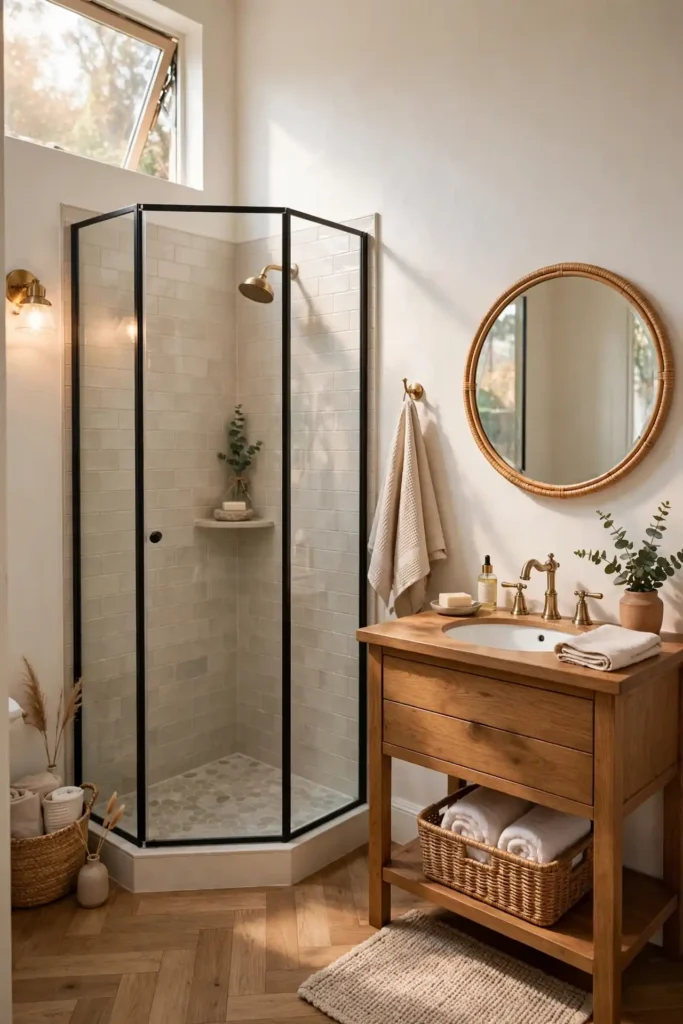
Stack your plumbing on one wall to cut costs and simplify the layout; the shower, toilet, and sink sharing a wet wall can save $500 to $1,000 in labor. Keep at least 24 inches of clear space in front of the shower entry so you can step out and dry off comfortably. If the layout feels cramped, borrow visual space with a frameless glass panel and continuous floor tile rather than moving walls. Test the plan by taping the footprint on the floor with painter’s tape and walking through your routine.
Storage for Small Showers
Smart storage keeps a small shower functional without cluttering the walls, and the golden rule is to go vertical and recessed. A 12-by-24-inch niche between studs holds full-size bottles, corner shelves catch soap and razors, and a slim teak bench or stool can hold a washcloth while doubling as a foot rest. Avoid hanging caddies that dangle into your elbow space; they make small showers feel chaotic. Plan one storage spot per person using the shower, plus one shared shelf, and consider a second low niche as a footrest-friendly shaving ledge.
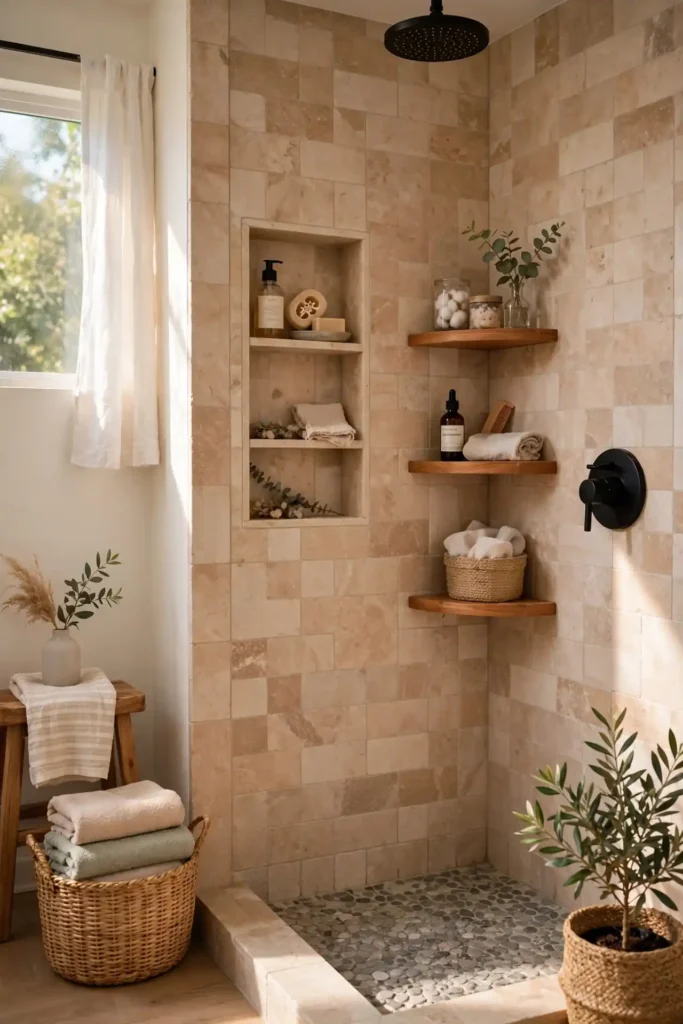
Outside the glass, extend the strategy: a narrow rolling cart, about 8 inches wide, slides beside the vanity for towels and extra products, and over-the-door hooks hold robes without drilling. Inside, use refillable pump bottles in matching finishes to cut visual clutter from mismatched packaging. Magnetic or suction shelves from Amazon, $10 to $25, add rental-friendly storage that removes without damage. Keep only daily-use items in the shower; store backups under the sink so the small space never looks crowded. Uniform refillable bottles in amber or white glass look boutique-hotel chic for under $20.
Choosing Fixtures
Choosing fixtures for a small shower comes down to scale, finish, and function, in that order. Oversized rain heads and wide body sprays overwhelm a 3-by-3-foot space, so pick a 6-to-8-inch head and a slim slide-bar handheld instead. Stick to one finish across the shower head, valve trim, drain, and accessories so the hardware reads as a calm set; mixing chrome, nickel, and black in a small space looks busy. Mid-range fixture sets from Delta or Moen run $200 to $500 total. Compact 5-inch rain heads deliver full coverage without dominating a tight shower.
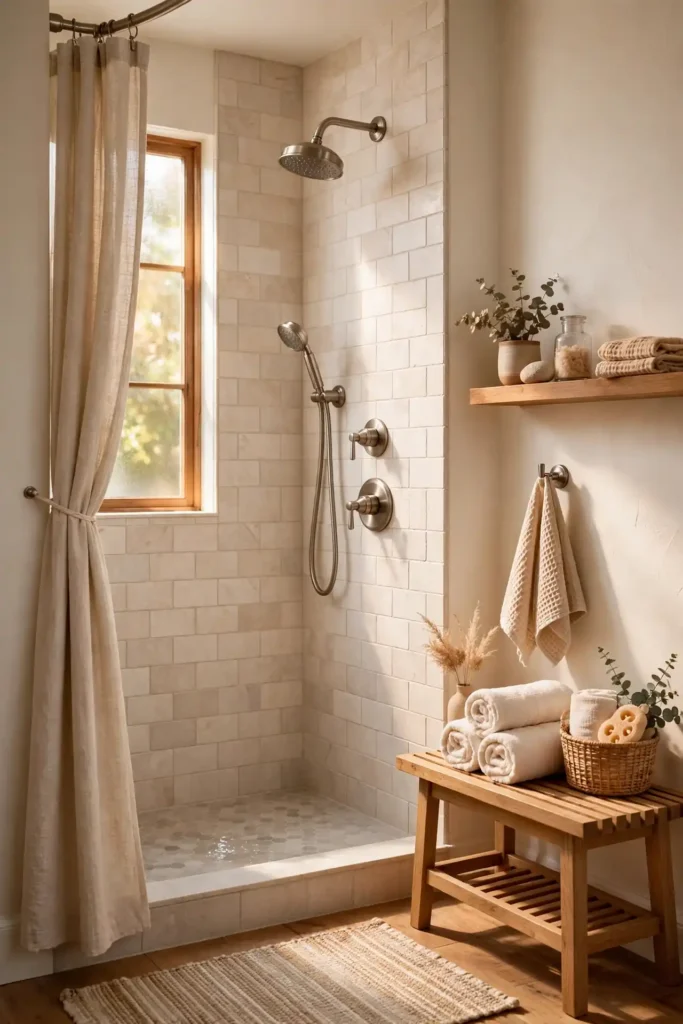
Prioritize pressure-balance or thermostatic valves, which keep water temperature steady when someone flushes a toilet, a must in older American homes. Look for WaterSense-labeled heads at 1.75 gallons per minute to save water without a weak spray. Test the handle style in store if you can; a single lever is easiest to adjust with soapy hands. Finally, match your drain finish to your fixtures and choose a linear or square tile-in drain if you want the hardware to visually disappear. Buy the valve and trim from the same series to guarantee a perfect fit.
How to Plan Shower Ideas for Small Spaces Step by Step
Start by measuring your bathroom to the inch, noting door swings, window locations, and where plumbing currently runs, since moving a drain can add $1,000 or more to the project. Next, decide what must stay: if this is your home’s only tub, think twice before removing it for resale reasons. Then choose your shower type, corner, alcove, or curbless, based on the footprint you taped out on the floor. Set a realistic budget: $2,000 to $4,000 for a refresh, $5,000 to $12,000 for a full small-bathroom remodel in most US markets.

With the plan set, order fixtures, tile, and glass early, since lead times run two to six weeks for popular finishes. Hire a licensed plumber for rough-in work and a tiler with waterproofing experience; check reviews and ask for photos of past curbless or niche work. Schedule demolition, plumbing, waterproofing, tile, glass, and fixtures in that order, and do not let tile start until the waterproofing membrane is inspected. Finally, run the exhaust fan during the first steamy showers and check every seam for leaks before you call the job done.
- Measure the space and decide on shower size and location.
- Choose glass: fixed panel, sliding or pivot door.
- Select large-format, light-colored tile.
- Plan niches, benches and fixtures.
- Install ventilation and hire pros for waterproofing.
Final Thoughts on Shower Ideas for Small Spaces
A small shower does not have to feel like a compromise when you design with intention. The ideas that matter most are the ones that remove visual barriers: frameless glass instead of curtains, tile that runs floor to ceiling, continuous flooring, and light colors that bounce daylight around. Pair those with recessed storage and minimal fixtures, and a 3-by-4-foot shower can feel as luxurious as a much larger one. Start with the change that bothers you most, whether that is a dark corner or a rusty caddy, and build from there.
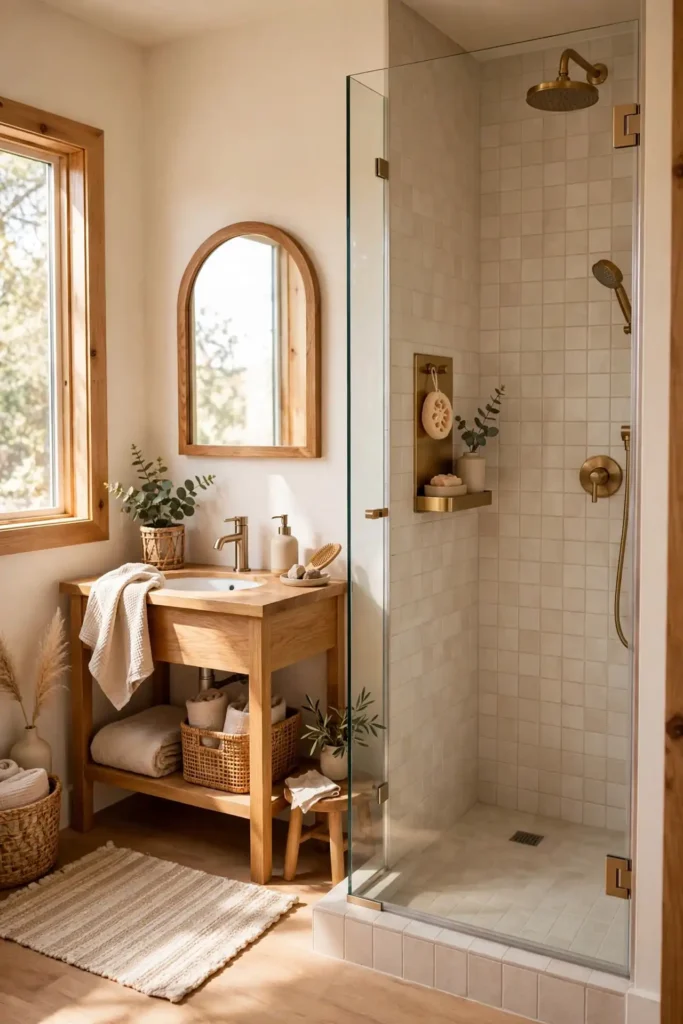
Remember that budget and impact do not always move together; a $30 squeegee habit and a fresh bead of caulk can make an old shower feel new, while a well-planned $5,000 refresh transforms the whole bathroom. Whatever you choose, measure twice, ventilate well, and invest in waterproofing, because what is behind the tile matters more than what is on it. Your small shower should work hard, look calm, and make your mornings easier, and with these ideas, it absolutely can. Pick one idea this weekend, whether it is a new shower head or a decluttered niche, and enjoy the difference it makes.
Frequently Asked Questions About Shower Ideas for Small Spaces
The most common question is what size counts as a small shower, and the answer is anything under about 36 by 36 inches, with 32-by-32-inch neo-angle units being the smallest most US codes allow. Another frequent question is whether glass or a curtain is better; frameless glass wins for small spaces because it keeps sightlines open, though a curved curtain rod is a fine budget fix at around $30. People also ask about cost, and a basic small-shower refresh runs $1,500 to $3,000, while a full remodel lands between $5,000 and $12,000.
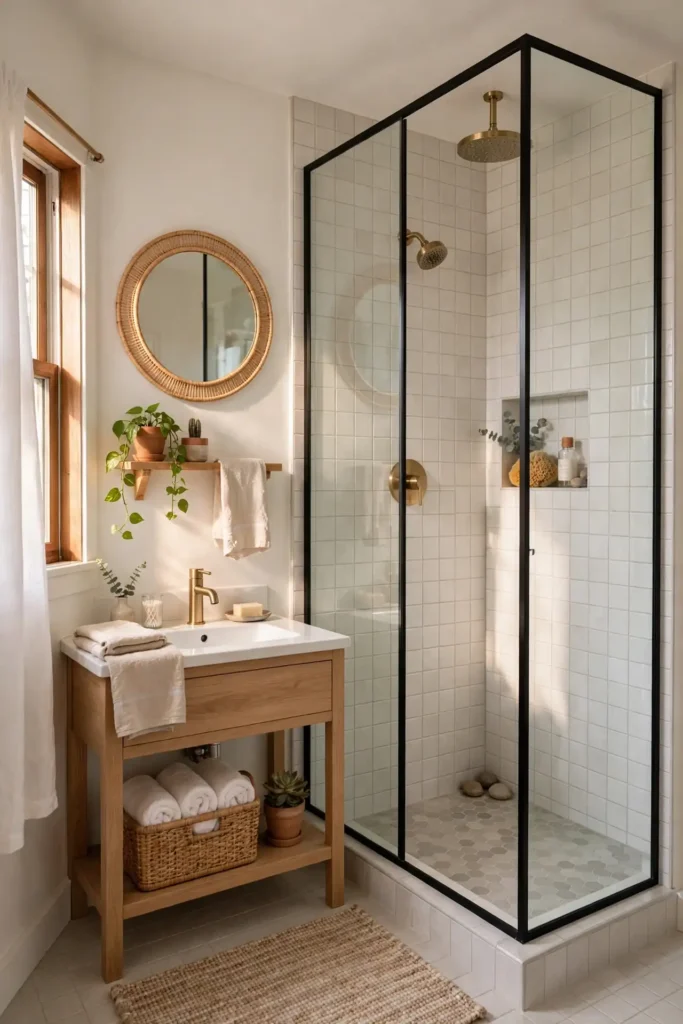
Readers often wonder how to keep a small shower from feeling dark, and the fix is layered: light tile, a glass enclosure, and a bright 3000K ceiling light, plus a window or skylight if the budget allows. Another question is whether a bench fits in a small shower; a fold-down bench does, since it disappears against the wall when not in use. Finally, many ask about the cheapest upgrade with the biggest payoff, and that is usually swapping a dark curtain for clear glass or a bright liner, decluttering to a single niche, and recaulking everything for a crisp finish.
What is the minimum size for a shower?
Most codes allow 30 by 30 inches, but 36 by 36 inches is more comfortable.
Is a shower curtain or glass better for a small bathroom?
Clear glass makes a small bathroom feel larger because it does not block sight lines.
What tile makes a small shower look bigger?
Large-format, light-colored tiles with minimal grout lines.
Can a small bathroom have a walk-in shower?
Yes. A curbless or corner walk-in shower can work in small spaces.
How do I add storage to a small shower?
Use recessed niches, corner shelves and hooks instead of hanging caddies.






1 Comment