

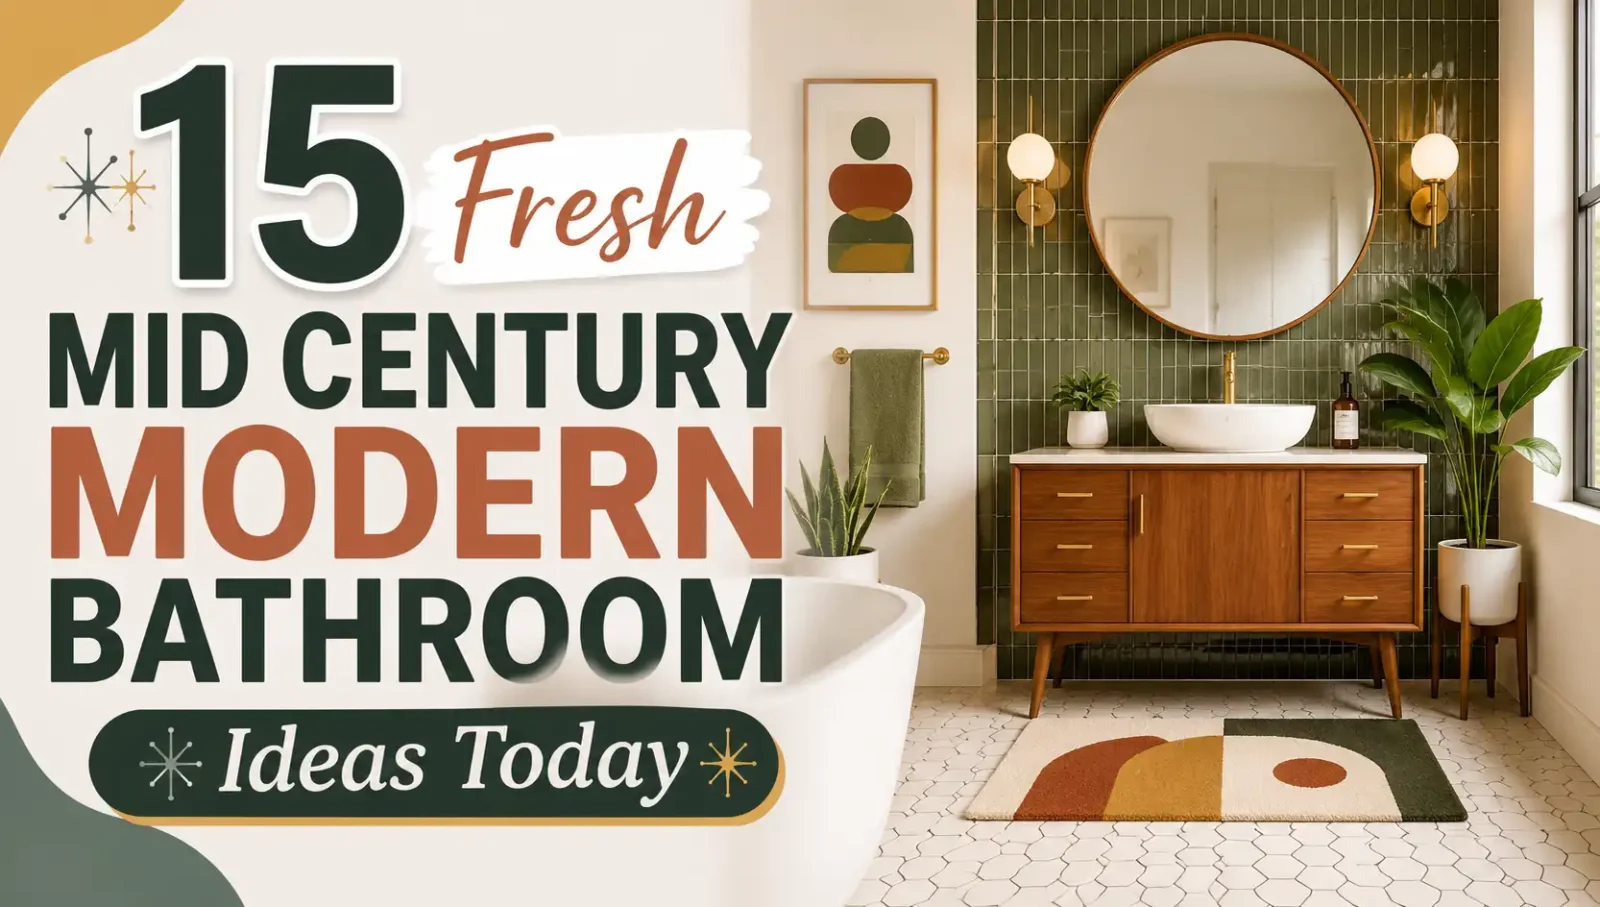
Mid century modern bathrooms have quietly become one of the most requested renovation styles, and the reason is simple: the look is clean without being cold. Born from the design movement that ran roughly from the 1940s through the 1960s, the style favors warm walnut, tapered legs, geometric tile, and organic curves balanced by strong horizontal lines. In a bathroom, those qualities translate into a space that feels calm, uncluttered, and genuinely timeless, which matters when you are choosing finishes you may live with for fifteen years or more.
The best part is that mid century style adapts to almost any bathroom size. A powder room can carry the look with a single walnut floating vanity and a round mirror, while a full family bathroom can go further with penny tile, a sunken tub surround, and brass fixtures. You also do not need vintage pieces, since most manufacturers now produce faithful reproductions at reasonable prices. Below are fifteen fresh mid century modern bathroom ideas, each with practical guidance on materials, color, and how to keep the look modern rather than dated.
1. Install a Walnut Floating Vanity
Nothing signals mid century style faster than a warm walnut vanity with clean horizontal grain and simple slab doors. Mounting it to the wall so it floats above the floor is the update that keeps the look current: the exposed floor beneath makes the room feel larger, simplifies cleaning, and emphasizes the strong horizontal line the era loved. Choose an integrated or minimal pull rather than ornate hardware, or specify a routed finger channel for the cleanest face. If walnut is beyond budget, white oak with a warm stain or a quality walnut-look laminate delivers a very similar effect.
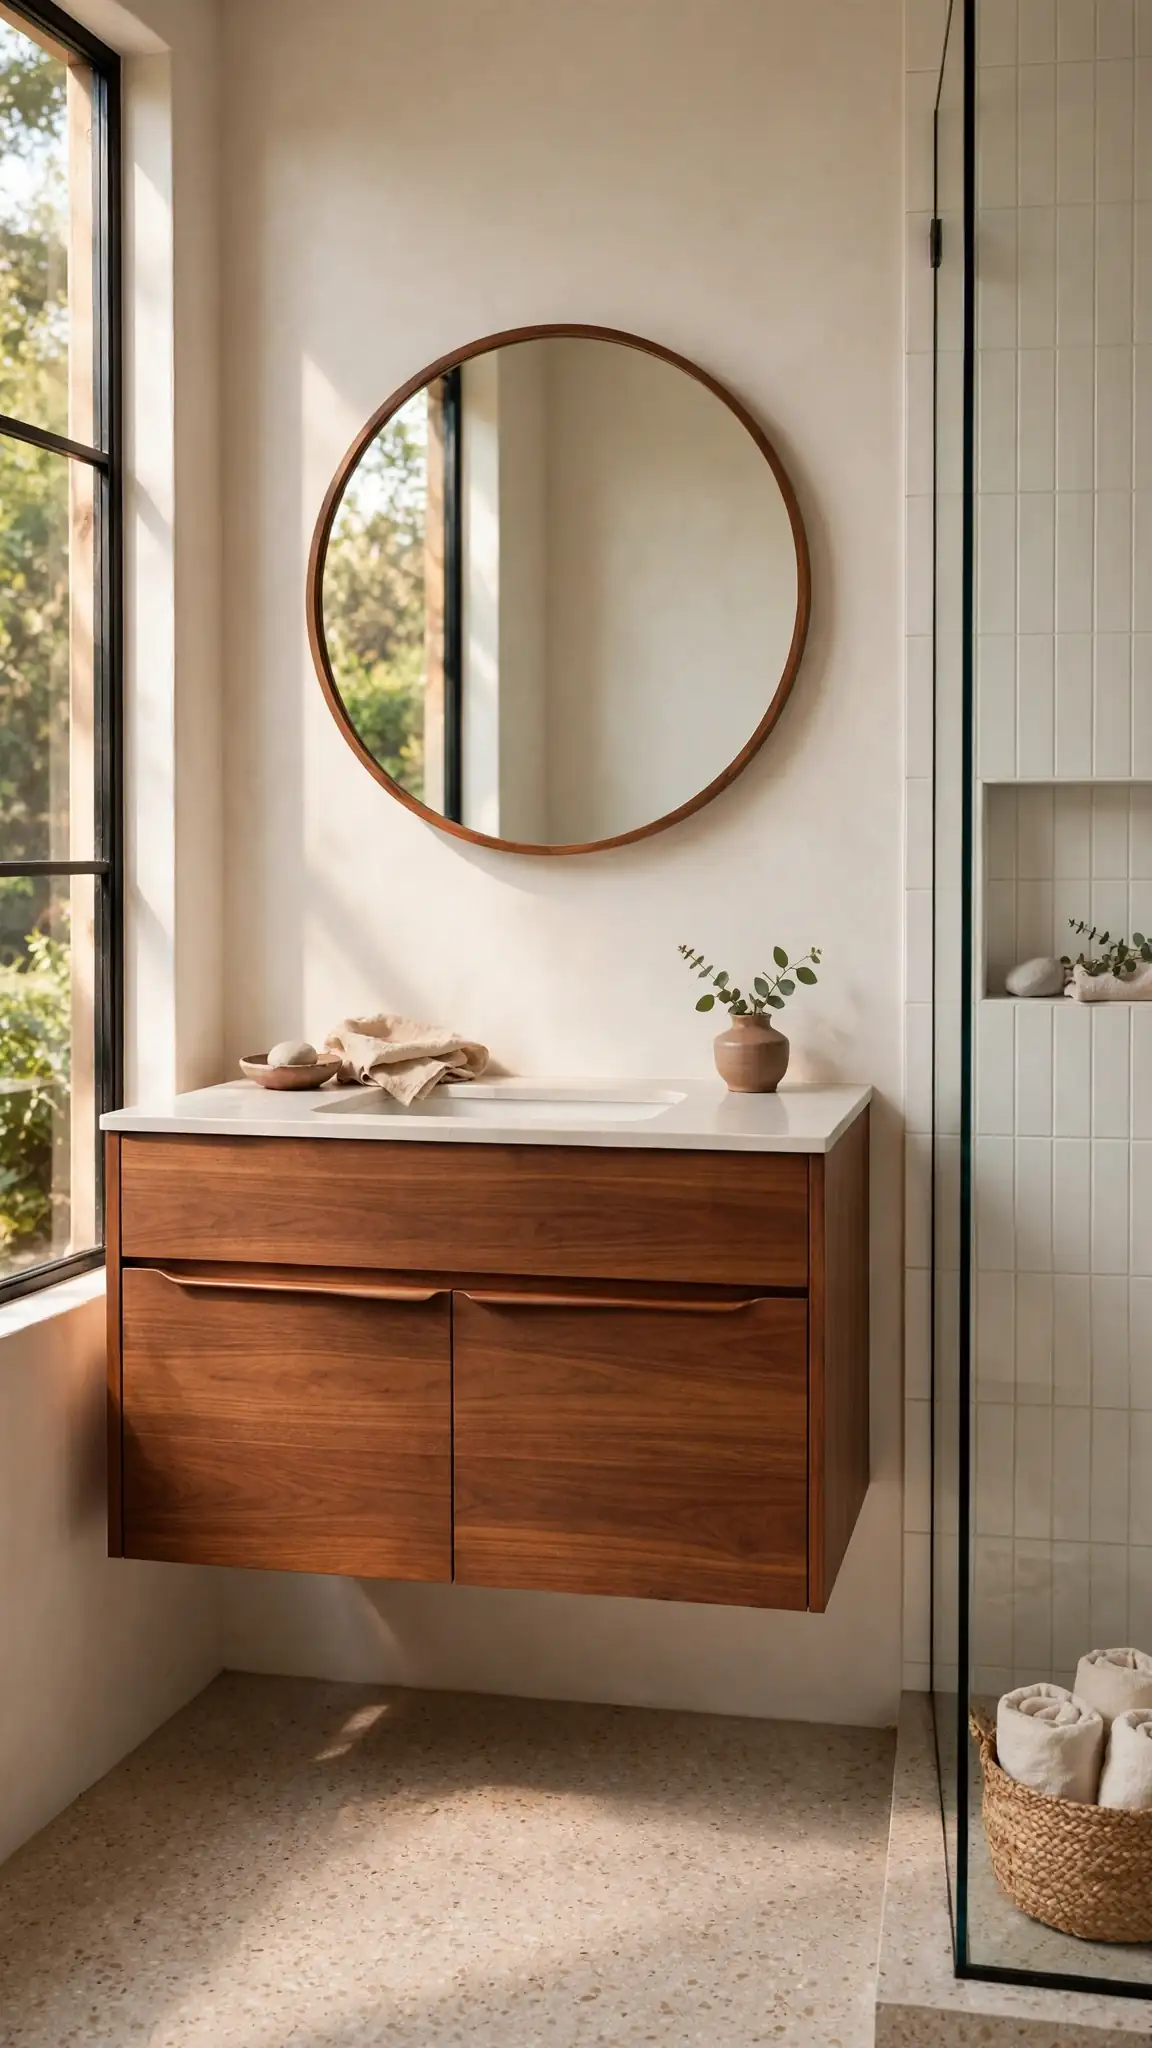
Plan on 34 inches from floor to countertop, and verify the wall can carry the load — a stocked 48-inch vanity can exceed 200 pounds, so anchor into studs or add 2×6 blocking before drywall goes up. Confirm the drain location matches the vanity's plumbing cutouts before ordering, since moving a P-trap afterward is expensive. Budget options start near $900 at IKEA and Costco, with Room & Board and CB2 running $2,000 to $3,000 for solid construction. Run a bead of silicone where the counter meets the wall to stop water creep. Pro tip: order free wood swatches and view them under your bathroom's 2700K bulbs, since walnut shifts color dramatically between showroom and home.
2. Choose Hairpin or Tapered Legs
If a floating vanity is not possible, a freestanding vanity on slim tapered legs or hairpin metal legs achieves the same lifted, airy quality. Legs were fundamental to mid century furniture design because they made heavy case goods look light. In a bathroom, the visible floor underneath prevents the vanity from reading as a bulky block and gives small rooms breathing space. Aim for legs between six and nine inches tall, angled slightly outward. Pair walnut cabinetry with black metal legs, or oak with brass, and repeat that metal in your faucet and mirror frame.
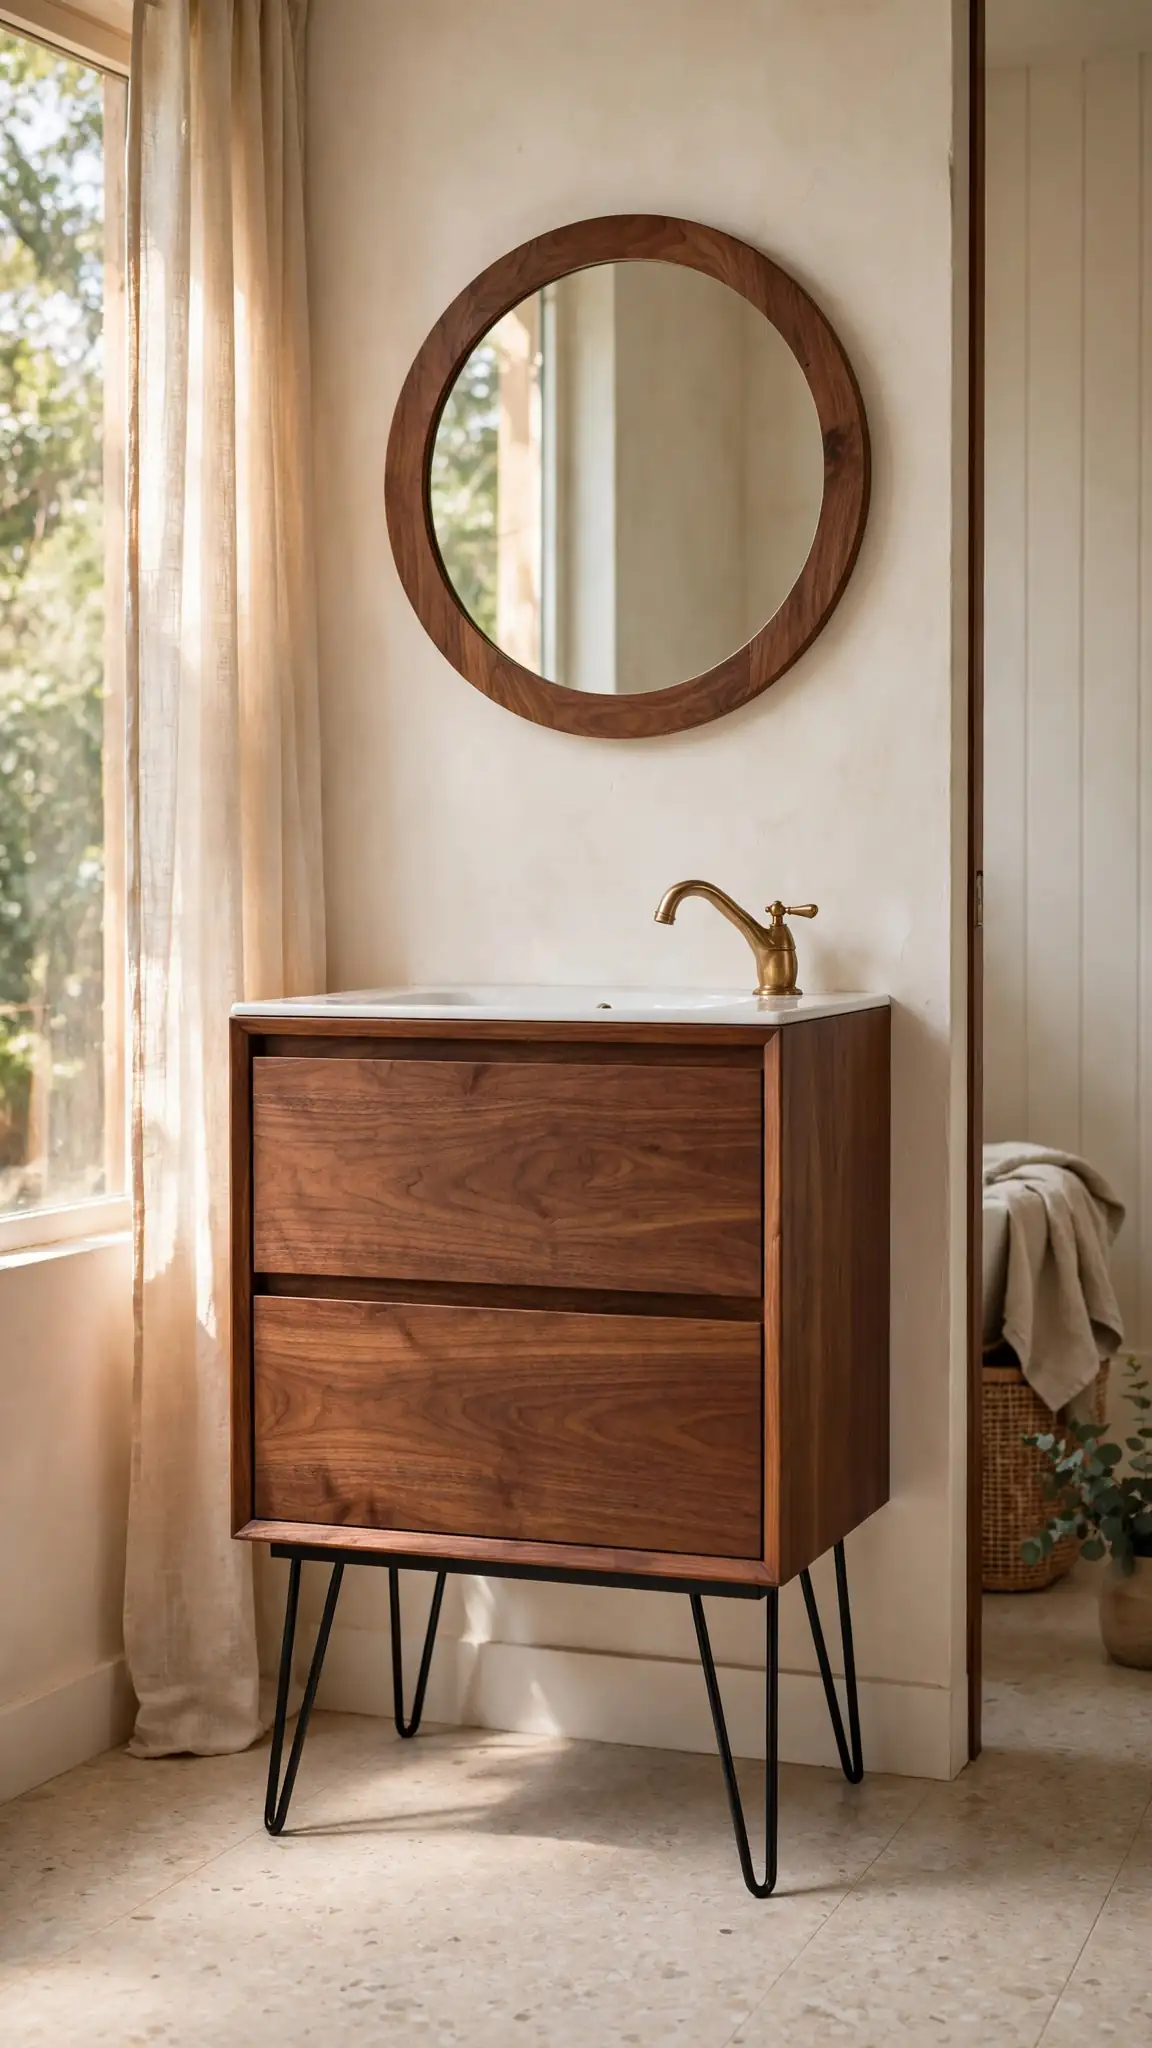
Buy legs rated for at least 75 pounds each, since a loaded vanity with a stone top is heavier than it looks. Angled mounting plates in the five-to-ten-degree range give the classic splayed stance and screw directly into the cabinet base with hanger bolts. Sets of four run $15 to $40 on Amazon and Etsy, with solid brass or powder-coated steel worth the premium over hollow chrome. Add felt or rubber pads so metal feet do not scratch tile, and check that the tallest leg still leaves your sink rim near 34 inches high. Pro tip: buy one adjustable-height foot per leg so you can level the vanity on older, uneven bathroom floors without shimming.
3. Use Geometric Penny or Hex Tile
Small-format geometric tile is a genuine period detail that still looks fresh. Penny round tile, hexagons, and small squares all appeared widely in mid century bathrooms and remain readily available. Use them on the floor in a single soft tone, or introduce a simple two-color pattern such as a border or a scattered accent. Because the tiles are small, the grout lines create fine texture that keeps large floors from looking flat. Choose a grout color close to the tile for a subtle look, or one shade darker to emphasize the geometry deliberately.
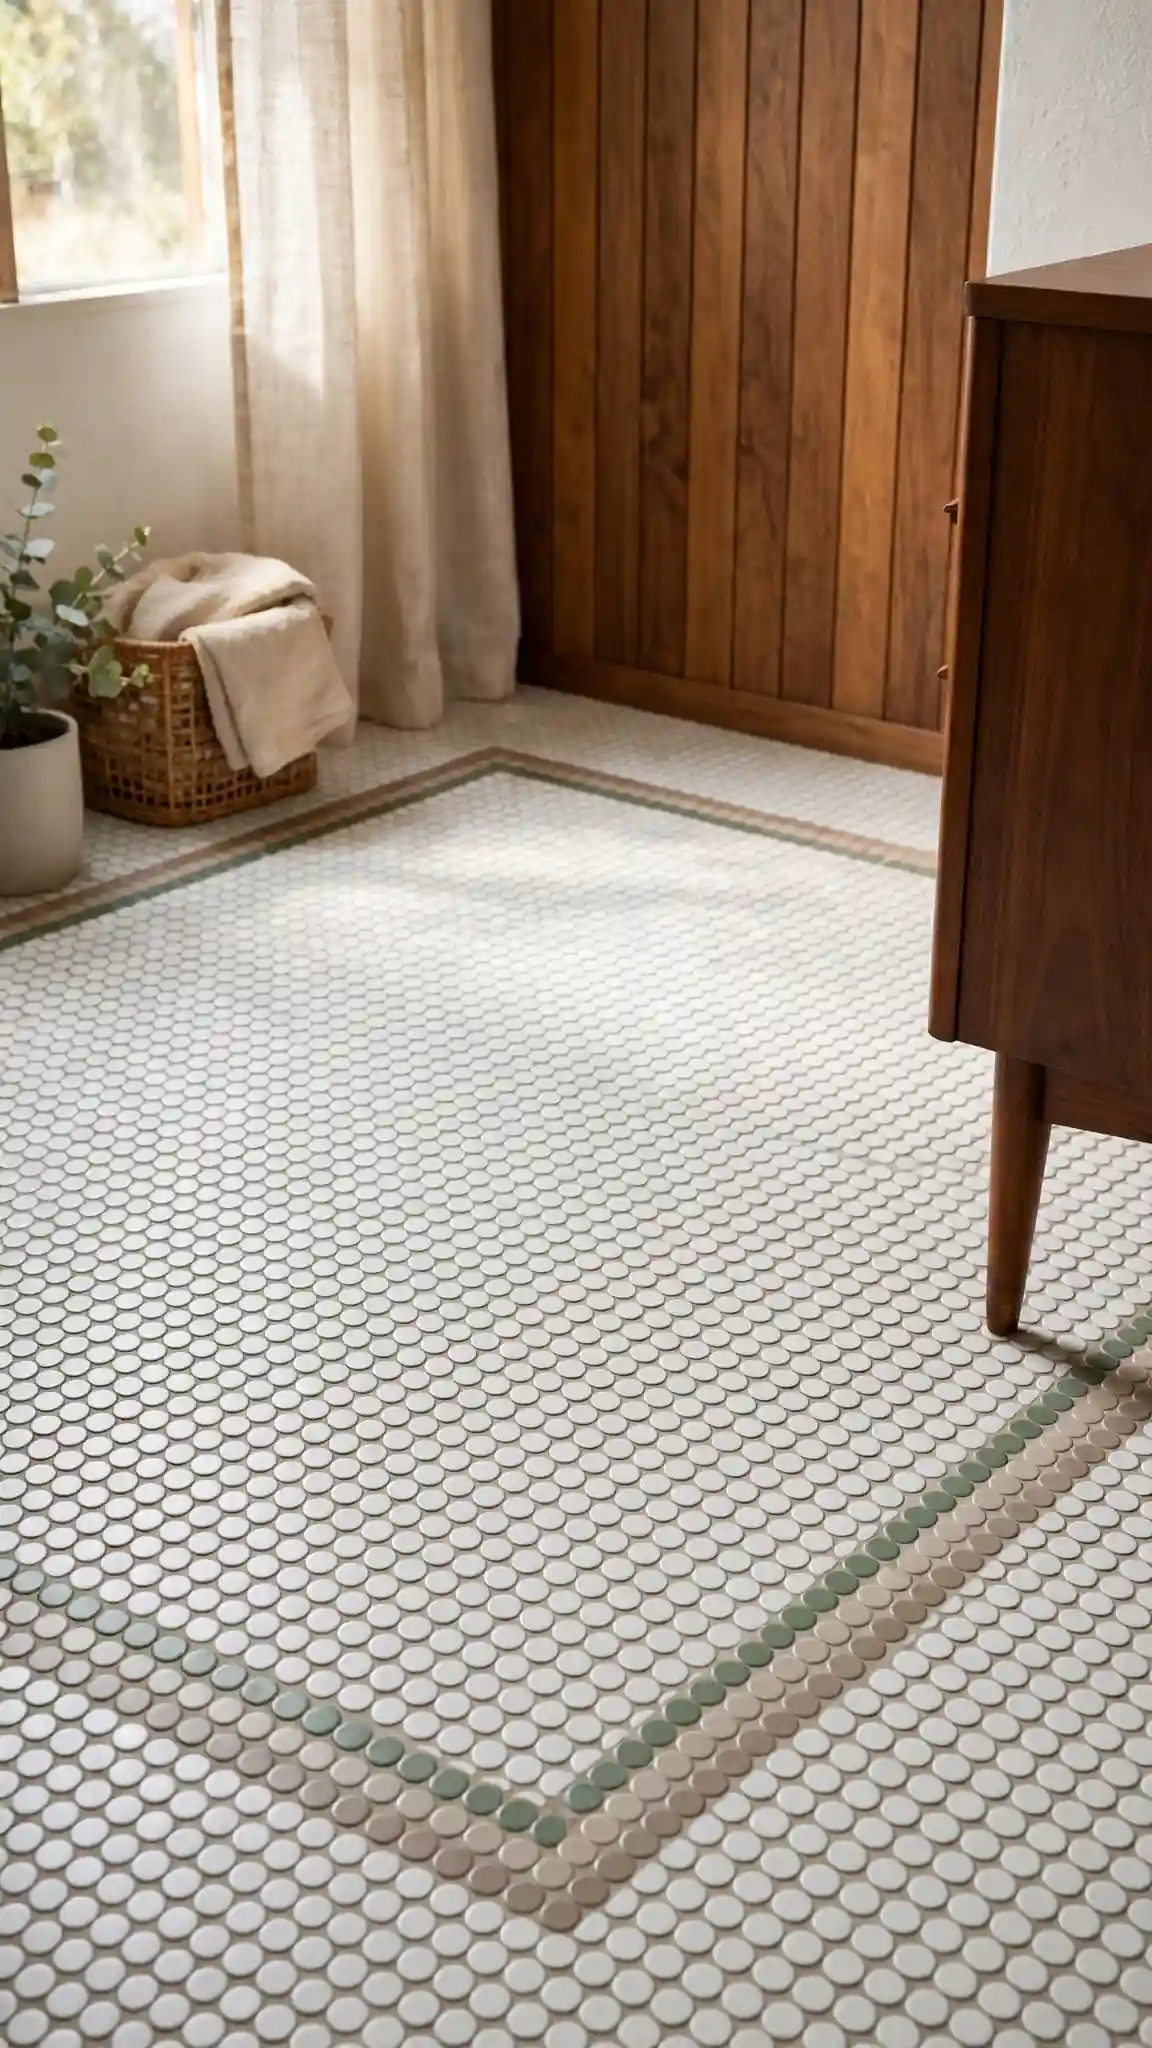
Expect $3 to $12 per square foot for the tile itself at Floor & Decor or Home Depot, with professional installation adding another $10 to $20 per square foot because small sheets are labor-intensive. Buy ten percent extra for cuts and keep a few full sheets for repairs. In showers, seal cement-based grout annually or choose an epoxy grout that never needs sealing. A 3/4-inch penny round on mesh is the most forgiving for DIYers, since the small pieces conform to slight subfloor dips. Avoid bright white grout on floors; it shows every speck within weeks. Pro tip: lay out one full sheet dry before the installer arrives to confirm the pattern reads correctly at room distance.
4. Add a Bold Vertical Tile Feature Wall
Stacked vertical tile in a saturated color is a modern way to bring mid century boldness into a bathroom without committing to full period decor. Glossy ceramic in mustard, teal, olive, or terracotta stacked in a straight vertical grid behind the vanity or inside the shower makes a strong statement while staying easy to clean. Vertical stacking also draws the eye upward and makes ceilings feel higher. Keep the rest of the room neutral so the color wall stays the clear focal point rather than competing with other finishes.
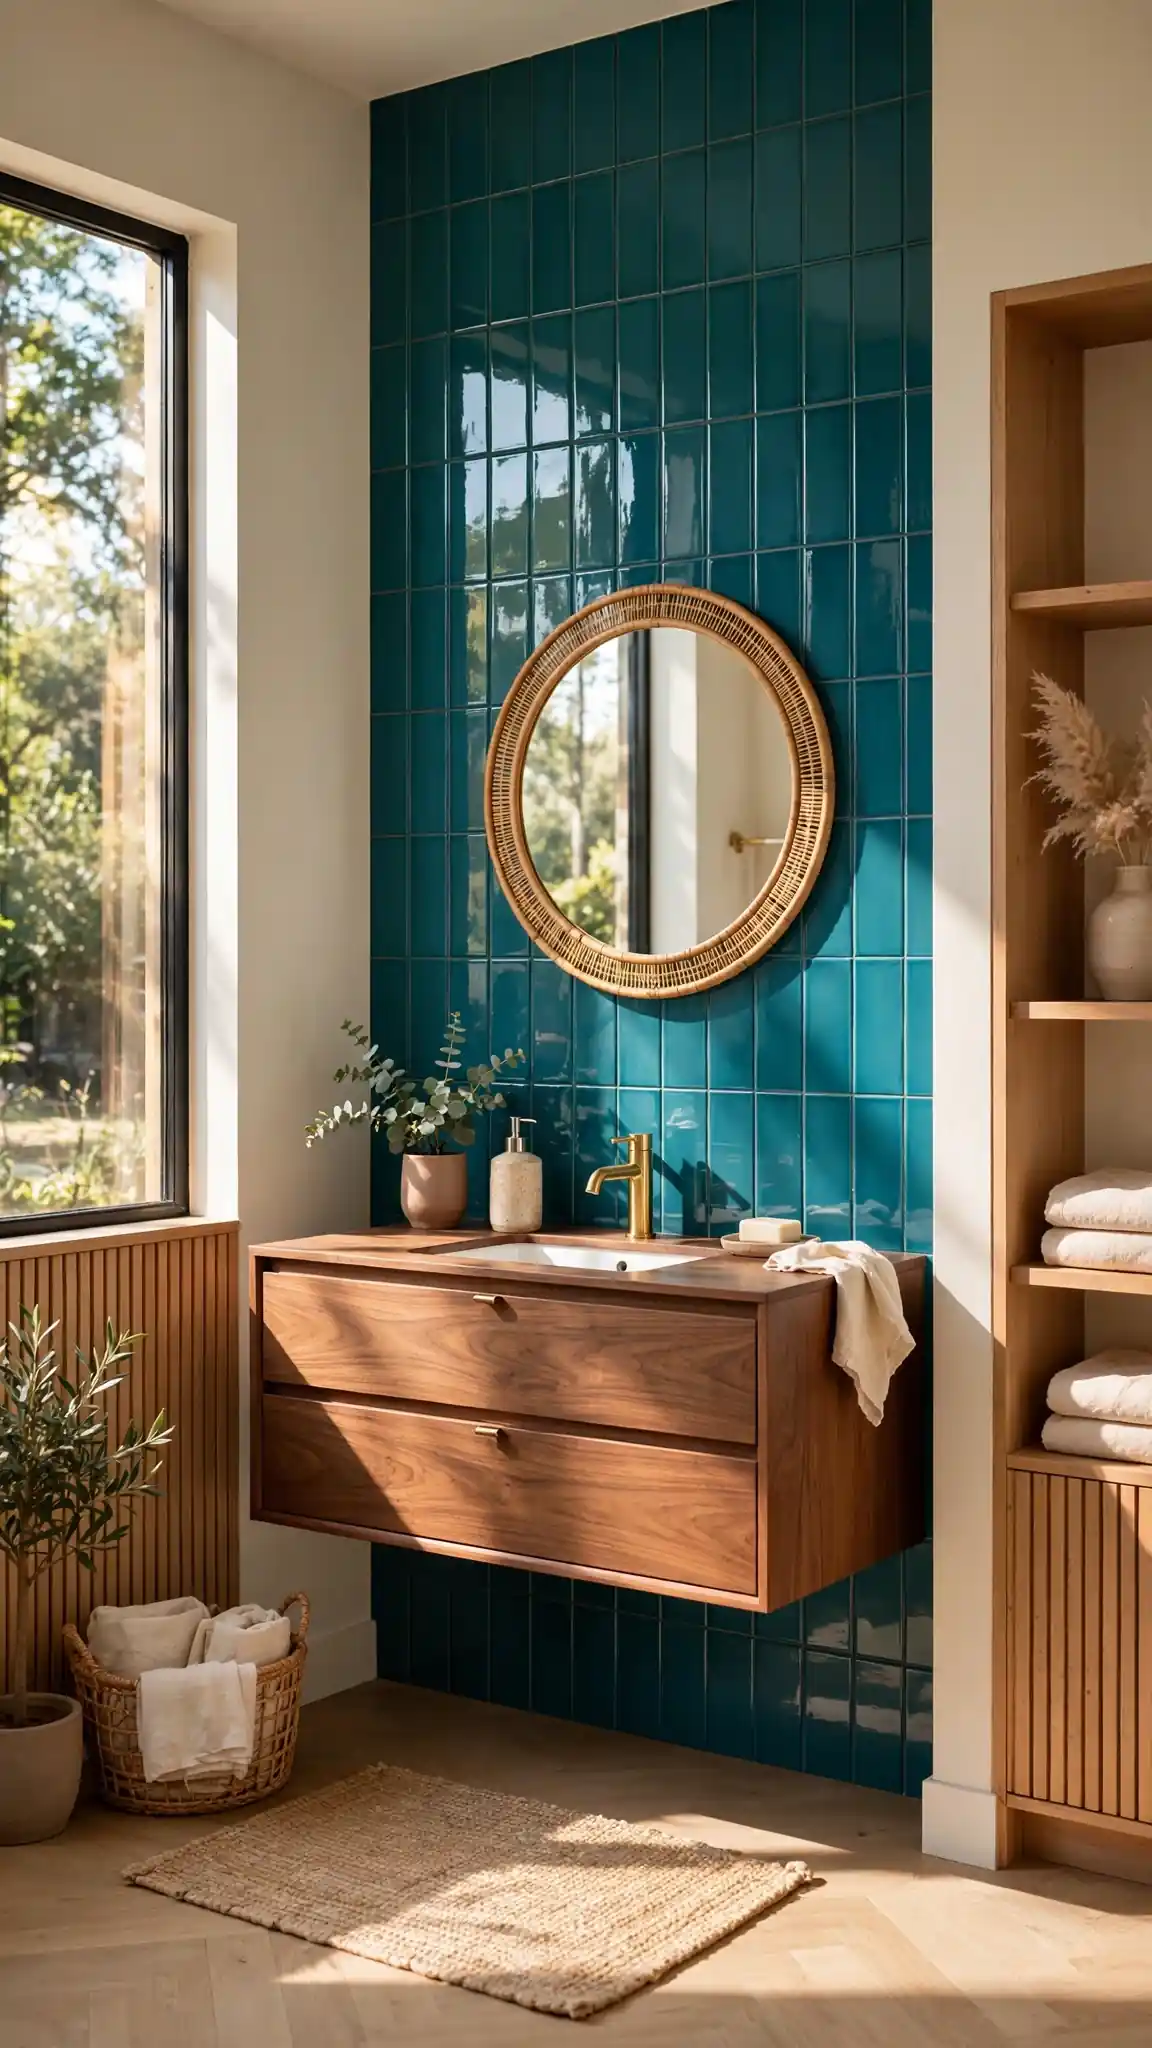
A 3×12 or 4×12 ceramic in a straight vertical stack is the easiest size to install cleanly, and brands like Fireclay Tile, Bedrosians, and TileBar sell them for $5 to $15 per square foot. Behind a vanity, run the feature wall from countertop to ceiling for maximum impact; in a shower, carry the tile through the niche so the color wraps continuously. Dark glossy tile shows every trowel mark, so insist the installer flatten the substrate and back-butter each piece. Budget $500 to $1,200 in labor for a single accent wall. Pro tip: photograph your chosen tile under both daylight and evening bulbs before committing, since saturated glazes can shift from teal to navy after dark.
5. Pick a Round or Capsule Mirror
Curved shapes were the counterweight to all those straight lines in mid century design, and the bathroom mirror is the easiest place to add one. A large round mirror in walnut, brass, or thin black metal softens the rectangular geometry of the vanity, tile, and doorway. Capsule and arched shapes work equally well and suit narrower vanities. Size the mirror to roughly two-thirds the width of the vanity below and center it carefully. Backlit versions with a warm LED halo give you a period-appropriate glow and practical illumination in one fixture.
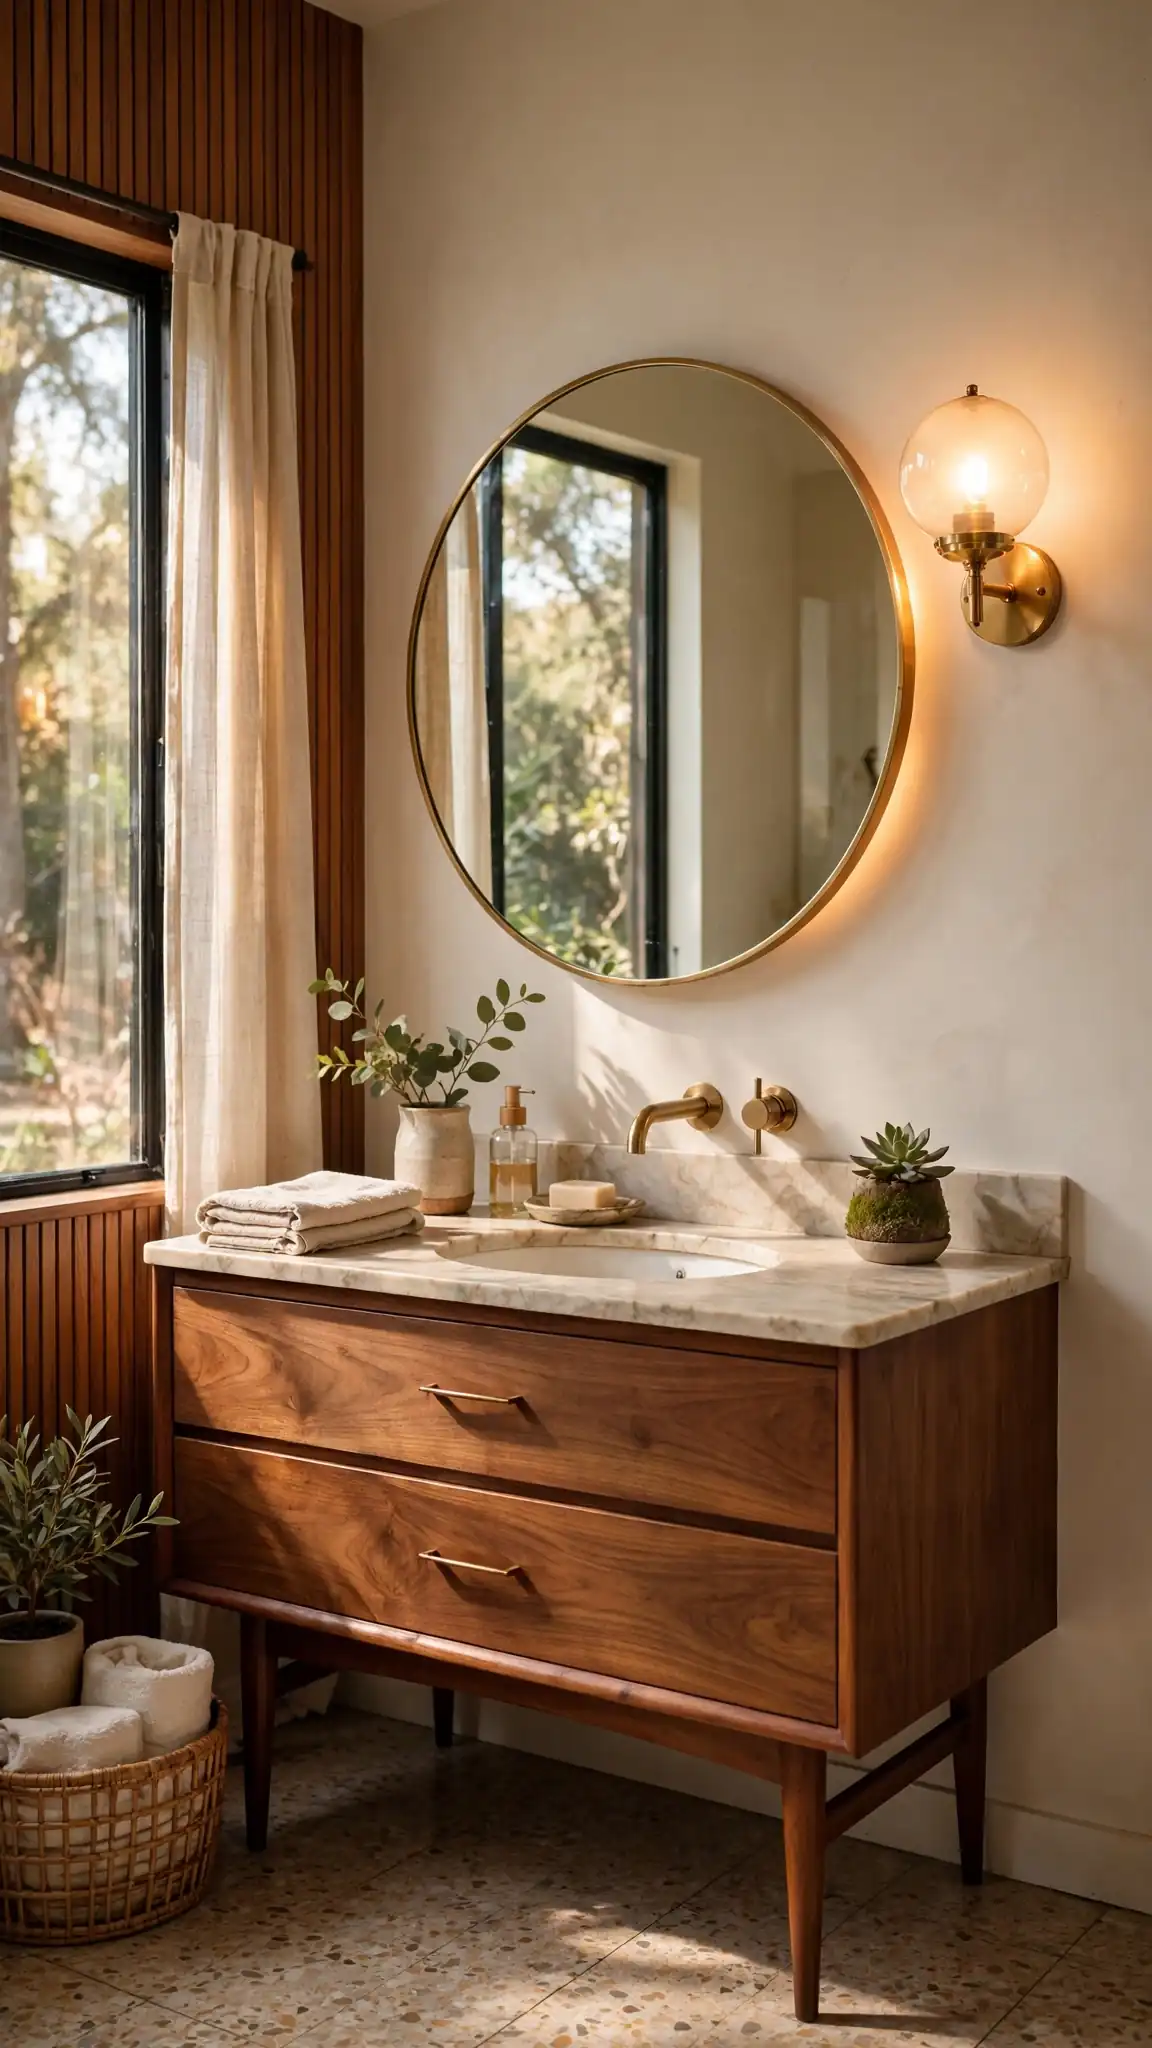
Mount the center of the mirror at roughly 60 to 65 inches from the floor, and use anchors rated for the mirror's weight rather than the wire that ships in the box. Round mirrors from 24 to 36 inches run $60 to $250 at IKEA, Target, and Amazon, while backlit models from Rejuvenation or West Elm climb to $300-plus. If you want a defogger, add a $30 stick-on pad behind the glass before hanging. Keep the mirror at least two inches clear of sconces on each side so the frames never touch. Pro tip: have a second person hold the mirror in place while you check the sightline from the doorway before drilling a single hole.
6. Add Globe or Sputnik Lighting
Lighting is where mid century bathrooms have the most fun. Opal glass globe sconces flanking the mirror are the definitive choice, giving even, flattering light with a soft sculptural form. For overhead lighting, a small Sputnik fixture or a cluster of glass globes on brass arms brings genuine personality to a room that too often gets a builder-grade flush mount. Use warm bulbs around 2700K and add a dimmer. If your ceiling is low, choose a semi-flush globe rather than a pendant so the fixture stays clear of head height.
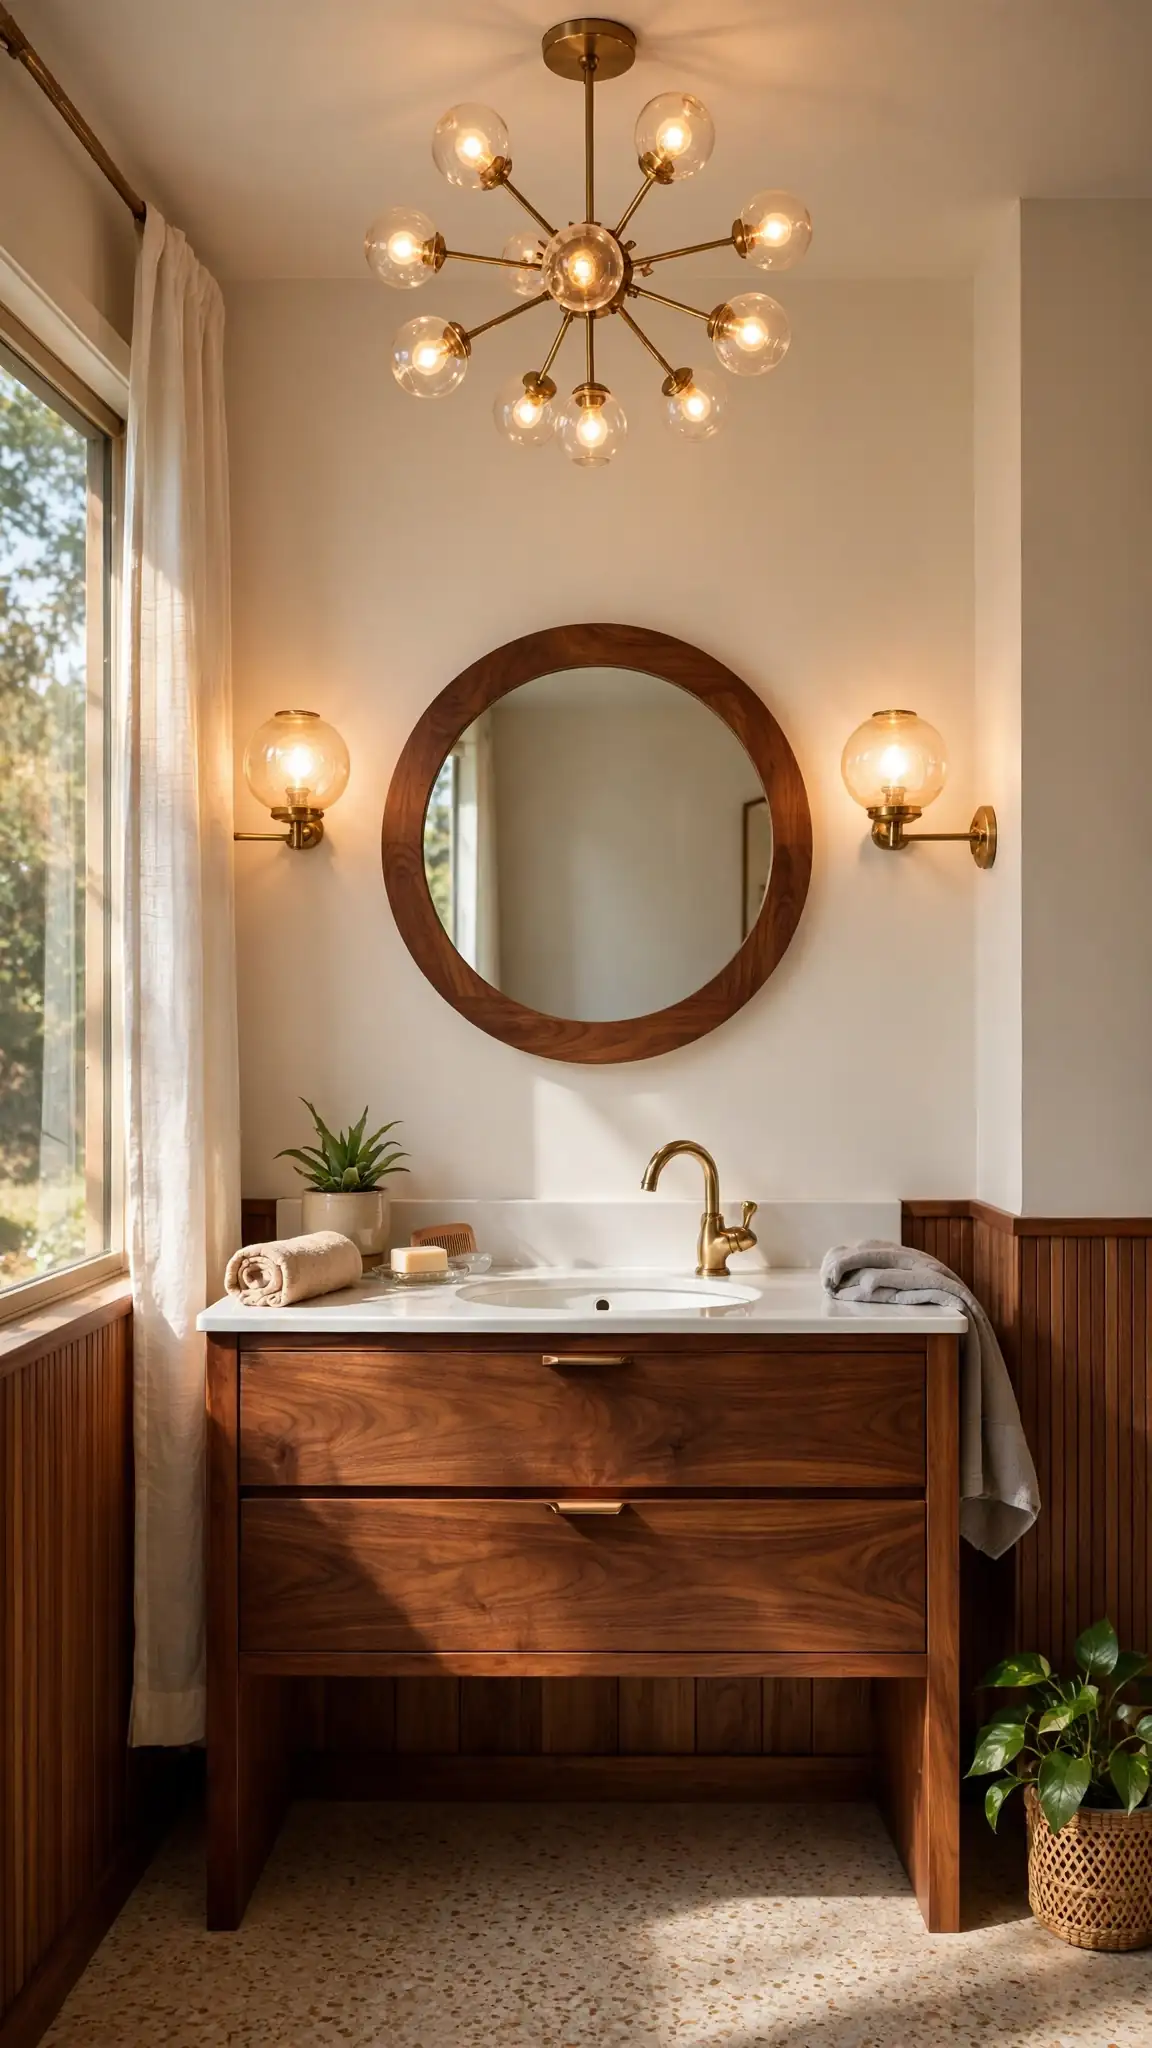
Wire sconces on a dedicated dimmer switch so evening baths and morning routines get different light, and budget $150 to $300 for an electrician if the walls are closed. Opal globe sconces from Schoolhouse, Mitzi, or West Elm run $80 to $250 each, with IKEA's SOLKLINTA under $40 as a solid entry point. Choose LED G25 bulbs with a CRI above 90 so skin tones look natural, and confirm your dimmer is LED-compatible — an old incandescent dimmer will make LEDs buzz or flicker. In rentals, plug-in globe sconces with cord covers skip the electrician entirely. Pro tip: frosted globes hide the bulb completely, while clear globes need an Edison-style filament bulb to look intentional.
7. Introduce Warm Brass Fixtures
Brass was everywhere in mid century interiors, and it remains the most flattering metal for warm wood tones. Choose brushed or satin brass rather than high-polish, since the softer finish shows fewer fingerprints and looks contemporary. Apply it consistently across the faucet, shower trim, towel bars, and mirror frame so the room feels coordinated. Unlacquered brass is an option if you enjoy patina, though it will darken unevenly over time. For a cooler take on the era, matte black or a chrome-and-walnut combination is equally authentic and often easier to source.
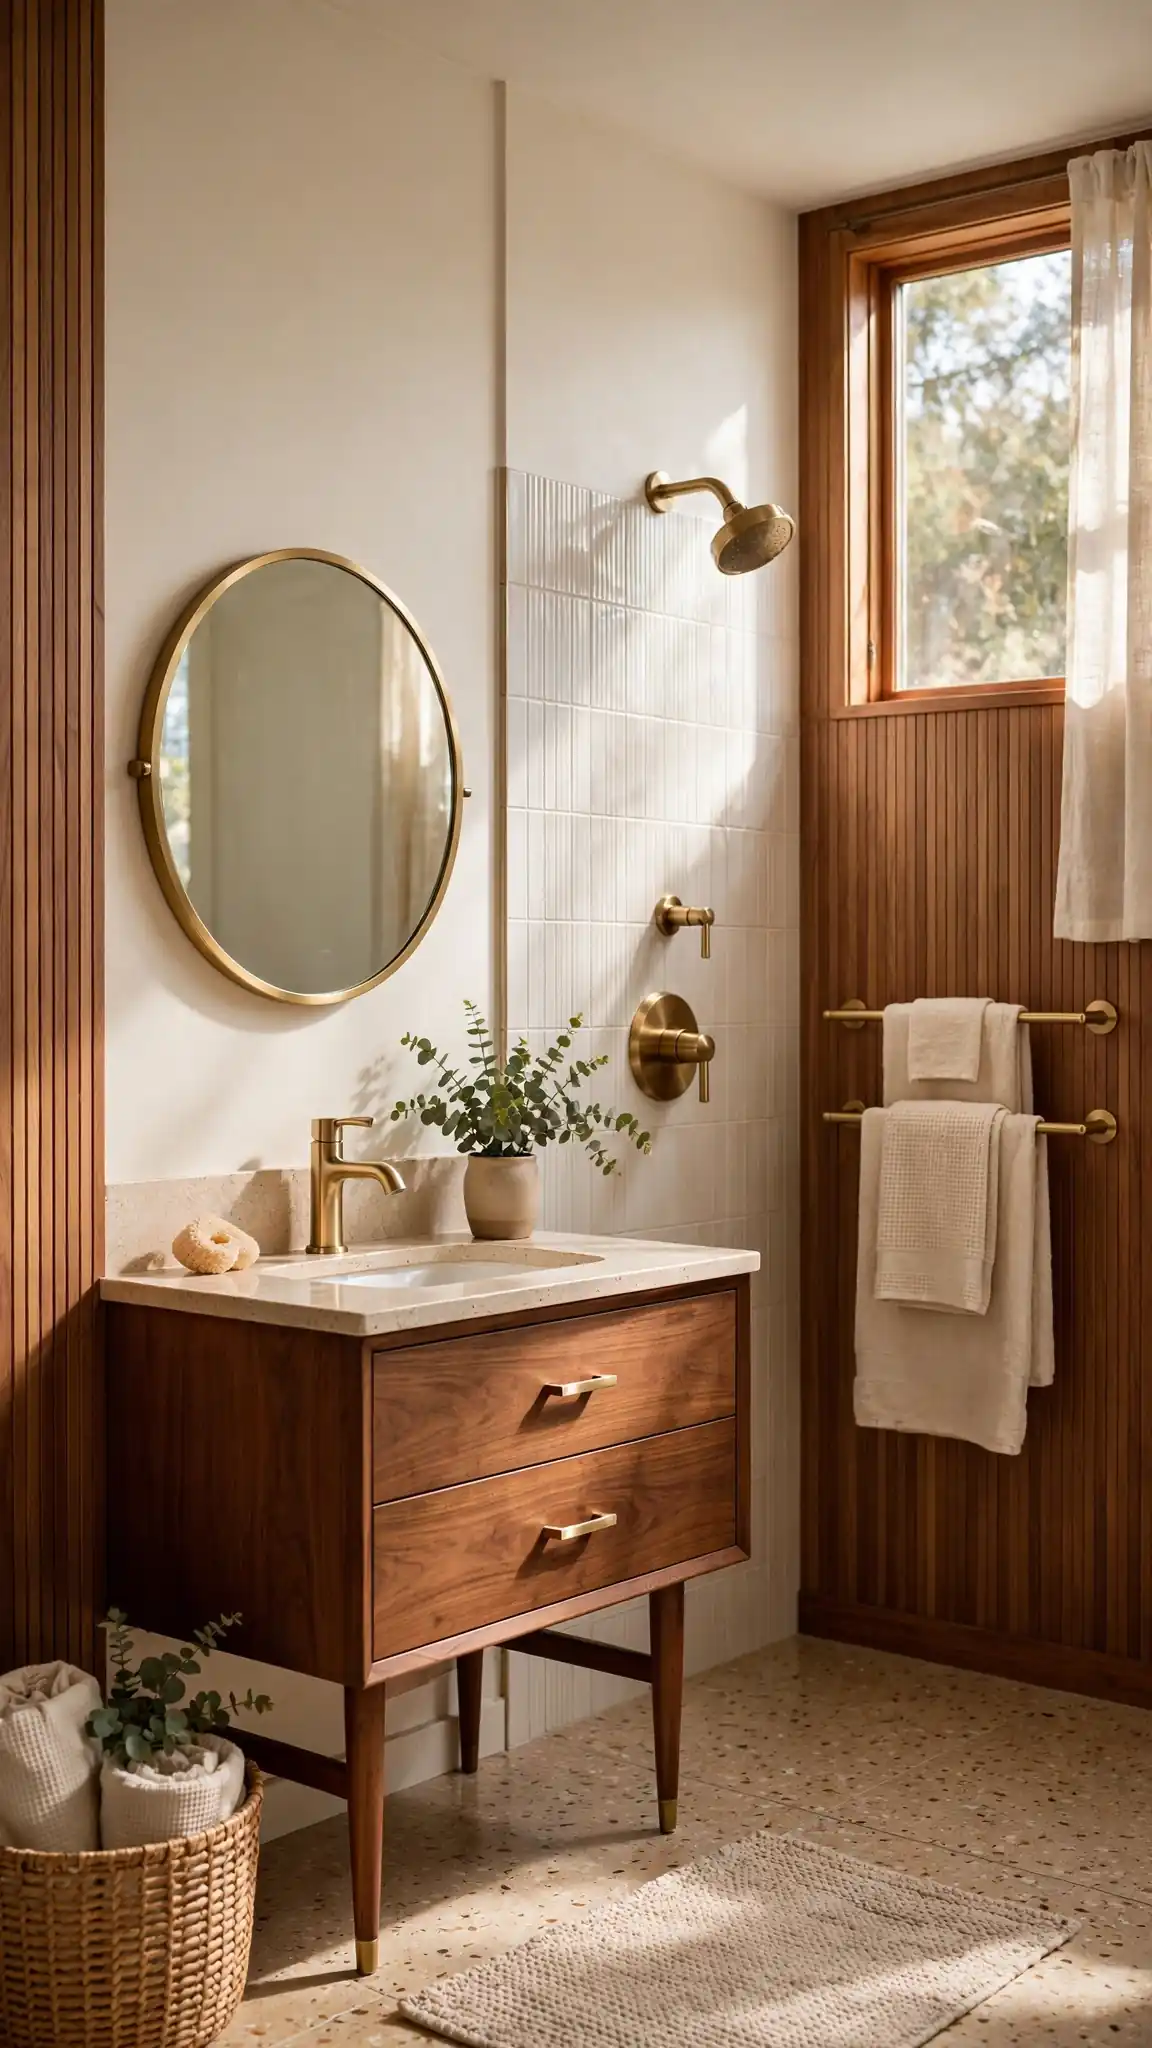
Stick to one brass finish across the whole room, because mixed warm metals read as a mistake rather than a design choice. Solid brass bodies from Delta's Champagne Bronze line or Kohler's Vibrant Brushed Moderne Brass run $150 to $400 per faucet, while bargain brass-plated plastic chips within a year. Clean with mild soap and a soft cloth only; abrasive pads strip the finish. For unlacquered brass, a yearly coat of Renaissance wax slows patina without stopping it. Check that towel bars and hooks come in the same finish code, since brushed gold varies wildly between brands. Pro tip: order every fixture from one manufacturer collection so the undertones match perfectly out of the box.
8. Choose an Earthy Retro Color Palette
Mid century color is warm, muted, and confident. Build a palette from mustard yellow, avocado or olive green, burnt orange, teal, and warm browns, then dilute it with plenty of cream, white, and natural wood so the room does not tip into costume. Use one saturated color as the accent, in tile, a painted vanity, or towels, and keep the remaining surfaces neutral. Muted, dusty versions of these shades age far better than bright, high-chroma ones and photograph beautifully against walnut and brass.
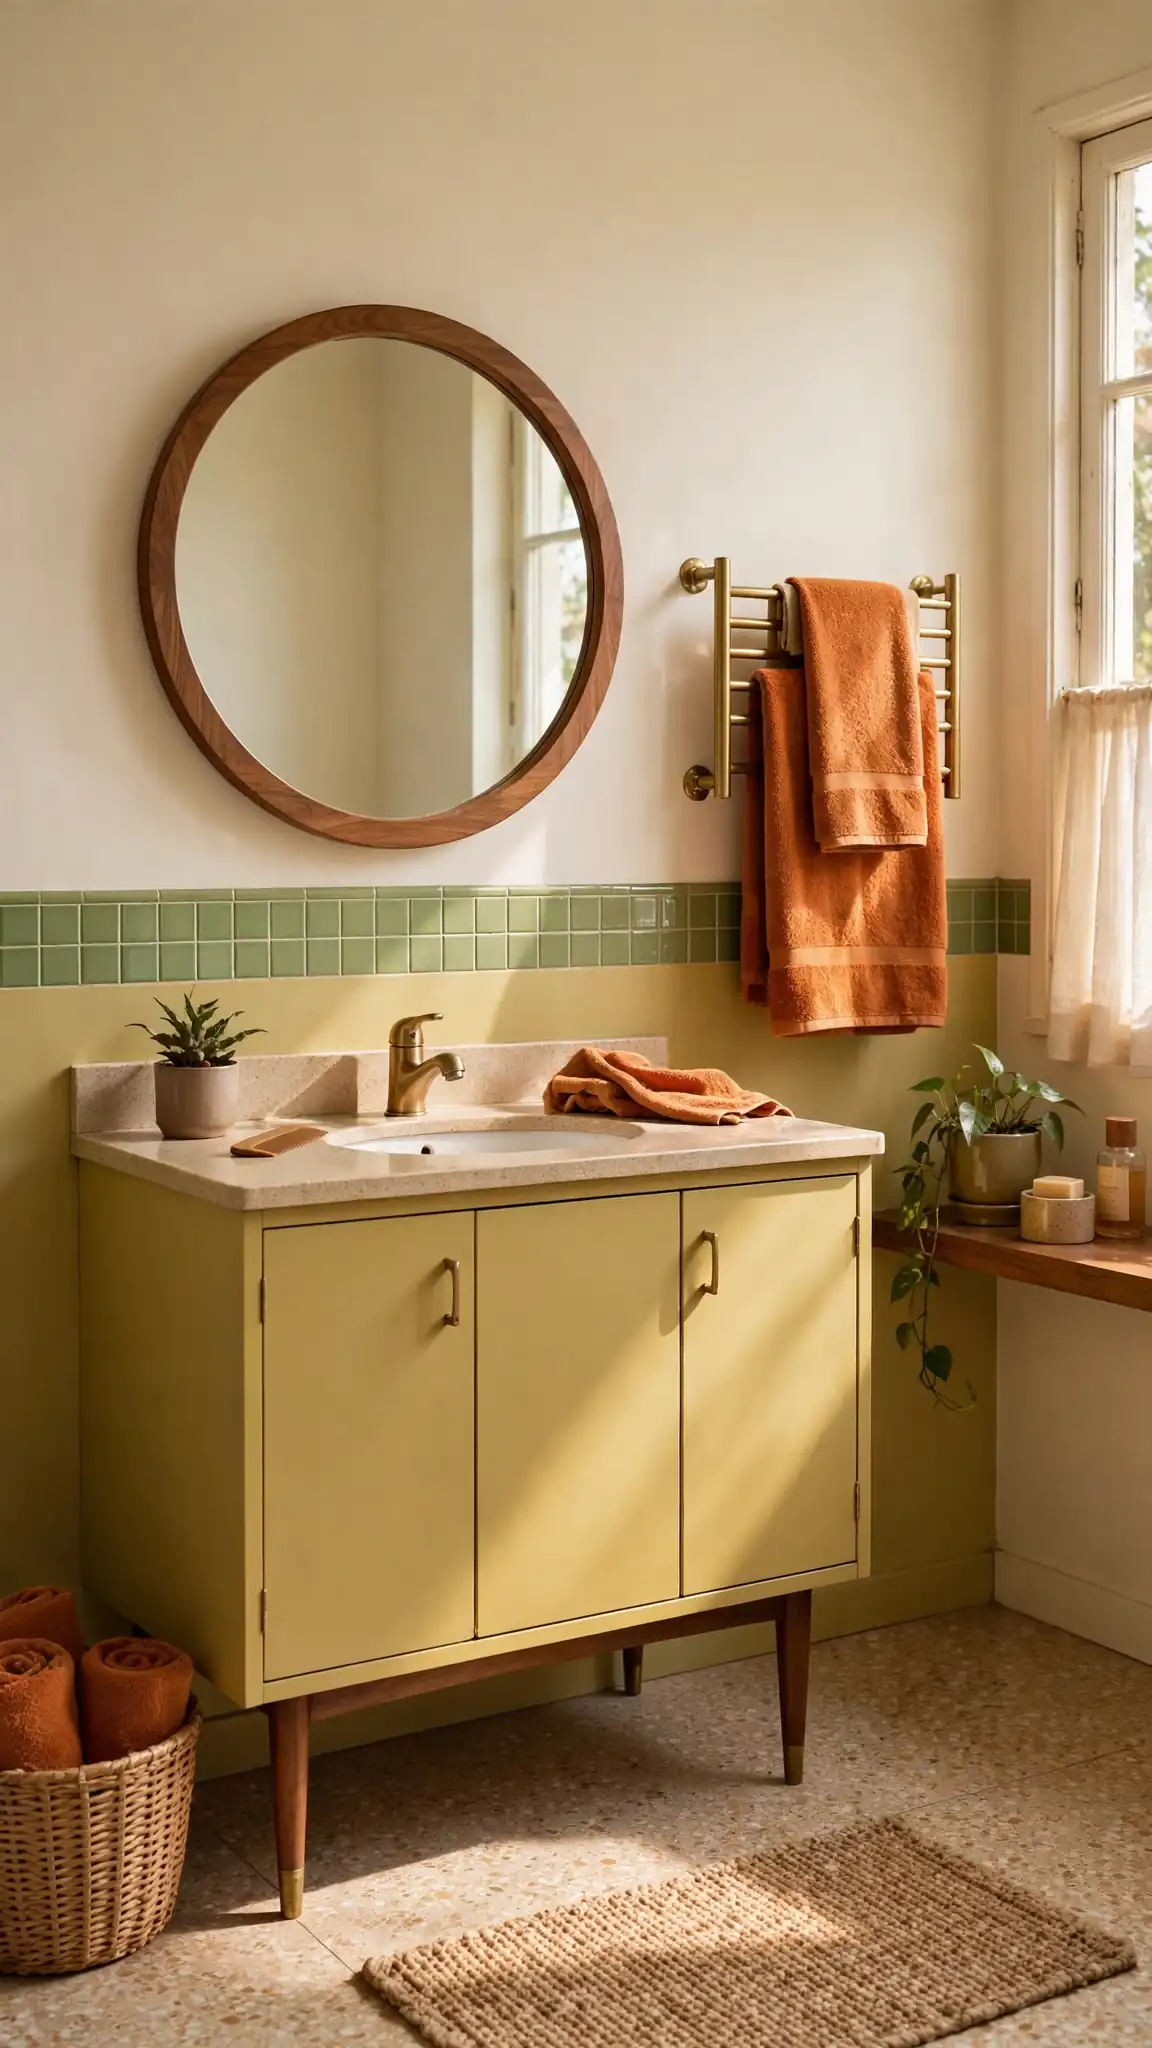
Test paint in large swatches on foam board and move them around the room for two days before committing, since retro hues swing wildly under 2700K bulbs versus daylight. A gallon of quality bathroom paint runs $40 to $70 from Sherwin-Williams or Benjamin Moore; always use a mildew-resistant primer first. Confident but livable picks include Benjamin Moore's Hawthorne Yellow, Olive Branch, and Terra Cotta Tile. Keep saturated color to one wall or the vanity itself — a full small bathroom in burnt orange feels like a cave. Eggshell or satin sheen handles steam best. Pro tip: paint the ceiling the same cream as the trim to visually lift a low 8-foot ceiling by several inches.
9. Add a Wall-Mounted Faucet
A wall-mounted faucet frees the countertop of clutter and reinforces the horizontal emphasis that defines the style. It pairs especially well with vessel or shallow undermount sinks and makes cleaning the counter far simpler. The trade-off is plumbing: the valve must be roughed into the wall, so this is a decision to make early in a renovation rather than as a later swap. If wall-mounting is impractical, a low-profile single-lever deck faucet with a slim cylindrical body achieves a similar minimalist effect.
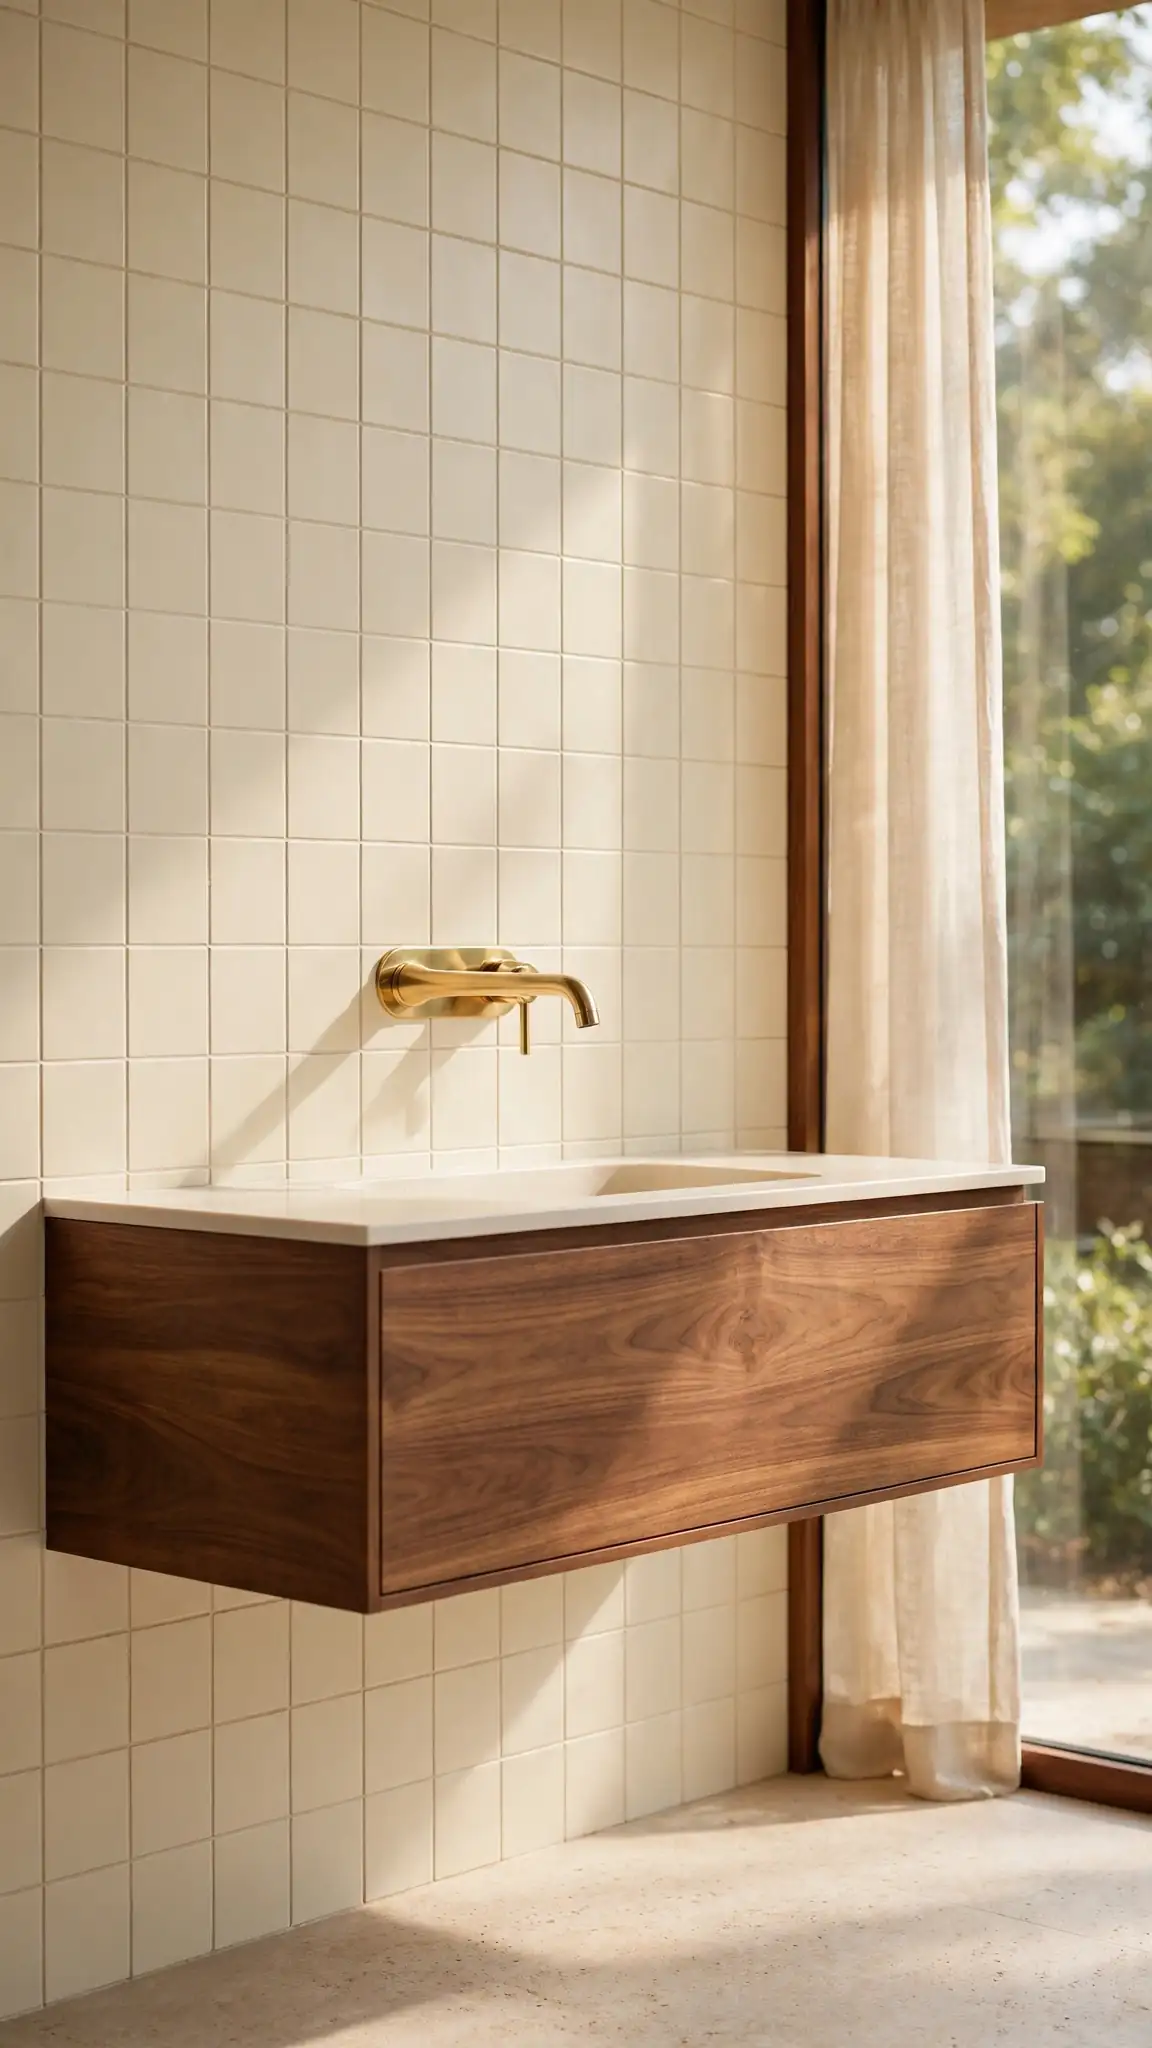
Plan for a 2×6 wall cavity, since standard 2×4 framing rarely leaves room for the valve body plus tile and backer board. The spout should extend seven to nine inches from the finished wall so water lands at the bowl's center, not against the back edge. Faucets run $200 to $600 from Kohler, Delta, or Brizo, and rough-in plumbing costs $500 to $1,000. Choose a model with an integrated single-handle mixer to keep the wall plate compact. In freezing climates, never place the valve on an exterior wall without extra insulation. Pro tip: tape a cardboard mock-up of the spout to the wall and run the sink to check splashback before the tile goes up.
Read More Blogs on: decormellow.com
10. Use a Slatted Wood Accent
Vertical wood slats, whether on a wall, a vanity front, or a shower bench, add rhythm and texture that photographs beautifully and feels distinctly of the period. In a bathroom, use properly sealed hardwood, thermally modified timber, or a moisture-rated slat panel, and keep it out of direct spray zones. A slatted wall behind a freestanding tub or on the wall opposite the vanity introduces warmth without adding color. The repeating vertical lines also make a low-ceilinged bathroom feel taller, which is a useful bonus in older homes.
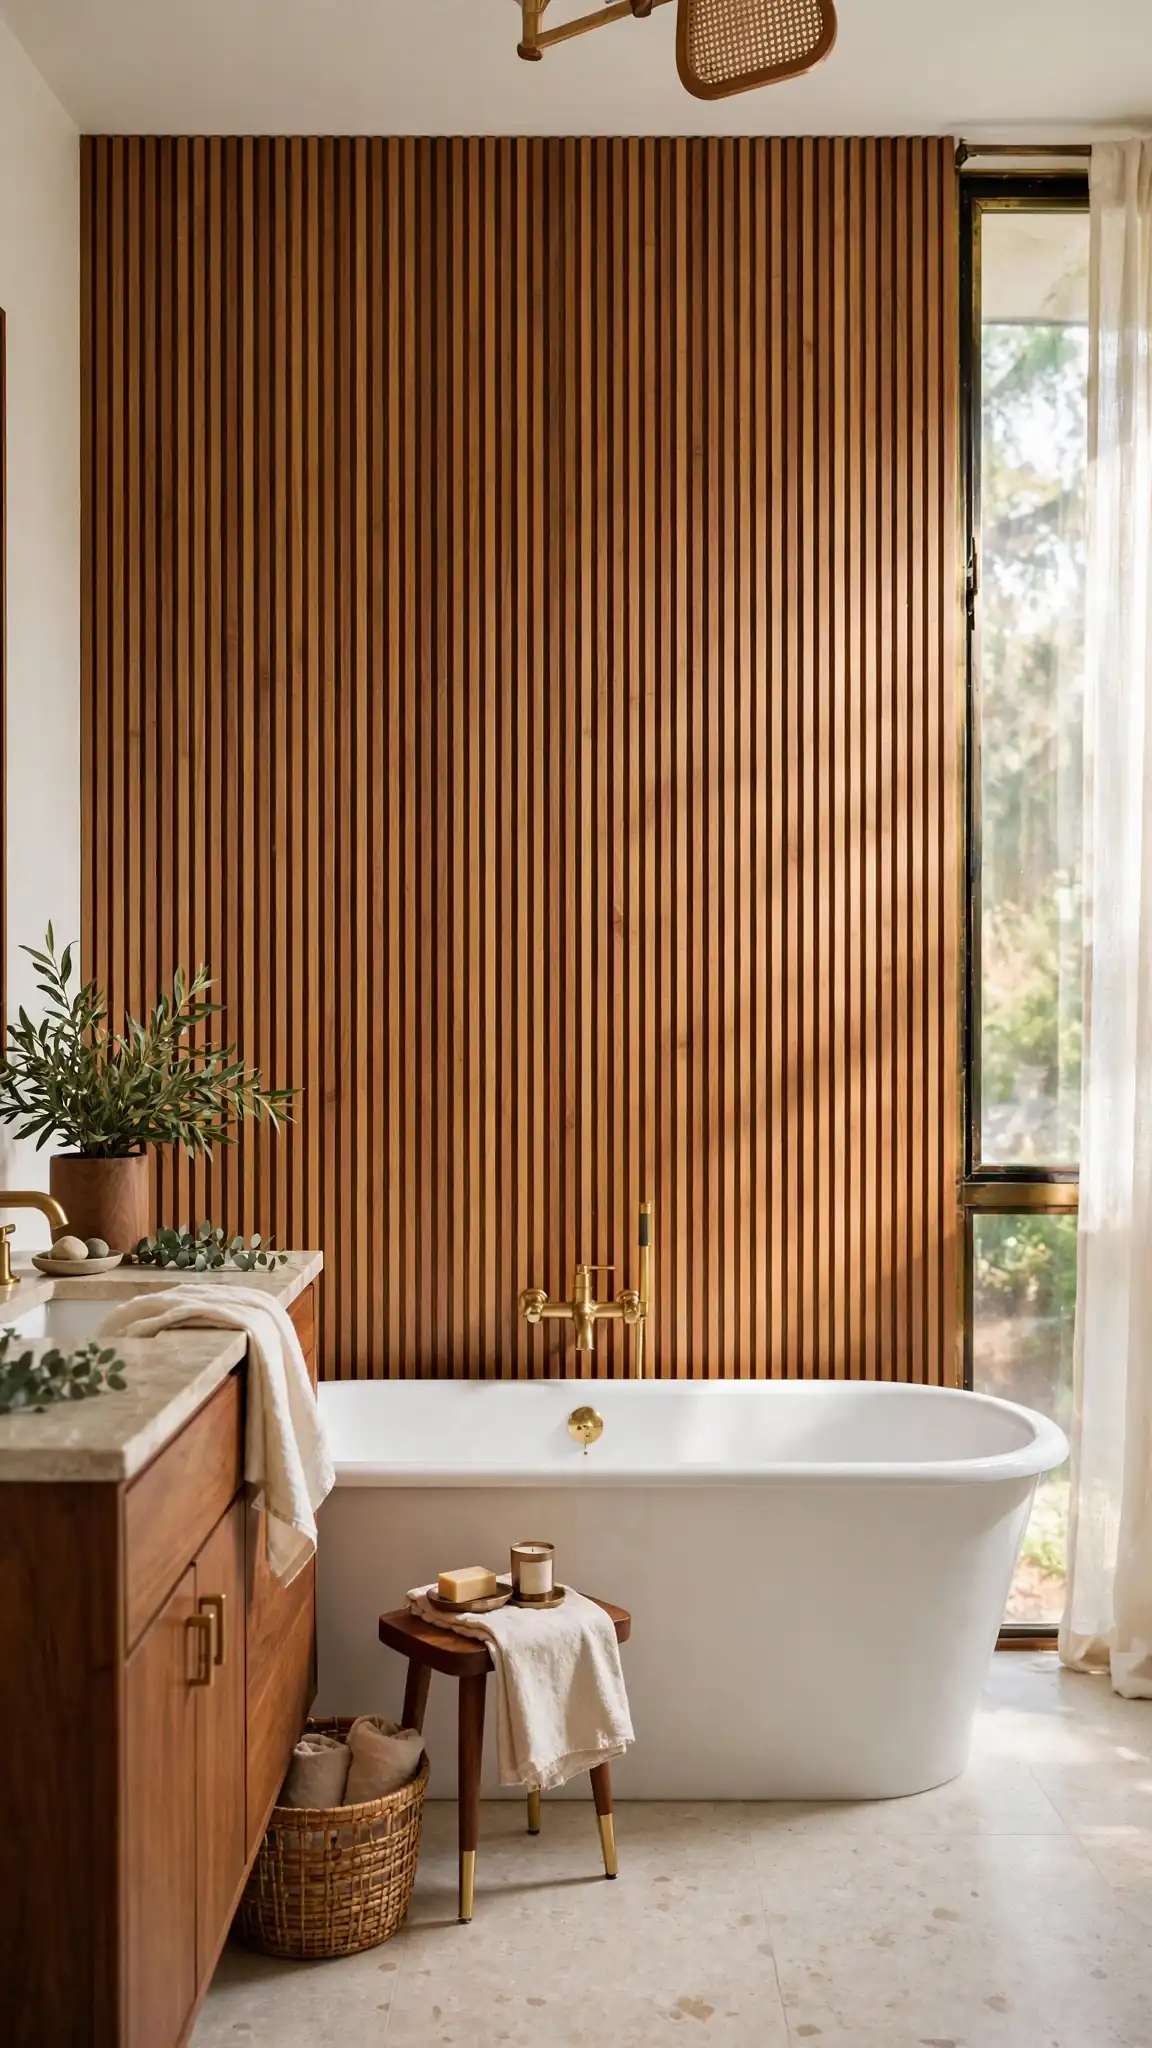
Prefabricated slat panels cost $10 to $25 per square foot on Wayfair and Amazon, while a DIY version from 1×2 pine battens runs under $5 per square foot plus a weekend. Space slats a half inch apart over dark backing for the classic shadow-line effect, and seal every face, backs included, with marine spar urethane or water-based polyurethane. Attach with construction adhesive plus brad nails into studs, and leave a quarter-inch gap at the floor. Never use MDF slats in a bathroom; they swell irreversibly with steam. Pro tip: run the slats floor to ceiling behind a freestanding tub, then stop the panel exactly at the tub's edge for a crisp, built-in look.
11. Try a Terrazzo Floor or Countertop
Terrazzo saw its first major popularity during exactly this era and has returned in a big way. The speckled composite offers subtle color and movement that hides water spots and daily wear, making it genuinely practical for bathrooms. Choose a neutral base with warm chips in caramel, rust, and cream to complement walnut cabinetry, or go bolder with larger, more colorful aggregate for a playful powder room. Modern terrazzo-look porcelain tiles deliver the appearance at a fraction of the cost and install like any other large-format tile.
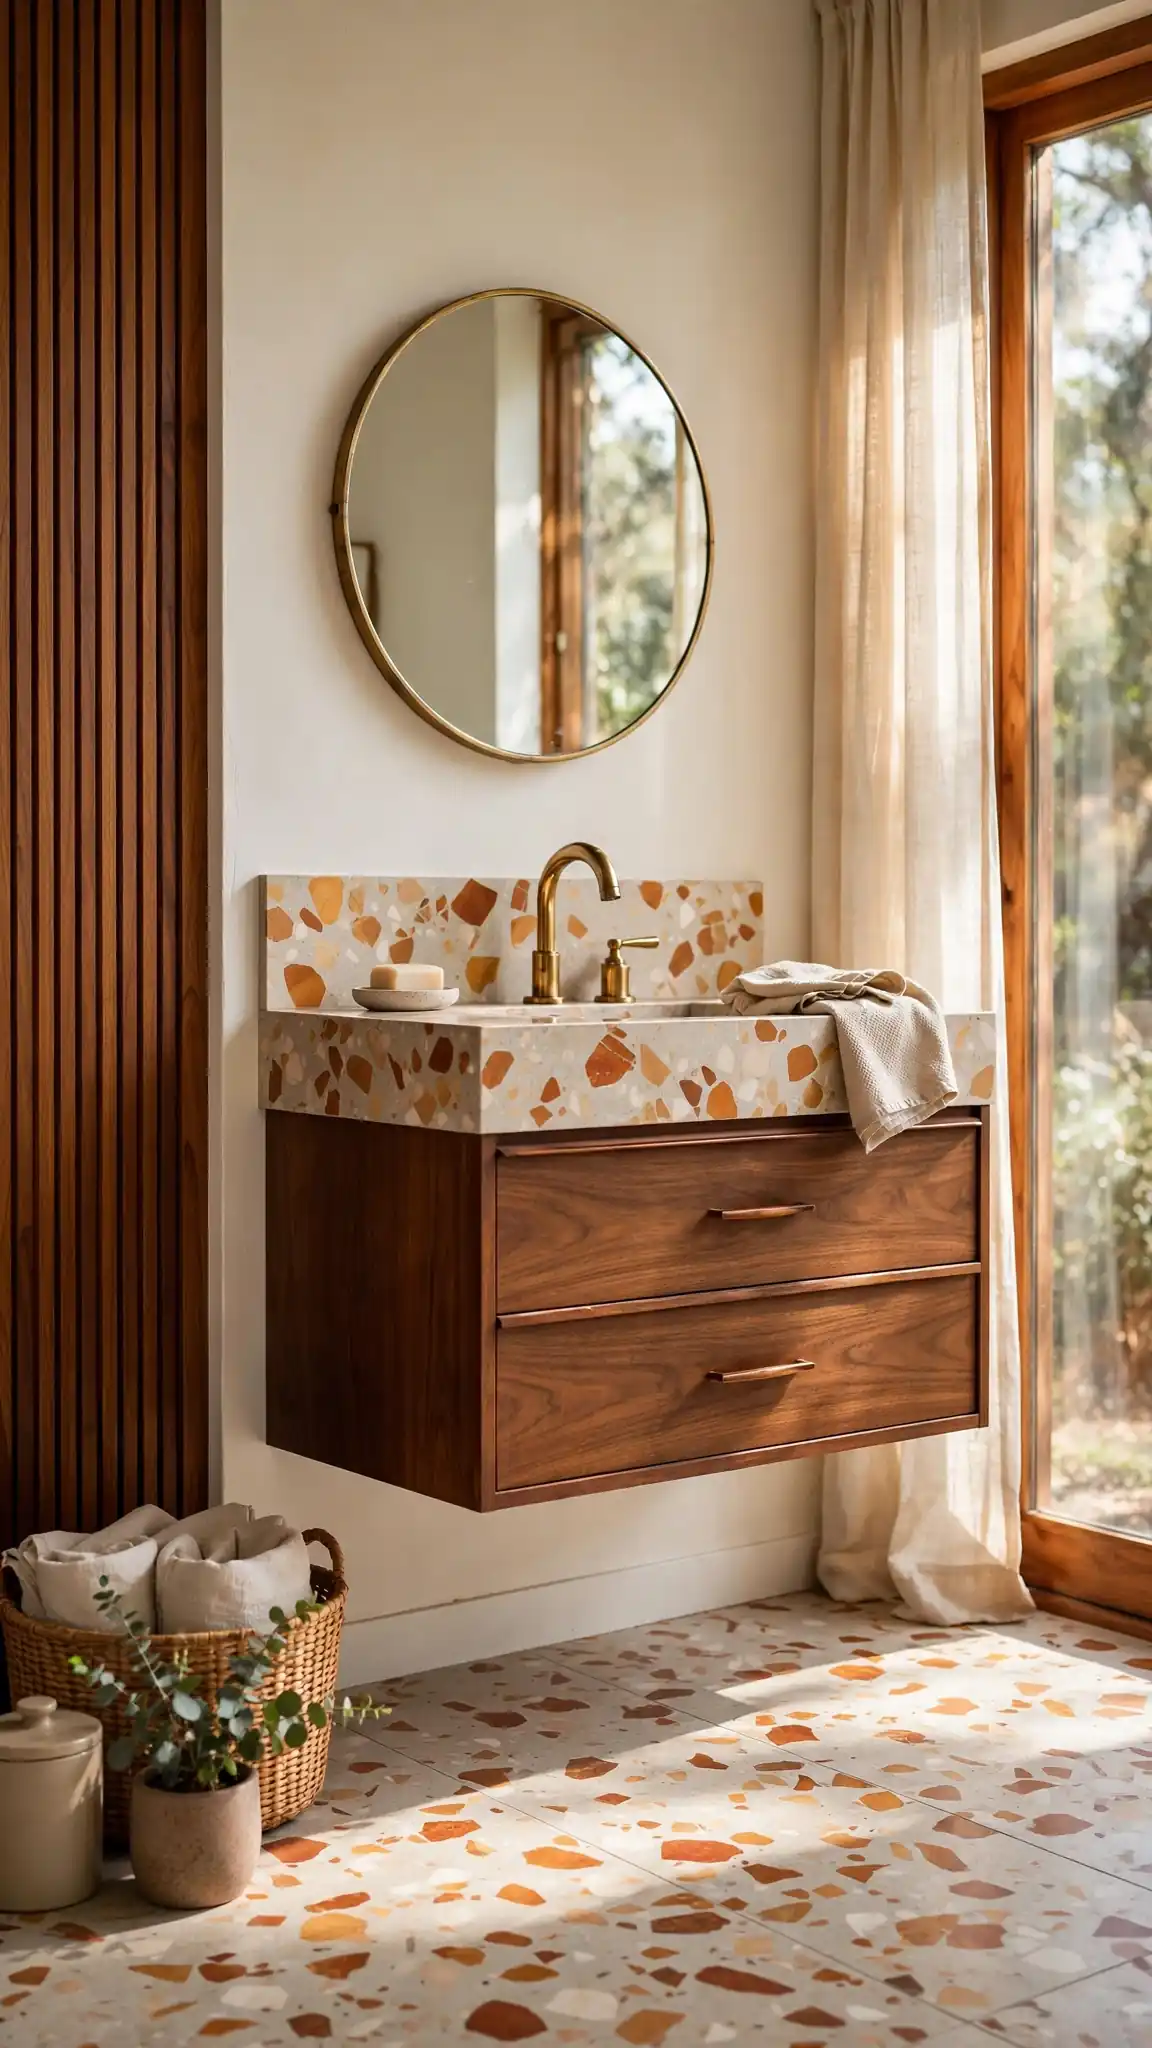
Real poured terrazzo starts around $50 per square foot installed and climbs past $100, while terrazzo-look porcelain from Daltile, Roca, or TileBar costs $4 to $12 per square foot and installs like standard tile. For floors, confirm a slip rating of at least 0.42 DCOF so the surface stays safe when wet. Match the grout to the tile's base color so the aggregate pattern reads uninterrupted. Busy terrazzo pairs best with quiet surroundings — calm it down with plain walnut and white walls rather than competing patterns. Pro tip: buy one extra box of the porcelain and store it, since dye lots shift and a future repair with a mismatched batch will be obvious.
12. Install a Curved or Rounded Tub Surround
Where space allows, a tub with soft rounded corners or a curved plaster surround brings the organic side of mid century design into play. The curve contrasts with the straight tile lines and creates a sculptural moment in the room. A microcement or tadelakt finish on the surround gives a seamless, hand-finished surface with no grout lines, which suits the minimalist ethos well. In smaller bathrooms, even rounding the corners of a standard alcove tub surround with a curved return softens the space noticeably.
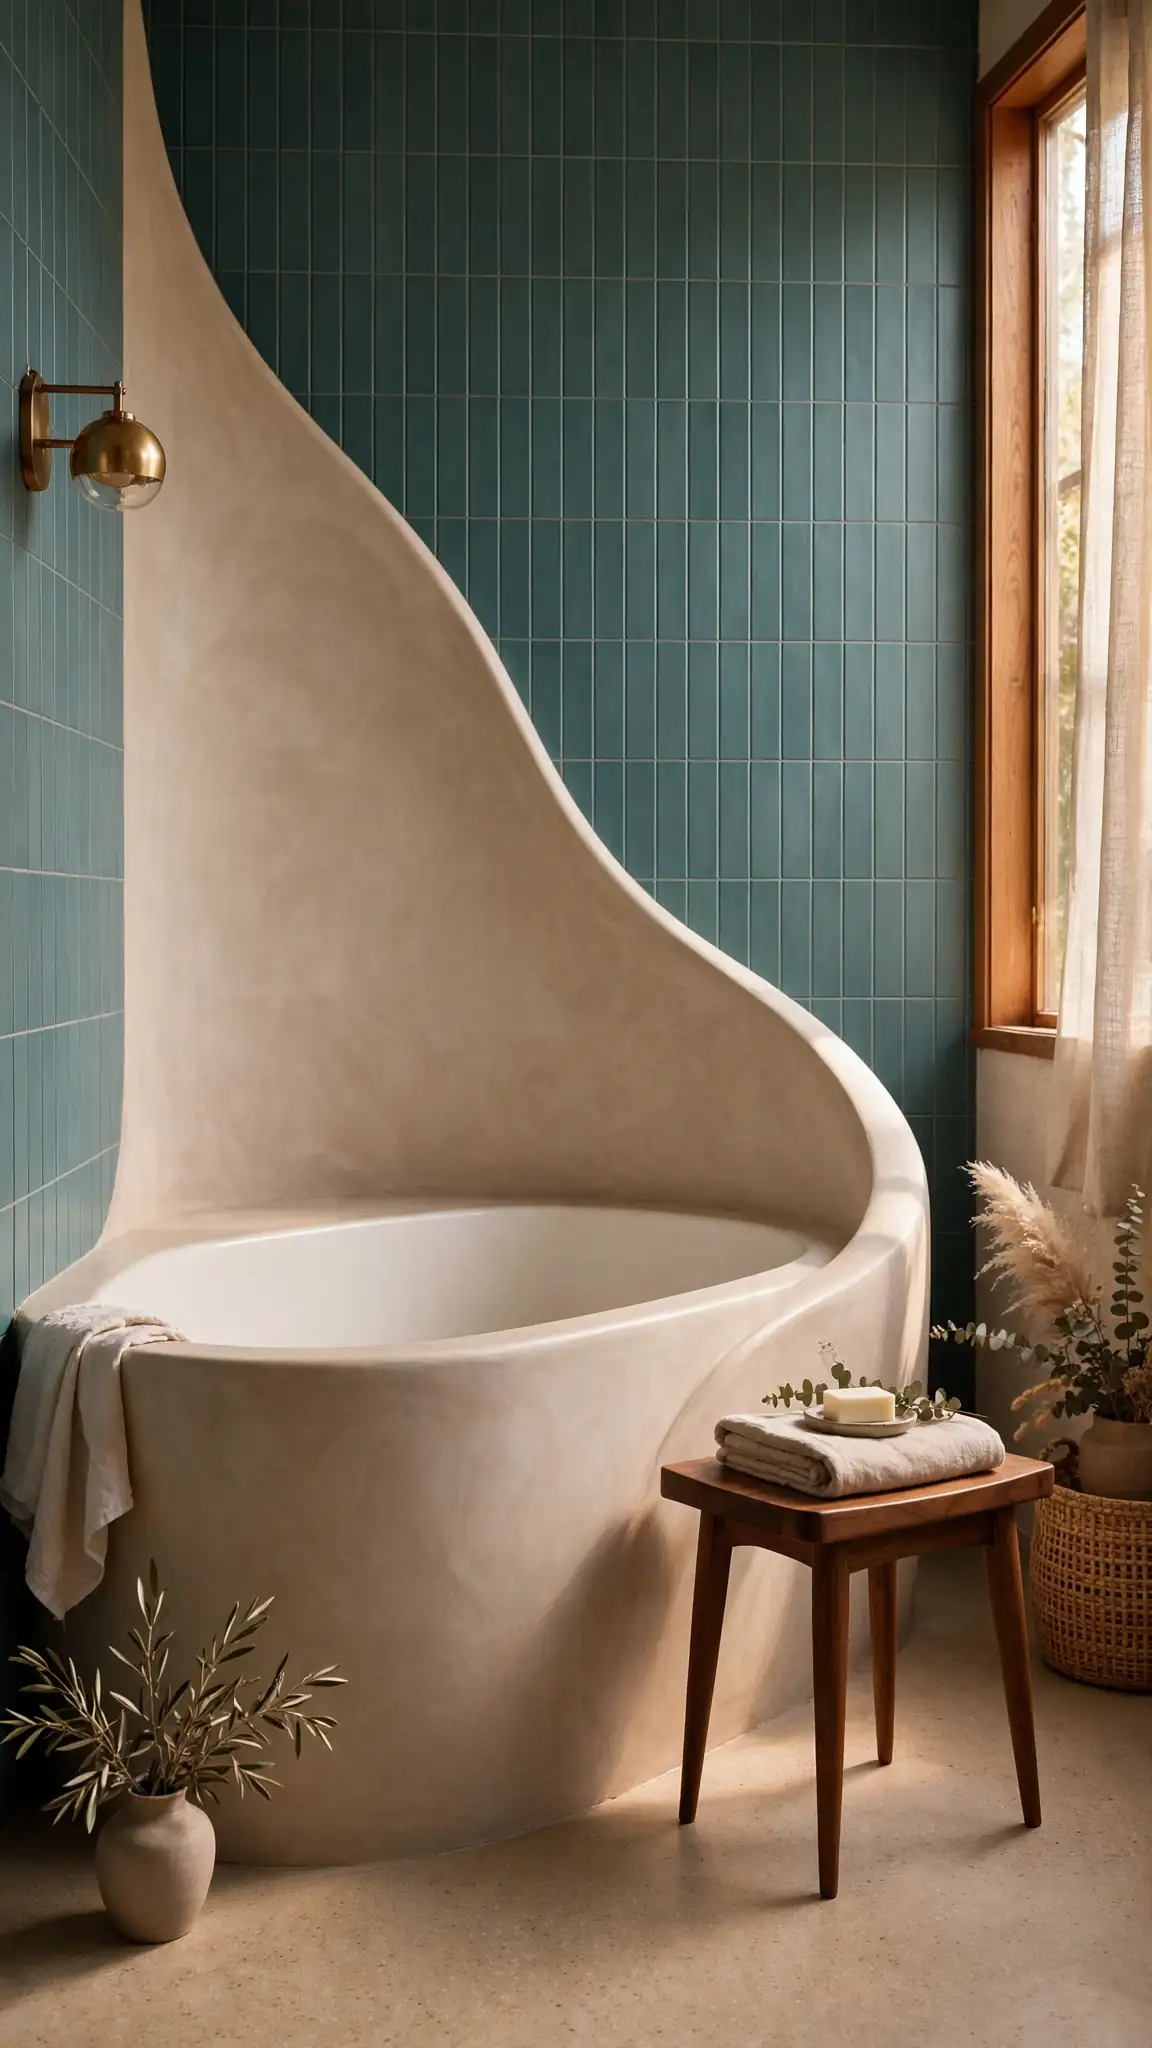
A microcement coating over a properly prepped surround runs $15 to $30 per square foot applied, while true tadelakt plaster demands $50-plus per square foot from a specialist and needs re-waxing yearly. Either way, waterproofing membrane still goes behind the finish — the coating is decorative, not the waterproof layer. For a simpler route, rounded-corner alcove tubs from Kohler and American Standard cost little more than square ones and accept standard curved shower rods. Keep the curve's radius generous; tight curves trap water and complicate tile cuts. Pro tip: ask the installer to photograph the membrane and plumbing before the microcement covers it, giving you proof of proper prep for any future warranty claim.
13. Keep Storage Concealed and Minimal
Mid century interiors valued order, and visible clutter undermines the entire aesthetic. Prioritize concealed storage: a recessed medicine cabinet with a flush mirrored front, deep vanity drawers with internal organizers, and a single closed cabinet rather than open shelving. If you do use open shelves, style them sparsely with three or four objects, such as a folded towel stack, a ceramic vessel, and a small plant. The clean, quiet surfaces are what let the wood grain, tile geometry, and lighting do their work without visual competition.
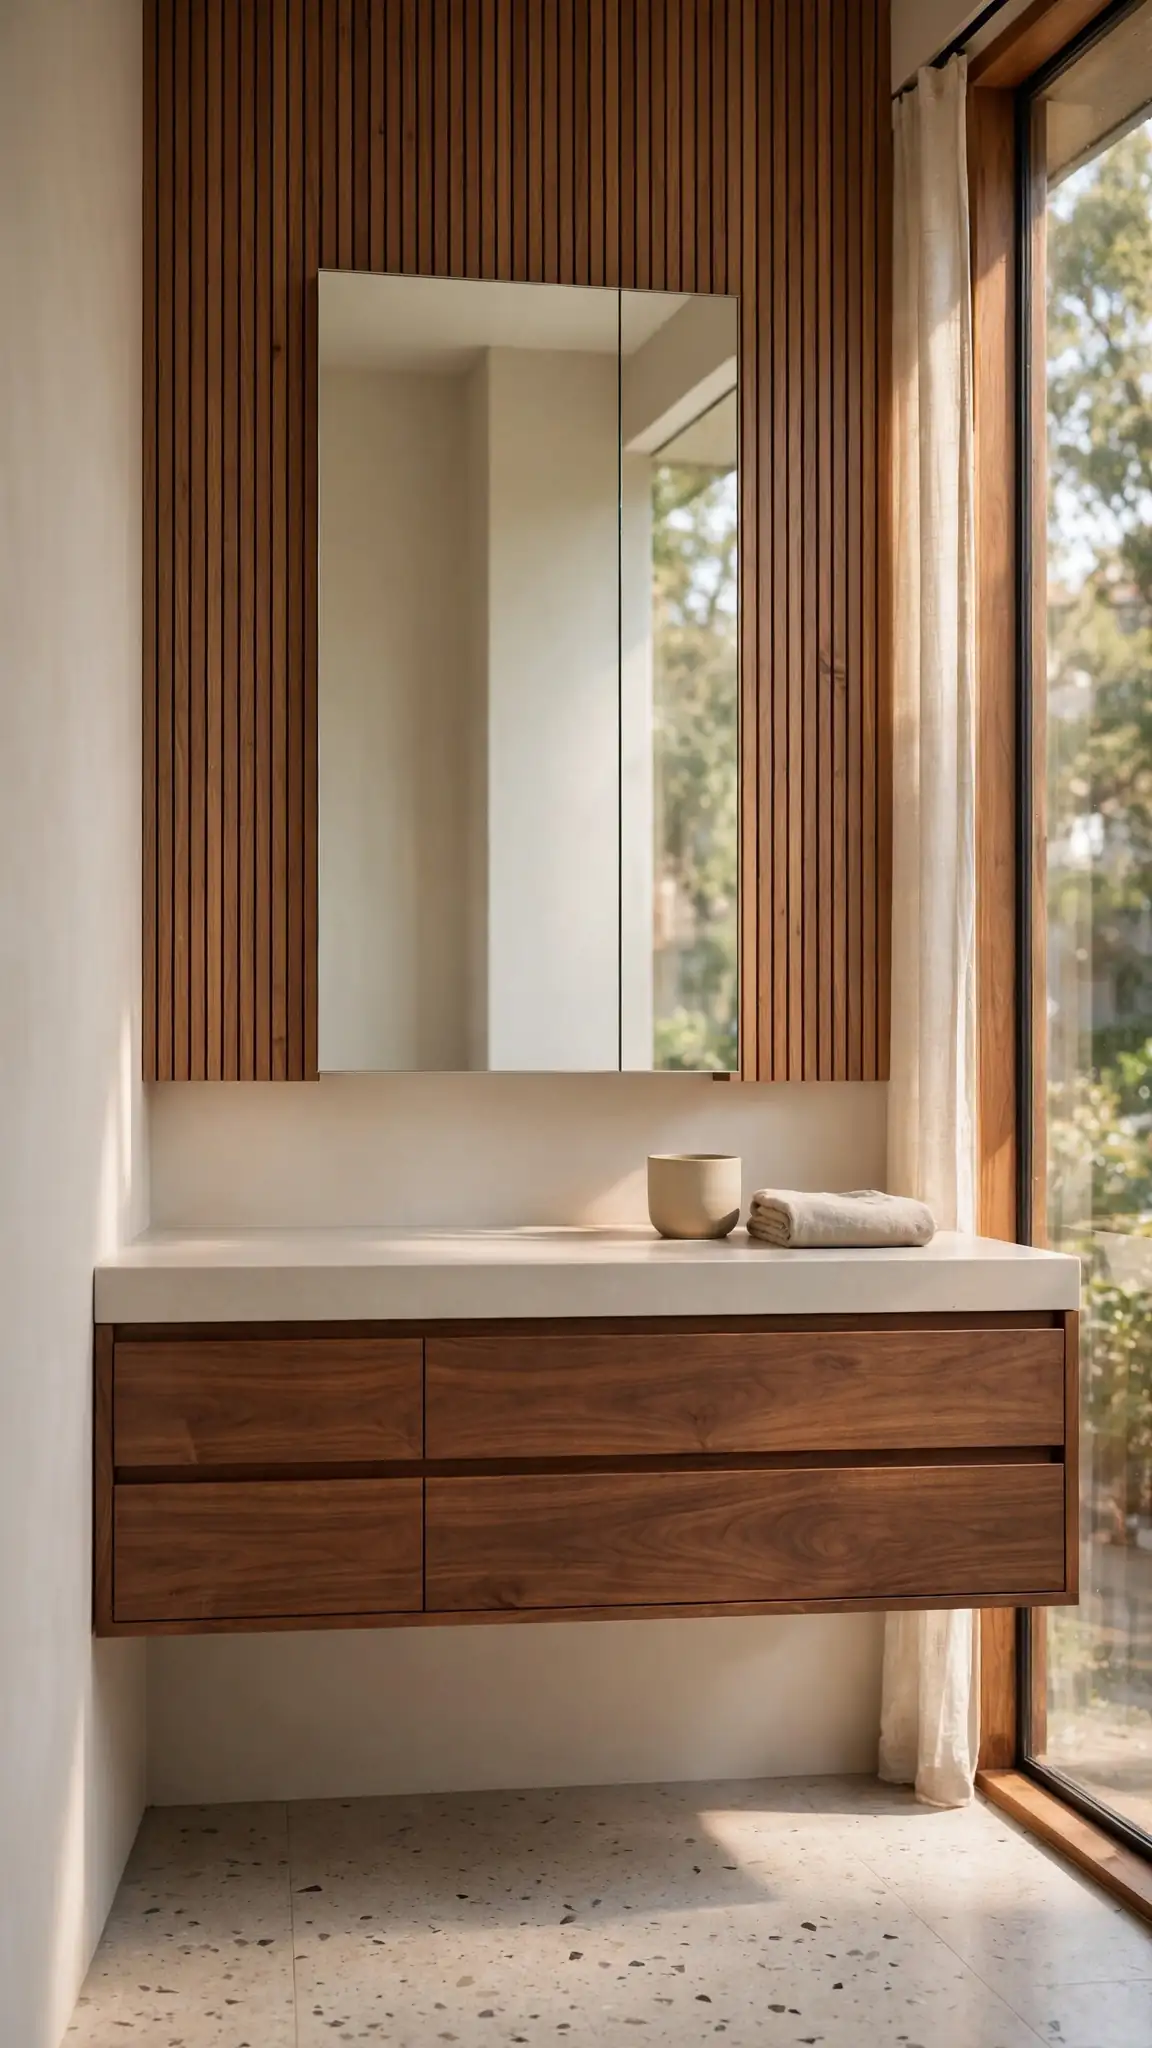
Recessed medicine cabinets from Robern, Kohler, or Pottery Barn cost $200 to $800 and need a 14.5-inch-wide stud bay at least four inches deep — verify with a stud finder before you fall in love with a model. Inside the vanity, add drawer dividers or a shallow top drawer so small items stop sliding to the back; Rev-A-Shelf inserts run $20 to $60. Avoid recessing into exterior walls, where insulation and vapor barriers complicate the cut. Pro tip: choose a cabinet with adjustable glass shelves rather than fixed wood ones, so tall bottles and short jars can each get the exact height they need.
14. Add Vintage-Style Textiles and Accessories
Small accessories let you experiment with the era’s personality at almost no cost. Look for a geometric-patterned bath mat, a rounded ceramic soap dispenser, a rattan or walnut tissue box, and towels in mustard or teal. A small framed abstract print or a vintage-style bath scale adds character without permanence. Because these items are easy to swap, they are also the ideal place to test bolder colors before committing to tile or paint. Keep the total number of visible objects low so the room stays composed.
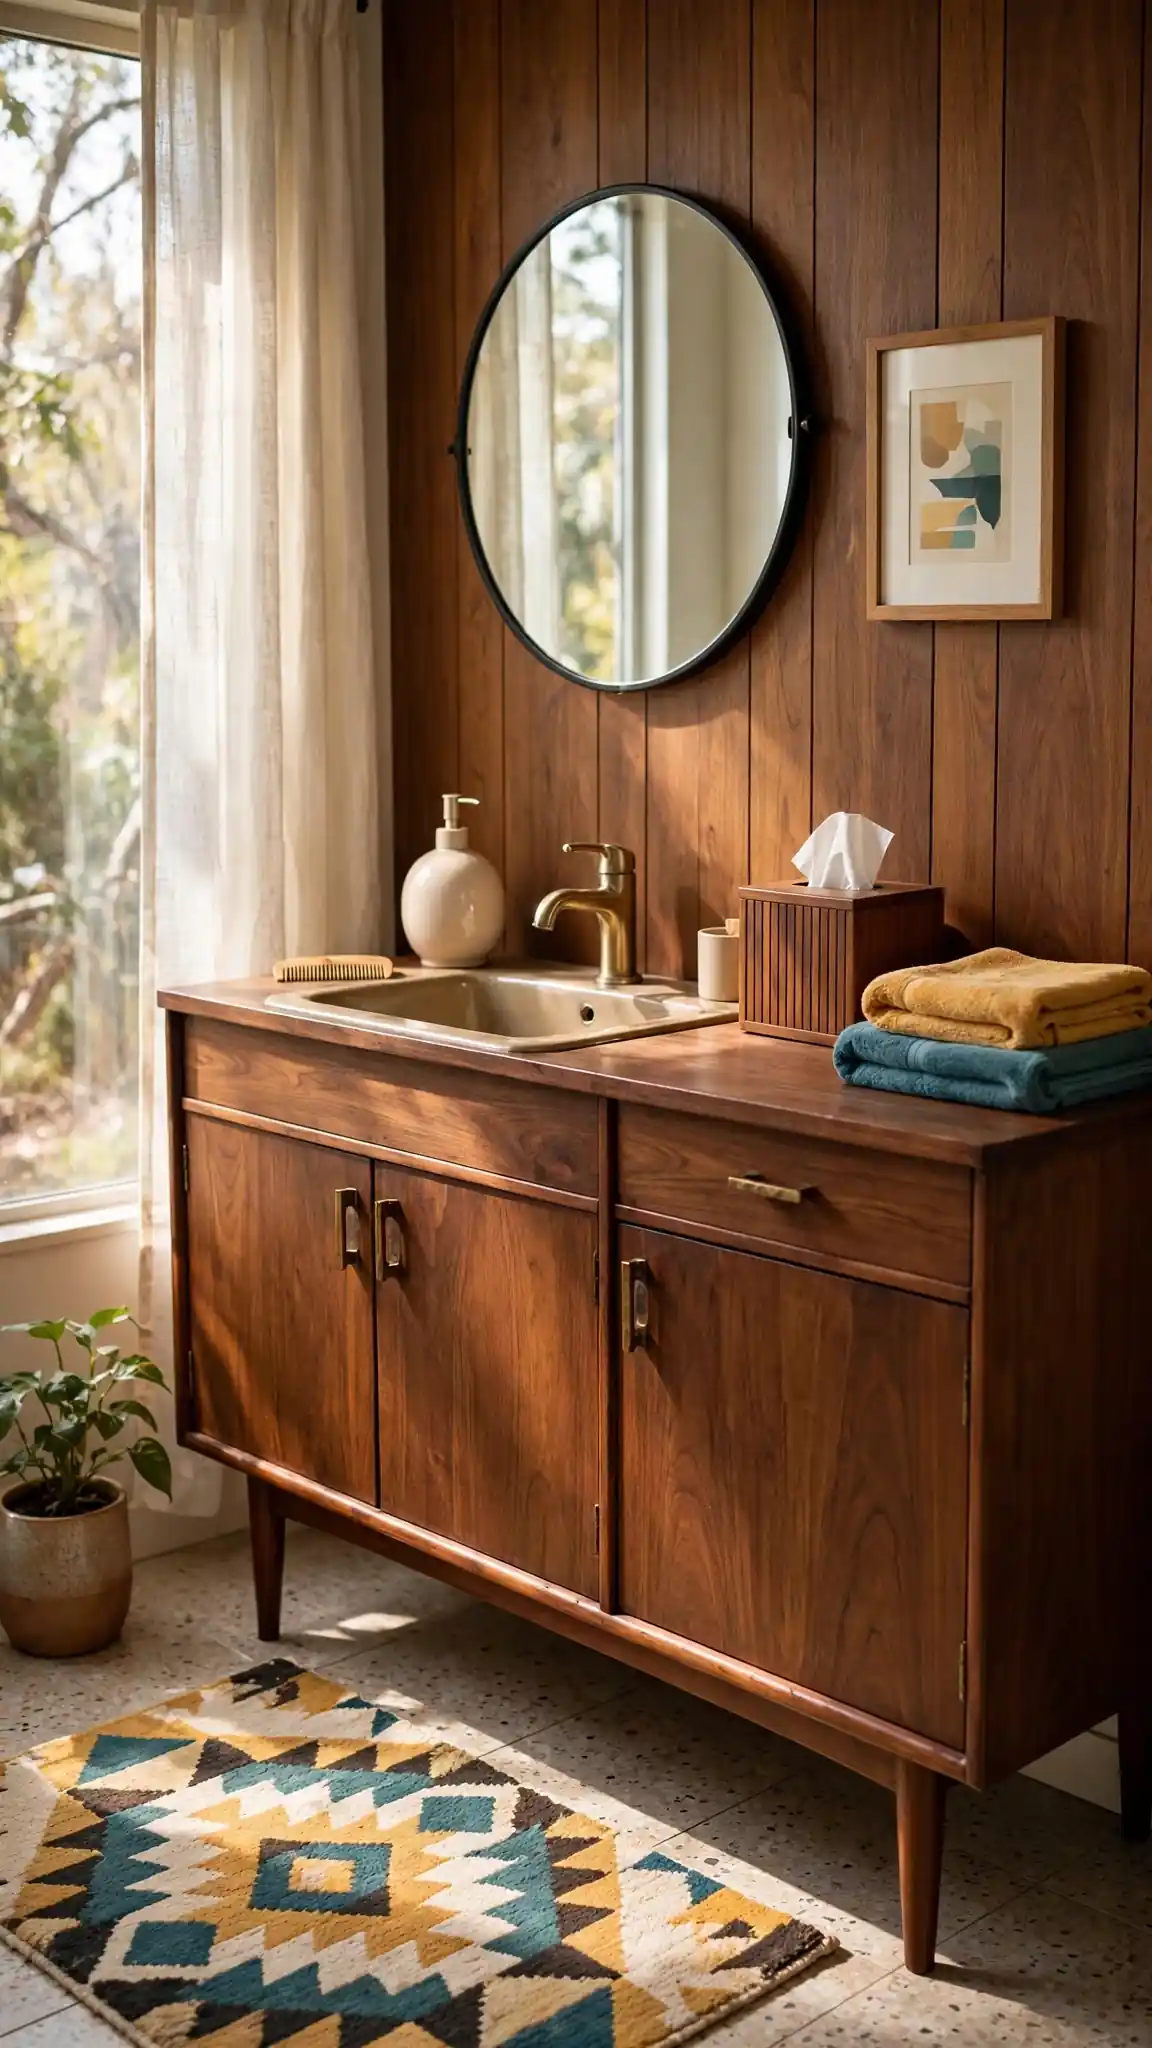
Thrift stores, estate sales, and Etsy are the best hunting grounds for genuine period pieces — expect $5 to $20 for a ceramic dispenser or rattan box versus $25-plus for new reproductions at Target or World Market. Wash all textiles twice before first use to remove sizing and improve absorbency, and add a half cup of white vinegar to keep towels soft without fabric softener. Cap the visible accessory count at about seven objects total; beyond that the room tips from curated to cluttered. Replace the bath mat every one to two years, since the rubber backing breaks down. Pro tip: photograph the styled room, then remove one item — the photo reveals clutter your eyes have learned to ignore.
15. Bring in a Plant for Organic Balance
Mid century design was deeply connected to nature, with large windows and indoor greenery central to the movement. A pothos, snake plant, or small monstera thrives in bathroom humidity and adds the organic softness that hard surfaces need. Place it on a floating shelf, a windowsill, or a small walnut plant stand in a corner. Use a simple ceramic or unglazed pot rather than anything ornate. Even in a windowless bathroom, a low-light plant such as a ZZ plant or a good-quality faux option will complete the room.

Budget $8 to $25 for the plant and $12 to $30 for a pot with drainage at The Sill, Home Depot, or a local nursery; always use a cachepot with a saucer so water never reaches wood surfaces. In steamy bathrooms, water about half as often as the tag suggests and empty the saucer after each watering to prevent root rot. For windowless rooms, a ZZ plant tolerates near-darkness, and a good faux monstera fools everyone if you rinse it monthly. Pro tip: hang a small pothos from a ceiling hook in the shower's steam zone — the humidity does the watering work and the trailing vines soften hard tile edges beautifully.
Conclusion
Mid century modern bathroom ideas work because they balance warmth against discipline. Walnut, brass, and organic curves supply the warmth, while geometric tile, clean lines, and concealed storage supply the discipline. You do not need a full renovation to get there. A floating walnut vanity, a large round mirror, globe sconces, and brushed brass fixtures will carry the look convincingly in almost any bathroom. Add a bold accent color in tile or textiles, keep the surfaces clear, and finish with a plant for organic softness. The result is a bathroom that feels considered today and will still feel considered a decade from now.
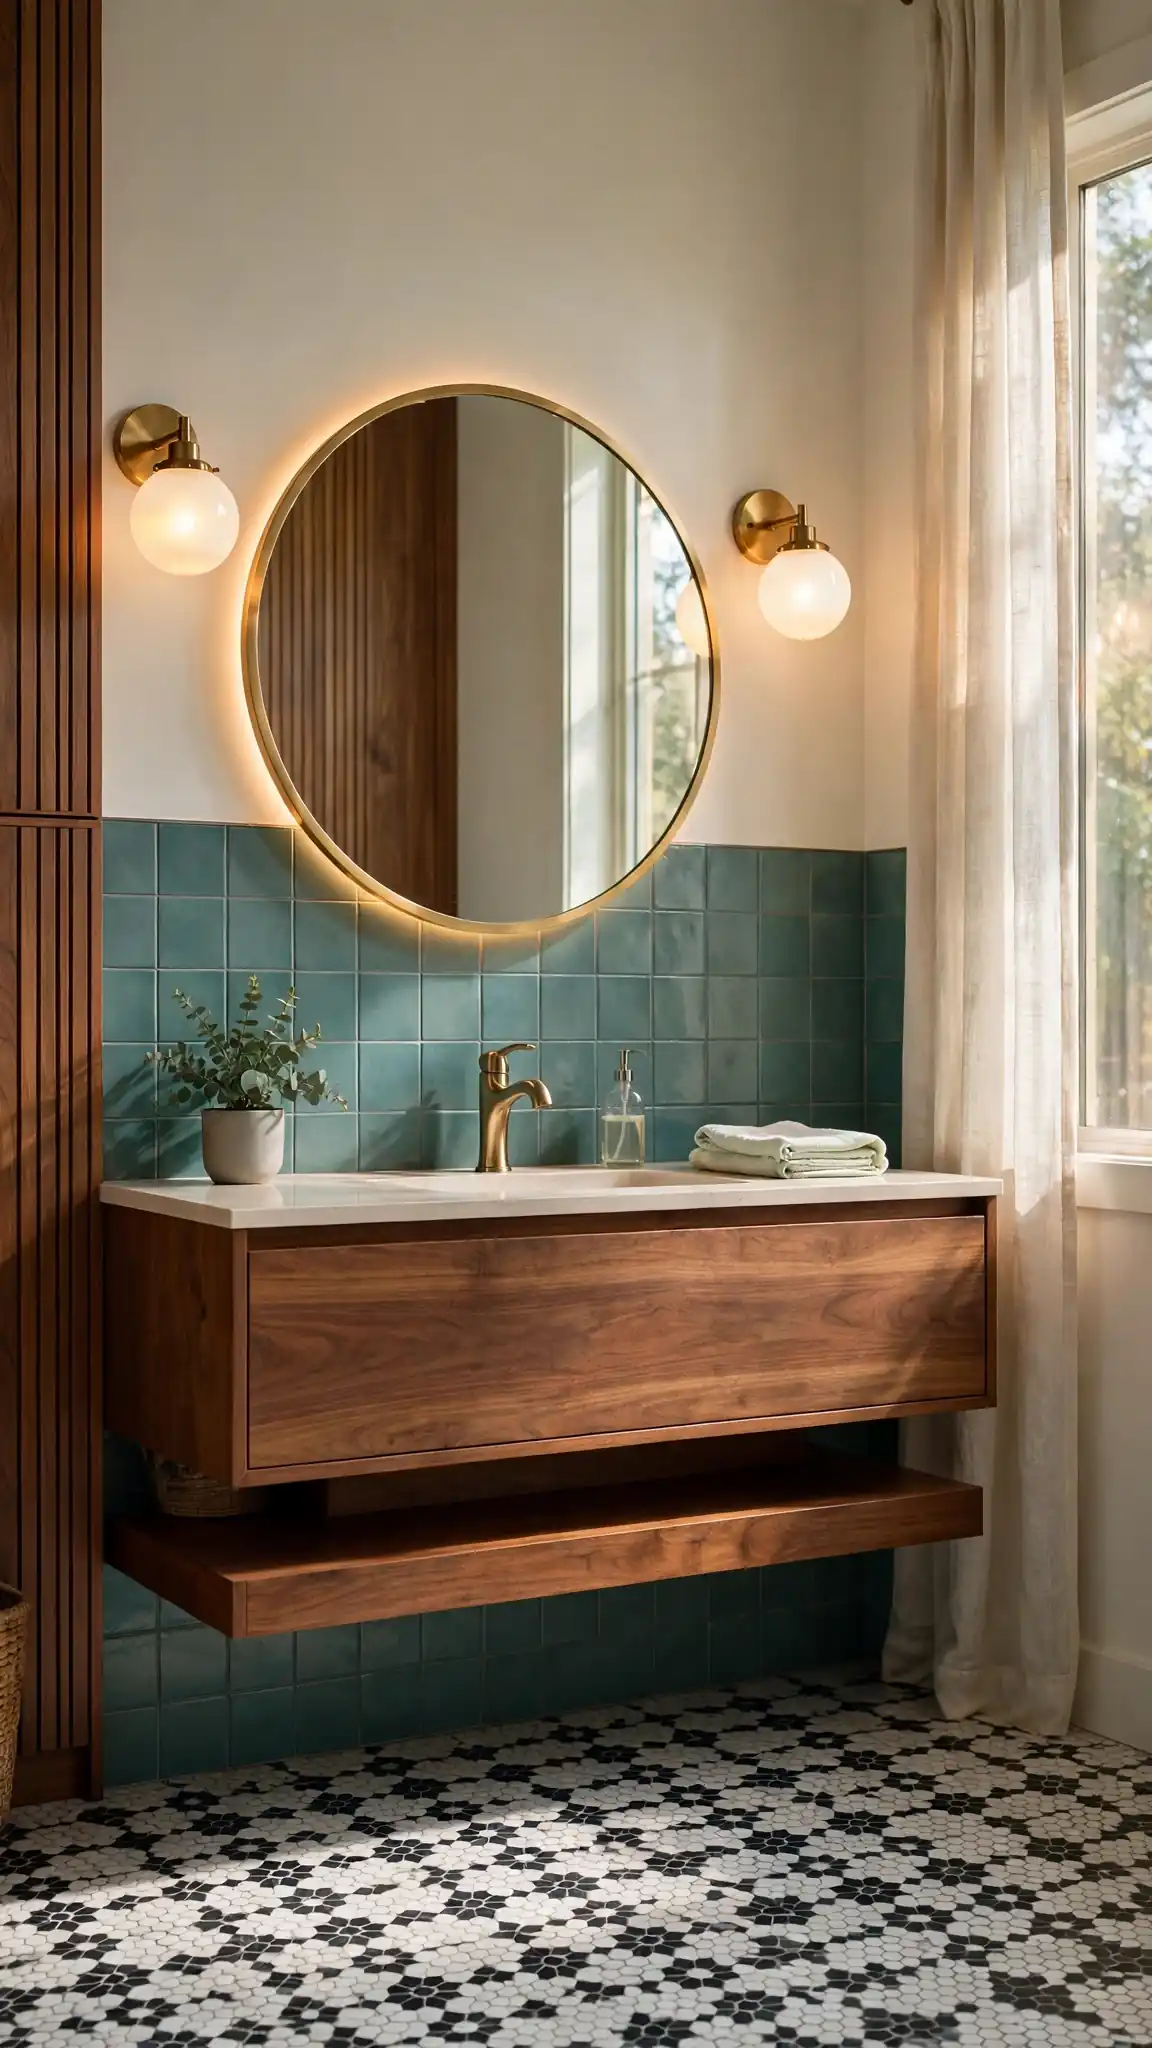
Tackle the look in phases so the budget stays sane: start with a $150-to-$300 weekend of mirror, textiles, and brass accessories, then move to lighting and fixtures at $800 to $1,500, and save tile and vanity work for a $3,000-plus renovation phase. Hunt Facebook Marketplace and estate sales for genuine walnut dressers that convert into vanities for a fraction of retail. Resist buying every wood piece in the identical stain — mixing walnut, teak, and white oak is what keeps the room from looking like a showroom set. Pro tip: live with each phase for a month before buying the next, since the room will tell you what it actually needs next.
Frequently Asked Questions
Mid century style raises the same practical questions for nearly every homeowner: how much of the look can you get without a full renovation, which pieces deliver the biggest impact per dollar, and how do you keep a period-inspired room from feeling like a movie set? The answers below cover budgets, sourcing, and the small decisions that separate an authentic-feeling bathroom from a costume.
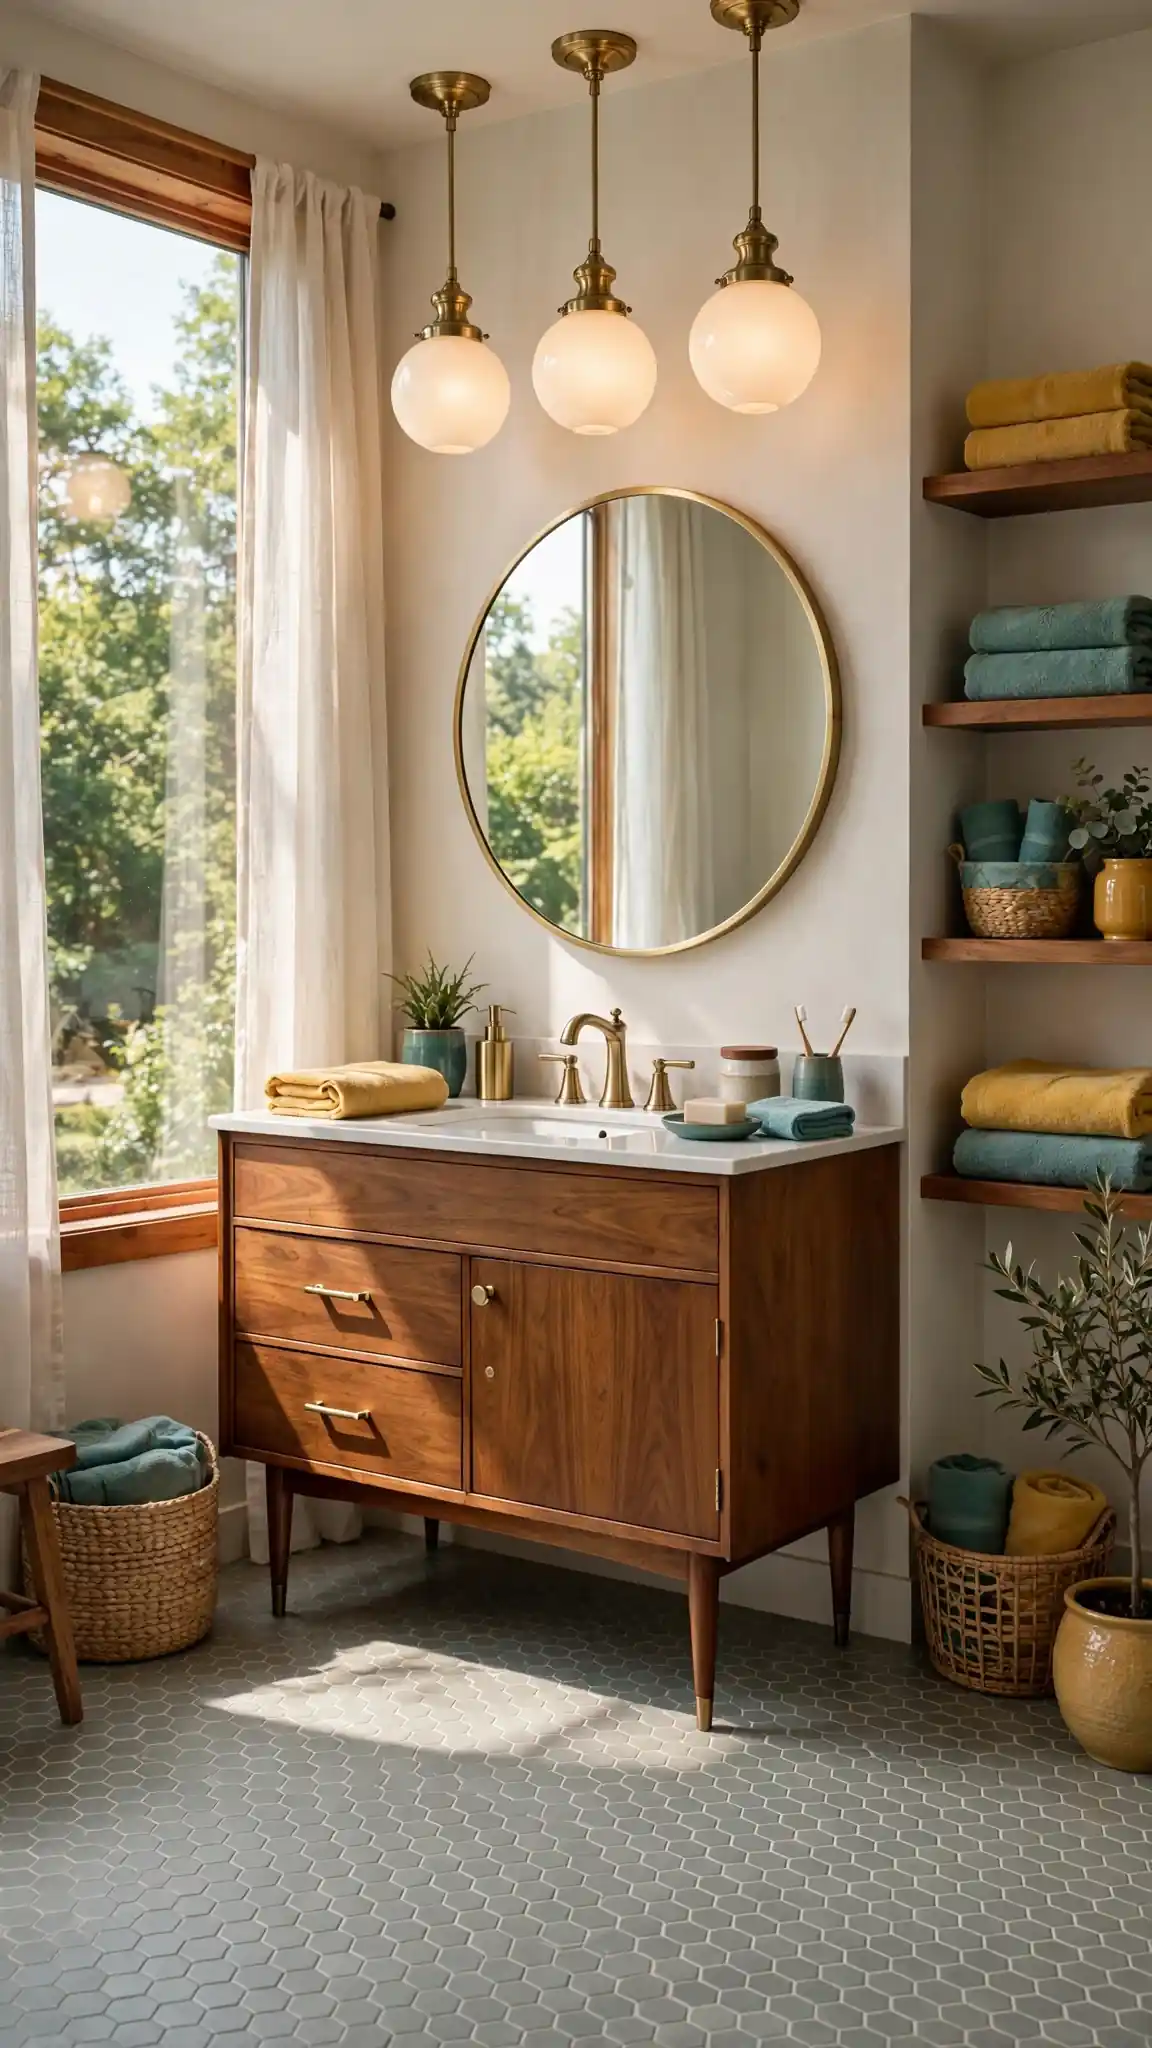
Start where the return is highest: a round mirror, globe sconces, and brushed brass hardware transform a plain bathroom for under $500 and one weekend. Save the walnut vanity and tile work for a planned renovation, and test every bold color in a textile before committing it to a wall. Done patiently, the look feels collected over years rather than installed in a day — which is exactly how the originals earned their charm.
What defines a mid century modern bathroom?
Warm wood tones such as walnut or teak, clean horizontal lines, tapered or hairpin legs, geometric small-format tile, globe or Sputnik lighting, brass or black hardware, and a muted retro palette of mustard, olive, teal, and terracotta balanced by plenty of neutrals.
What colors are best for a mid century modern bathroom?
Mustard yellow, avocado and olive green, burnt orange, teal, and warm brown work best as accents, paired with cream, warm white, and natural wood as the base. Choose muted, dusty versions of these shades rather than bright, high-saturation ones for a look that ages well.
Is mid century modern still in style for bathrooms?
Yes. The style has remained consistently popular for over a decade because it relies on natural materials and simple geometry rather than short-lived trends. Walnut vanities, round mirrors, and brass fixtures continue to be among the most requested bathroom finishes.
What tile works best in a mid century modern bathroom?
Penny round, hexagon, and small square mosaics are the most authentic choices for floors. For walls, vertically stacked glossy ceramic tile in a saturated color, or terrazzo-look porcelain, both suit the era while feeling contemporary.
Can I get the look in a small bathroom?
Absolutely. Use a wall-mounted floating vanity to expose floor space, a large round mirror to add light, wall-mounted faucets and sconces to keep surfaces clear, and one bold tile color as the single focal point. Small bathrooms often suit the style better because clutter is impossible.
What metal finish suits mid century modern best?
Brushed or satin brass is the most characteristic choice and pairs beautifully with walnut. Matte black and chrome are both period-appropriate alternatives. Whichever you pick, use it consistently across the faucet, shower trim, towel bars, and mirror frame.




4 Comments